When you click on links to various merchants on this site and make a purchase, this can result in this site earning a commission. Affiliate programs and affiliations include, but are not limited to, the eBay Partner Network.
Tech / General EngineIs your car making a strange sound or won't start? Thinking of adding power with a new combination? Need other technical information or engine specific advice? Don't see another board for your problem? Post it here!
I figured I’d start this build thread to keep track of and share my progress. I’ve been a gear head since I was a young boy. Have always enjoyed working on my own cars and those of friends and family. This is my fourth 3rd gen. (had a 91 RS, 86 IROC, 90 IROC) so I’m not a total newbie to them. However this build will include many tasks that will be a first to me. I can honestly say my novice to intermediate mechanical experience and my wife’s support coupled with the knowledge found on TGO has given me the confidence to get this done. This car will be my oldest (of 6) daughters first vehicle she will be able to drive in 30 months when she is old enough. So here it goes.
Starting Point: Picked up a 92 RS from a member here on the forum. It was originally equipped with a 305 TBI and 700R4. PO swapped in a carbed LT1, but said it never really ran right and had sat for the last 10 years or so waiting to be worked on. It is equipped with a GMPP intake manifold to run a carb, Holley 3310-4, pro master coil and a Mallory distributor. This is where I come in. I picked up a new battery, hood struts, oil filter and oil. Installed everything and ran a compression test to get a baseline of what I was dealing with. Here are the results:
I also did some investigating on the rear differential to find out that it is a 10 bolt, 7.5” with a 3.73 posi. I treated it to a fresh gasket, cover and synthetic 75-90 fluid with limited slip additive.
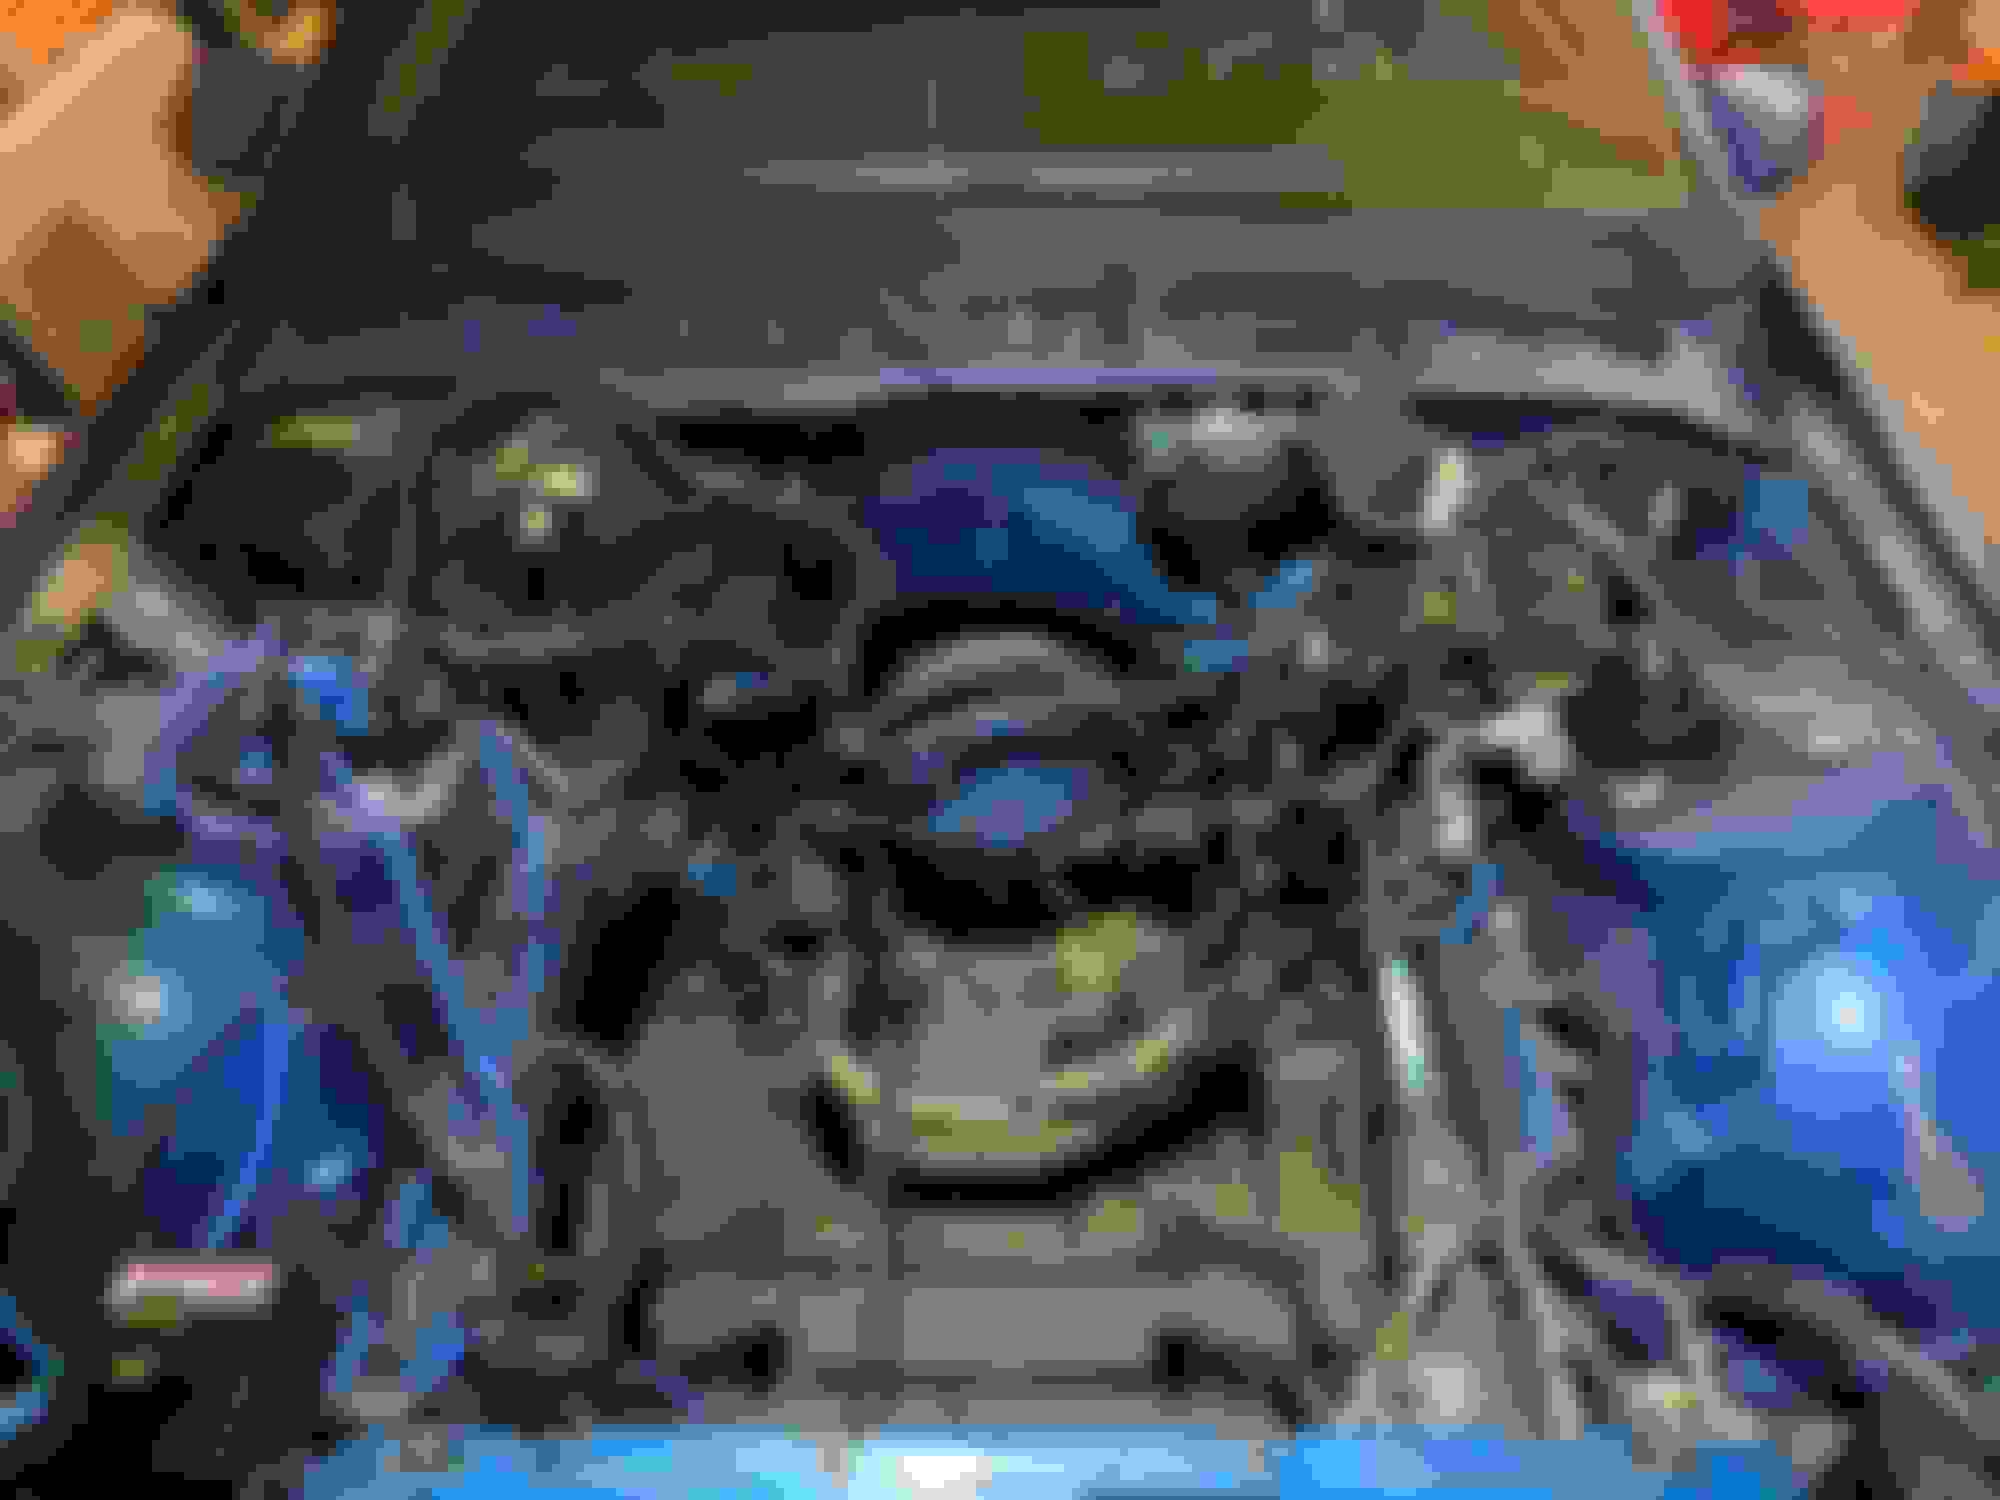
I noticed the engine looked to be sitting in the bay a bit crooked. Upon further investigation it looks like the k member was not notched to fit the AC compressor that was residing on the lower passenger side. I decided to pull the motor to go through it or replace it depending on what condition it is and what I decide to do with it.
My first engine removal went well with no real hiccups. Working on tearing the motor down to the short block tonight, everything is going well.
In my garage on jack stands. Ring gear. Posi My daughter helping me yank the motor. Tearing motor down to short block.
Block front right - V0915zva
Block back right - 10125327
Block back left - GM 5.7LG SGI H212
Block back left - 1P5102897
Crank - 14088526
Pistons - TRW L2417
Connecting rods - GMB 790
Cam - 241
Cylinder heads - 10128374 - un-ported and with what appears to be factory valve train.
Have taken everything apart except the oil pump and crank. The combustion chambers had a ton of carbon build up. The ring lands and skirts looked to be in good condition, will inspect further after a good cleaning. The cylinder bores looked glazed. The Crank has two holes drilled on the front and rear counter weights. Would this have been done at the factory or was this done when the TRW pistons were installed? Trying to determine if I can finish disassembly, clean, hone the cylinders and put this thing back together with new bearings, rings, seals, etc. or what the scope of reassembly will be?
I did a bit of research on those pistons because they clearly aren't stock. Old discontinued forged pistons. Supposedly they were to bump up compression or be for 70 LT-1's 11:1 comp. I was hoping to find relief CC's but came up with nothing credible. Quite a bit of random info but nothing that seems verified. Making some assumptions though, on the 53-54cc chamber of those heads, 5cc (guessed) valve reliefs, typical LT1 head gasket of .039, and pistons maybe sitting .020 in the hole...you're over 11.2 compression on a carbureted pump gas motor. That's a bit high, even on reverse cooling. The numbers I used are circumstantial only, All would actually need to be measured or verified on your build. My point was that the previous builder may have been over zealous and may be why it never ran quite right.
And I can't tell from your picture but is that rod journal scored?
. The Crank has two holes drilled on the front and rear counter weights. Would this have been done at the factory or was this done when the TRW pistons were installed? Trying to determine if I can finish disassembly, clean, hone the cylinders and put this thing back together with new bearings, rings, seals, etc. or what the scope of reassembly will be?
Balancing holes may have been either factory or later. Who knows if those pistons weight similar to the factory pistons, you can hope they balanced it but I wouldn't trust a previous build.
If there is no scoring or damage, it could probably be cleaned up, measured and remeasured, correctly rebearing'd and remeasured. But that's heavily dependent of any damage.
I can't answer if you need to deal with the bores. There's been a bit of discussion on the usefulness of honing an engine. Today's consensus is honing bad, bore or leave it alone only. I'm not informed enough to say one way or the other. Depending on what it looks like you may need to overbore it.
I did a bit of research on those pistons because they clearly aren't stock. Old discontinued forged pistons. Supposedly they were to bump up compression or be for 70 LT-1's 11:1 comp. I was hoping to find relief CC's but came up with nothing credible. Quite a bit of random info but nothing that seems verified. Making some assumptions though, on the 53-54cc chamber of those heads, 5cc (guessed) valve reliefs, typical LT1 head gasket of .039, and pistons maybe sitting .020 in the hole...you're over 11.2 compression on a carbureted pump gas motor. That's a bit high, even on reverse cooling. The numbers I used are circumstantial only, All would actually need to be measured or verified on your build. My point was that the previous builder may have been over zealous and may be why it never ran quite right.
And I can't tell from your picture but is that rod journal scored?
I did some research on them and some other company bought TRW a while back, that’s why these were discontinued but I think were sold under another name afterwards. From my research they are a “heavier” piston. I got the rods and pistons cleaned up last night. I believe what you are seeing in the picture on the rod journal was just oil. All the journals looked pretty good, nothing major stood out but I’ll give them a thorough look over today. I am leaning towards replacing the carb with a Holly Sniper EFI with the Holley distributor so I can control timing advance with the ECM. The PO never installed timing marks/pointer after converting from the LT1’s computer controlled timing to HEI. So I’m guessing the timing was done by ear... I am really trying to do everything I can myself instead of bring it to a machine shop. I don't mind spending the money at the machine shop, I just want to gain knowledge and skill of doing this build myself. All the research I was seeing was pointing to honing being so necessary that if you don't hone the cylinders and then break the motor in with load correctly it will instantly glaze the cylinder walls and not seal properly.
Last edited by Bustionironi; 09-21-2020 at 07:21 PM.
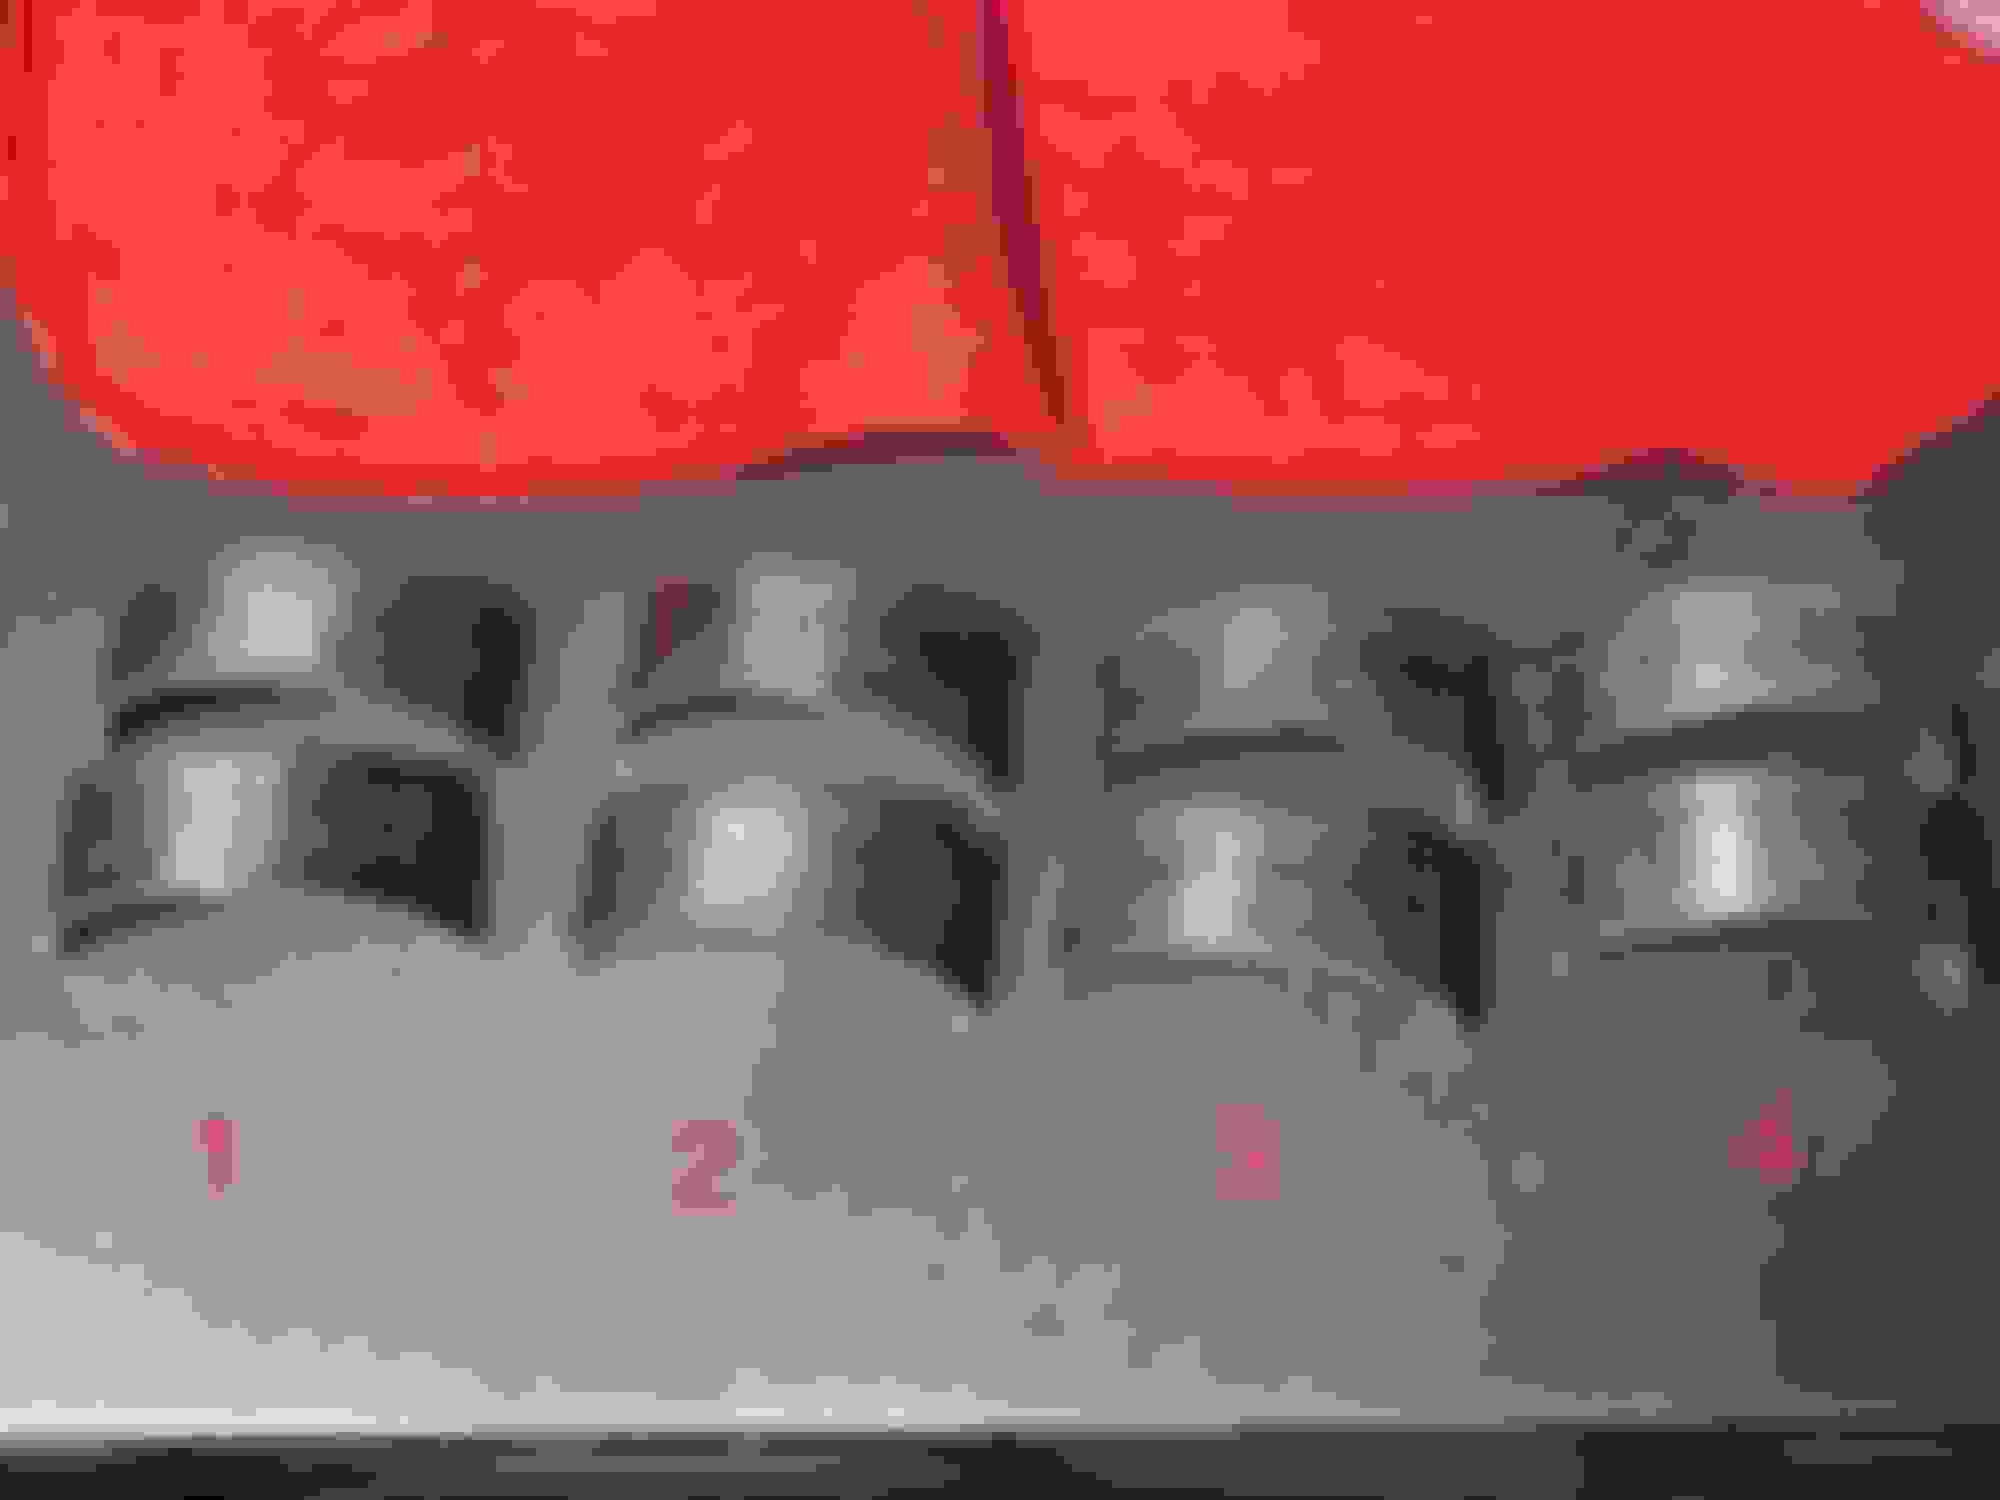
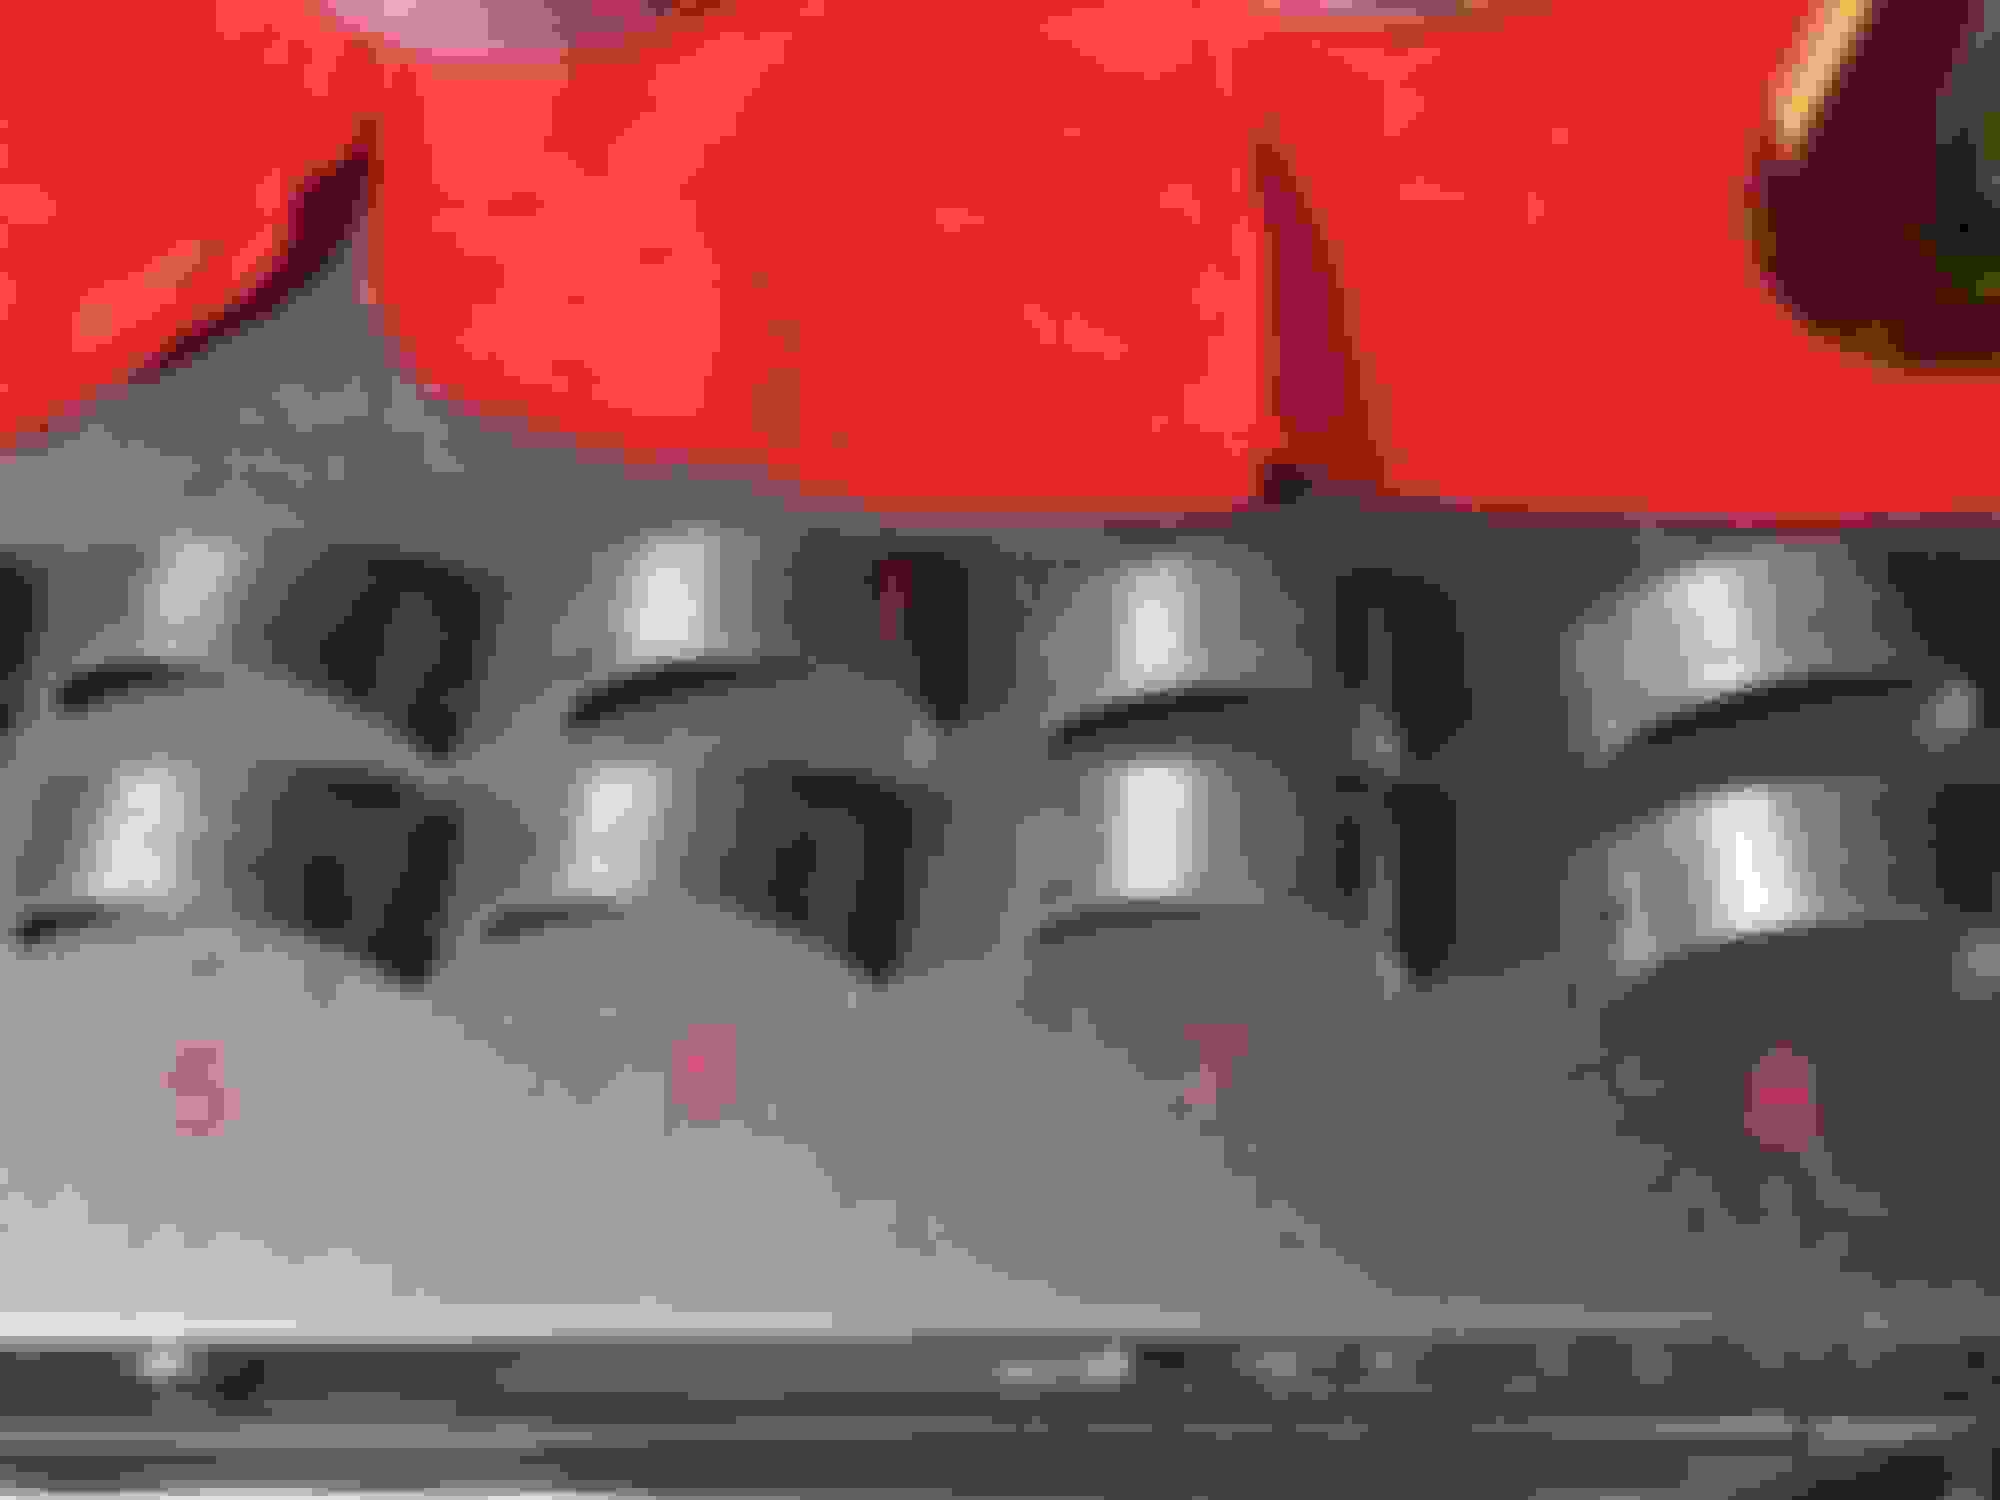
Can anyone comment on the condition of these connecting rods bearings wear? 1,5,7 and 8 had wear spots down through the top layer. 6 has some weird squiggling lines through it. They all look like they were run with some dirty oil.
I remember seeing this car for sale on here in Michigan, nice to see it getting the love it deserves!
With regards to your bearing wear, I think the only way to really be sure of what's going on is to mic the crank journals and measure the connecting rod big ends and main caps with a bore gauge. Plasti-gage likely won't catch an out of round condition. If 1,5,7,8 bearings are hammered on the top side, it's possible some spark knock or detonation caused it. I think with aluminum heads and reverse flow cooling you should be ok with 11:1 compression, but use 93 octane. An aluminum head knocks it down about a full point of compression.
You should also measure the cylinder bores with a bore gauge. If the sizes check out ok, you might be able to just dingle ball hone it. Then you might as well check your ring gaps. Google'd the cam you have, it sounds like a stock 94-95 lt1 cam.
Thanks for the feedback 88RS. Yes, I drove from NM to MI (4 day round trip) to pick it up. In NM the sun beats cars down, in MI it’s the rust. Just finished removing the interior. The drivers side front and rear floor pans are going to need to be repaired/replaced. Few small spots in other misc areas, but overall not too bad I’d say.
Driver side Driver side front floor pan Driver side rear floor pan Passenger side Passenger side rear floor pan Passenger side front floor pan Cargo bay Spare tire well Driver side well
Do you think it's just from a leaking t-top on that side?
I gotta laugh, you did that drive and some guy from Wisconsin on here who was looking for a 91-92 Camaro that I suggested this car to said it was too far away.
Don't hone it. The cylinders look fine. Install new rings and run it. There is no such thing as "glaze". My Vortec block had 177k on it's stock pistons. I ran it at 300 RWHP daily with new rings till I broke 4 pistons due to a timing issue, swapped it straight over to a set of forged pistons with new rings - didn't touch the cylinder walls either time - just had it on my dyno a couple weeks ago and still making 300 RWHP. Again I have NEVER touched the cylinder walls on it. Rings seat just fine - in fact this latest set was so tight at first I had trouble maintaining idle on a throttle snap due to drag (thicker ring set). That cleared up after they broke in a bit.
Do you think it's just from a leaking t-top on that side?
I gotta laugh, you did that drive and some guy from Wisconsin on here who was looking for a 91-92 Camaro that I suggested this car to said it was too far away.
Im not sure the cause yet. I was thinking leaking top, window left down or moisture from shoes, spilled drinks, etc, over the years. I’m going to wire wheel it and see the extent. It feels pretty solid and a lot looks like it will clean up. There is just one small little hole. But with rust I’m prepared to just replace the entire pan if need be.
One time I drove from Albuquerque to New Orleans (17 hour drive) just stopped for gas, food and the bathroom. Lol.
Don't hone it. The cylinders look fine. Install new rings and run it. There is no such thing as "glaze". My Vortec block had 177k on it's stock pistons. I ran it at 300 RWHP daily with new rings till I broke 4 pistons due to a timing issue, swapped it straight over to a set of forged pistons with new rings - didn't touch the cylinder walls either time - just had it on my dyno a couple weeks ago and still making 300 RWHP. Again I have NEVER touched the cylinder walls on it. Rings seat just fine - in fact this latest set was so tight at first I had trouble maintaining idle on a throttle snap due to drag (thicker ring set). That cleared up after they broke in a bit.
Your bearing inserts are scoured out like that probably because the last guy "honed" it. Don't make that mistake.
Even the Chevrolet Power Book recommended not honing back in the early 80's.
GD
Thank you for the input. Since this is my first build including first time assembling a motor I was planning on just putting in new bearings, rings, seals, etc. to keep the cost down in case I mess something up. I have been doing a lot of research and the to hone or not to hone question goes both ways. I believe I have made up my mind to not hone it as I am not boring it. I got a lot of feedback from the LT1 forum on FB and the consensus is to not hone and just put it back together.
I would line-hone for the main bearings, parallel deck the block (but not a zero deck - just get them 0.20" in the hole and use a thinner gasket), and hot tank it, etc. Just don't let the machinist talk you into touching the cylinder walls. Bad idea.
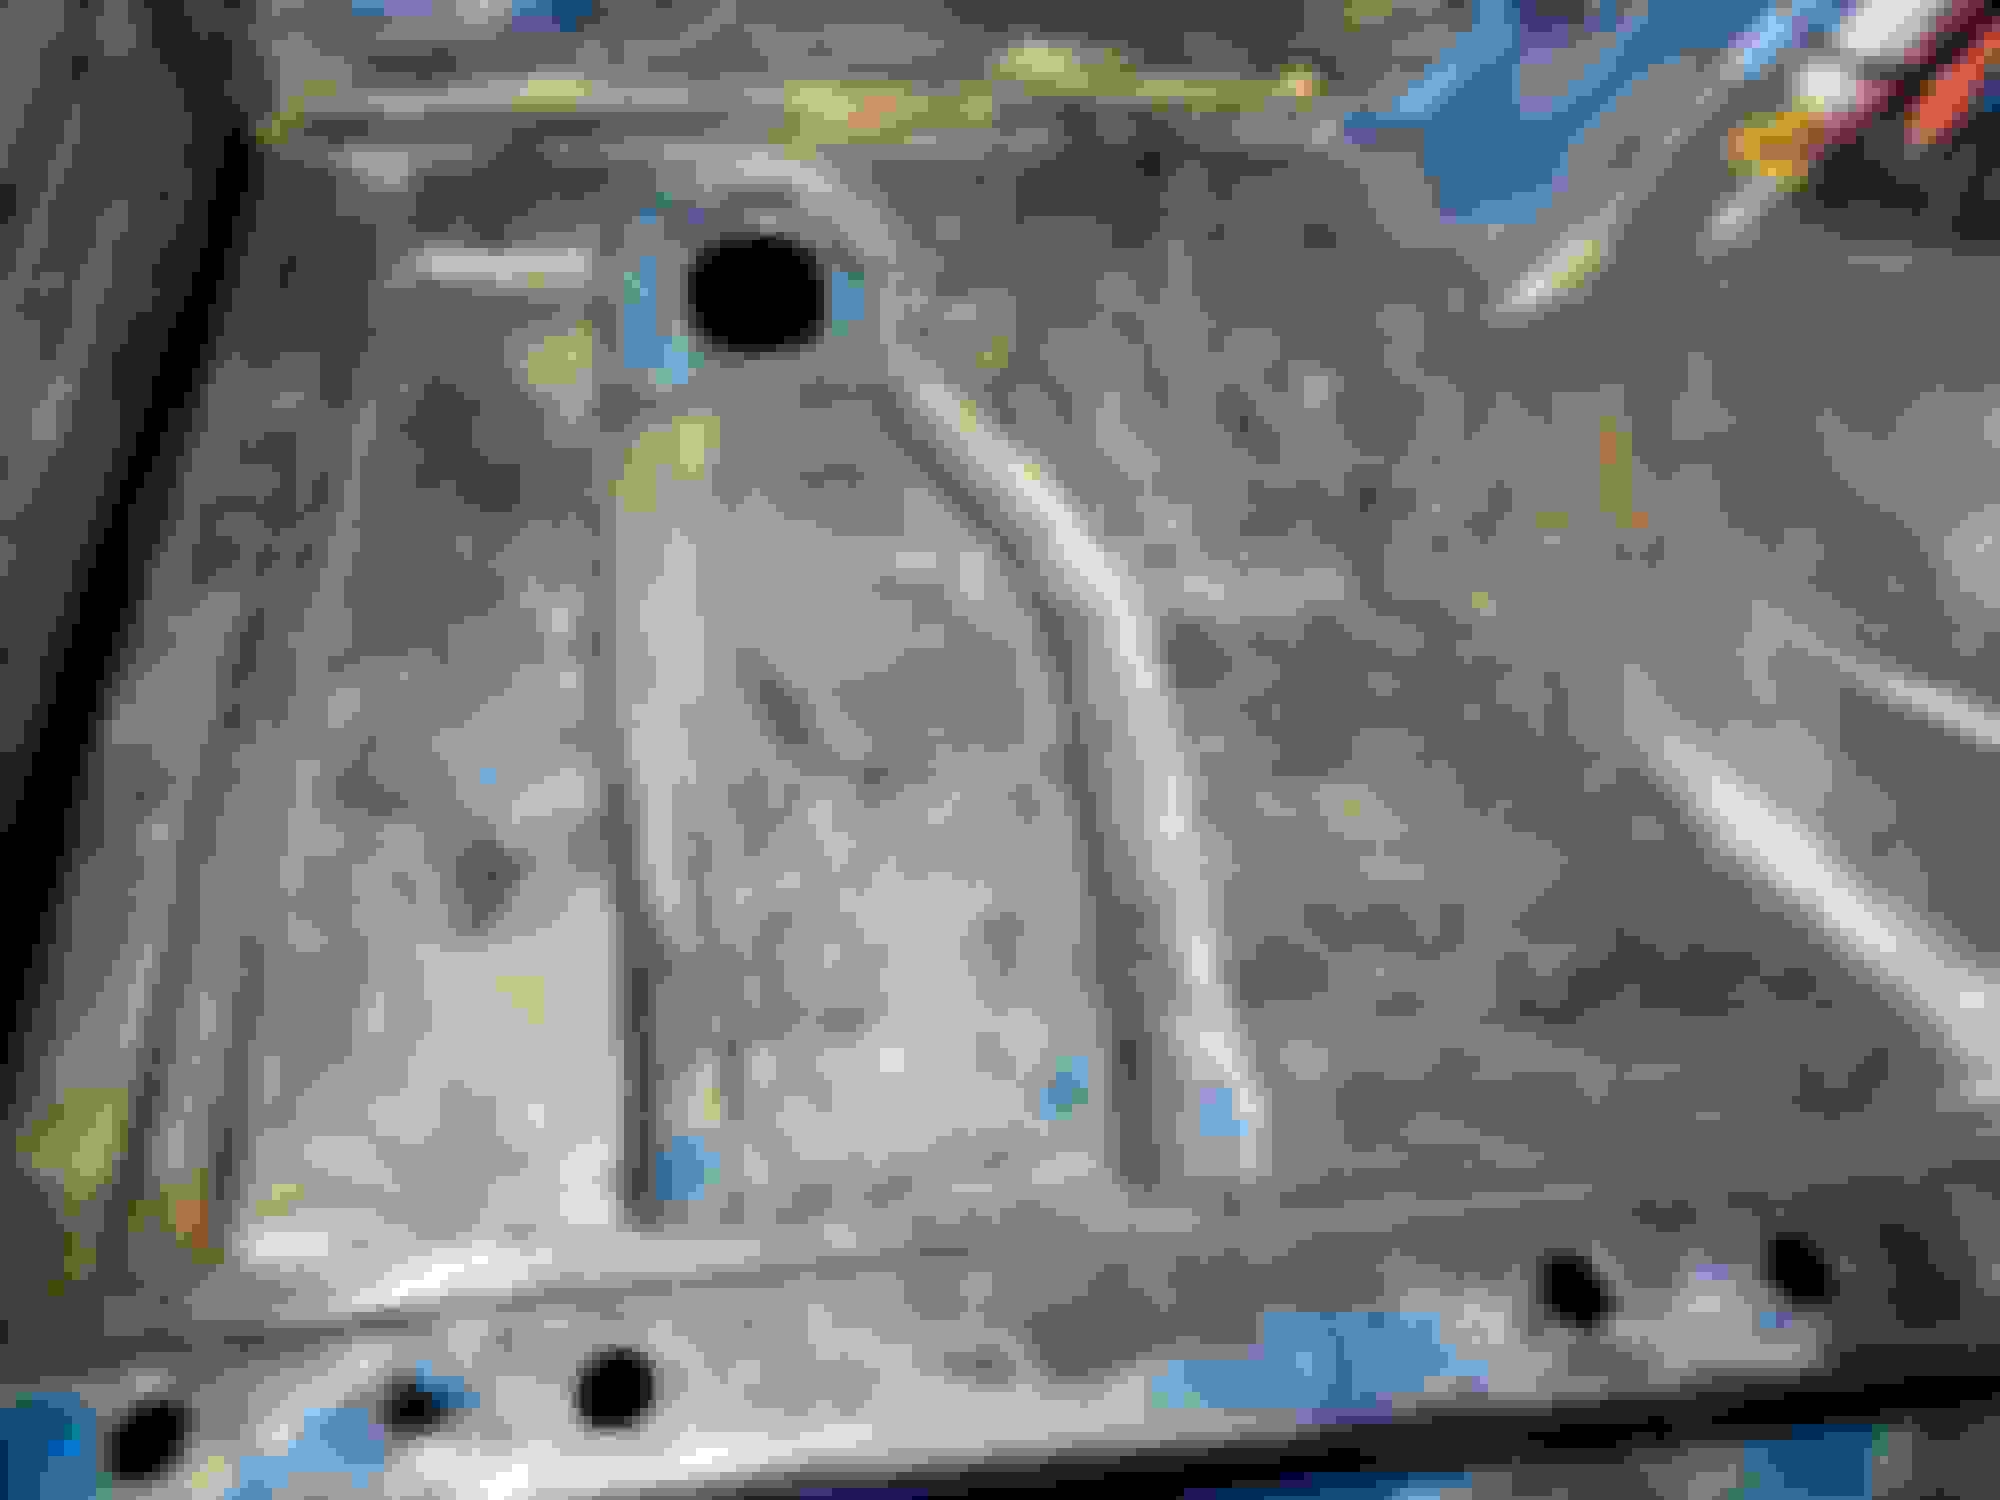
Thanks for the input GD. I was considering not going to the machine shop at all, just putting back together with new bearings, rings, seals and a DIY crank polishing. Is that crazy talk? Got the driver side floor pan wire wheeled. On the front part just looks like one very small hole. The back has quite a bit more holes and one large on towards the rocker panel. It is right where a big weld was done on the weld in sub frame connectors...
Rear driver side after some wire wheel clean up. Front driver side after wire wheel clean up.
The problem with not doing a main journal line-hone is that the factory didn't use a single set of matched bearings in the SBC. They pick bearings from several sizes and you will often find multiple sizes mixed in when you pull them out. This is because the factory main journal is only bored and not accurately honed to size (it's cheaper to manufacture this way). So if you want to be able to put in a single set of bearings in one size from one box.... You have to correct that generally.
Also the decks are not always parallel to the crank and the piston depth can vary quite a bit leading to uneven quench and compression. IMO a parallel deck with even piston depth and a main line hone along with a hot tank and proper cleaning are absolutely essentially to good performance results.
GD
Last edited by GeneralDisorder; 12-30-2020 at 11:52 AM.
Removed both motor mounts today. Used a 15mm socket attached to a u joint swivel and various length extensions with a flat head screwdriver to guide the socket onto the nut. Buddy hit it with an impact. Took about an hour. They were pretty worn out.
Decided to drop the k member so I can clean it up real good, add the notch for the AC compressor lines, put new bushings in the suspension and make it easy put motor mounts back on. I got the ball joints and brake lines disconnected and springs removed. Just need to unbolt k member and drop it down now. The only real problem I encounter was the sway bar end link but not wanting to come off, so the shaft snapped instead.
Last edited by Bustionironi; 01-12-2021 at 12:36 AM.
Do improvements to your work space count as progress on the project? I think so! Mr Buddy 18k BTU propane heater with a thermal electric fan clamped on top. Heats my 2 car garage pretty well and seemed to be the safest option.
Unbolted the sway bar and K member braces. Unbolted and dropped the k member down (with my wife operating the floor jack). All went well. Was originally planning on notching the k member, cleaning everything up and re installing with new bushings. But I’m kind of considering a tubular k member and a arms now. Saw a Spohn one in the classifieds with A arms for $500. I see people had problems with the Spohn though... probably best to just keep it cheap and stick to my original plan.
Last edited by Bustionironi; 01-16-2021 at 12:56 AM.
I can catch my finger in a spot on a couple of the journals. I was planning on a DIY polish. Is that too ghetto? Not trying to make a race car here.
I did the same thing to mine (yours looks worse) and when I brought it to the machine shop, they said NO.
That $100 you are trying to save will cost you that many times over when it fails. Do it - I'm glad I did.
I did the same thing to mine (yours looks worse) and when I brought it to the machine shop, they said NO.
That $100 you are trying to save will cost you that many times over when it fails. Do it - I'm glad I did.
I was just trying to stay out of a machine shop worm hole. But like you said some things must be done.
Removed the tie rods/center link assembly and strut/spindle assembly. Almost done with the disassembly of the front end so I can start clean up of the engine bay. Took the torq converter and drive shaft out. Working on dropping the transmission. Trying to get disassembly finished so I can start working on my new parts list.
Working on removing the lower control arms from the k member so I can get them in the electrolysis bath. Got the nuts off with a large breaker bar, followed by an impact. I knew I was going to have issues because the nuts were so tight they were literally smoking from the friction created while removing them. None of the 4 bolts would budget last night. Soaked them in PB blaster and got a air hammer punch smoothing hammer attachment for my air hammer. First one come out with ease. Hopefully the other 3 will behave.
Two bolts came out easy. The other two I couldn’t get a good angle at them. So I got them out about an inch or so then cut the head off with an angle grinder. Then I was able to hit em back the other way with the air hammer and punch. It was difficult but I got them off without breaking/bending anything.
Control arms were covered in grime and ziebart coating. Dropped them in the electrolysis bath for a couple days, pulled them out, scraped the left over Ziebart coating off with a screwdriver, wiped down with mineral spirits and they are ready to paint with POR-15. They surface rusted same day but I hear that’s actually kind of good for the POR-15 to stick to.
Dunked the k member in an electrolysis bath for 3 days but needed some wire wheel work still. Got it cleaned up and wiped down with mineral spirits. First coat of POR-15 is done on k member and control arms.
Rolled the dice a bit today. Picked up a LS1 with T56 and a bunch of other LS1 to third gen swap parts for $1,500. Seller said was out of a 98 TA. Motor has ms4 cam, 806 heads and was running well. T56 was popping out of 5th gear and needs to be fixed/re-built.
Sold the disassembled carbed LT1 and 700R4 for $500. Disassembled the LS1 and although dirty everything looked pretty good. All the bearings and journals looked really good. Turns out is has a TSP MS3 112 lsa cam with upgraded springs and push rods. Dropped it off at Empire Engines to have everything cleaned up, checked and new cam bearings installed (my cam bearing tool didn’t have the right size part foe the LS cam bearings), polish the crank, and give it all a look over. Machine shop said about a 2 week lead time. There is plenty of other stuff to do in the mean time.
Machine shop said all the components look really good. Crank, pistons, rods, heads, lifters, springs (after market double), pushrods (aftermarket 7.4”), valves, lifters and MS3 cam being re-used. Planning on adding Speed Engineering long tubes, and possibly upgrading the LS1 intake manifold to an Ls6 or fast. Here is a list of stuff I'm having done along with some current machine shop prices.
MACHINE SHOP LABOR/SOME MATERIALS $720+-
- DIY disassemble - $0
- Clean and measure everything - $125
- Environmental fee - $20
- Disassemble heads, check to make sure they seal property (and they do), resurface (minor dimple), new valve seals, reassemble - $195
- Crank polish - $40
- Resurface block (minor dimples), run chase in all holes, $140
- Cylinder power hone (said they looked good and would only need a couple passes in them) - $80
- Remove and replace cam bearings - $40
- Recondition connecting rods (for .002 over OD bearings) - $80
- DIY Reassembly - $0
- Misc. DIY reassembly tools, lubes, etc. - TBD
Sensors - TBD
MATERIALS - $762 OTD.
RPM Speed LS complete engine rebuild kit from WS6 store, added ARP connecting rod bolts (ARP 134-6006) and new knock sensor harness. Upgraded to Melling 10295 oil pump and removed the pistons from the package. You can mix and match/upgrade or subtract parts as needed. They even threw in a billet oil galley dogbone plug. * MLS head gaskets .053 thickness * Front cover gasket * Front cover seal * Water pump gaskets * Valley cover gasket * Knock sensor grommets * Crossover tube gaskets * Valve cover gaskets * Viton valve stem seat/seal * Rear cover gasket * Viton rear cover seal * Oil pan gasket * Side cover gasket * Intake manifold gaskets * Tb gasket * Thrust plate * Crank Bolt * MLS Exhaust Manifold Gaskets * Stock tty head bolts (specify year) * Cam Bearings (specify year) * Crank bearings for stock cranks only (std or oversize) * Rod Bearings for stock or aftermarket rod on stock crank (std or oversize) * Pistons - Hd repalcement in varying bore sizes with coated skirts * Rings - Std fit plasma moly steel top , iron/napier second , Std tension oil * Hi flo oil pump * Hd timing set (1x or 4x 3 bolt) with ls2 chain cam gear and crank gear non adj
The block and heads would have between .004-.007 total material removed. With the MS3 cam at .600 lift will this cause the pistons to need to be fly cut? I'm guessing the answer here is be safe and fly cut them or run a different cam?
Should I chamfer the rear oil return holes on the block?
Any other part recommendations or input on specific part numbers or what not is appreciated.
Last edited by Bustionironi; 05-13-2021 at 05:23 PM.
Had an unexpected move so the car project got out on the back burner. Ended up sending it out to a shop to continue some work. Transmission wasn’t shifting into 5-6 gear. Had it torn down and rebuilt with the following parts that ran about $1,400. I believe the counter shaft extension is no longer made so had to source one from eBay.
Finished putting the long block together. Rebuild kit for that from WS6 store worked well. Ended up replacing the cam and springs with a Hotcam kit as the MS3 cam it has was just too aggressive for my needs.
Need a few misc. things to finish buttoning up the intake/accessories on the engine.
 09-19-2020, 12:43 AM