When you click on links to various merchants on this site and make a purchase, this can result in this site earning a commission. Affiliate programs and affiliations include, but are not limited to, the eBay Partner Network.
have you looked at the rag joint? I watched mine and it seemed fine when I handled it....but as i turned the wheel, I could see the joint flex a lot. Prilly 1 inch of play before the ox moved....
I just ended up replacing the rag joint itself and have much better steering. Once you remove the old one though you cannot replace it / go back.
I took a good look when it was on the car for flex and handled mine when I pulled it and it seemed strong and tight so I kept it after swapping and good thing I did. Also going back from the DSE U joint shaft I lost really no steering feel and gained no play. The performance stayed largely the same only now with no binding, which was driving me nuts and did not feel safe. That DSE shaft felt really smooth when new but within 700 miles started binding coming off center as in the video I posted.
So now If the OE rag joint wears out I will simply replace with another one. After replacing most of the worn out steering parts I thought that upgraded shaft would be great, but that�s apparently only if your old rag joint is really shot which mine wasn�t.
This was an expensive lesson to learn that sometimes it�s not worth changing factory pieces but my alignment guy said he might be interested in buying the DSE shaft as he knows a lot of street rod ppl who may want it.
On a similar note after doing more research I did pull the factory nylon steering bushing and tried the Hawks Astro bearing upgrade when I was going back to the rag joint. I did not notice a big difference but decided to just keep it on there for now and stash the original just in case�I read a few posts where ppl felt the upgraded bearing made more of a difference than the U joint style steering shaft.
In anticipation of taking the GTA to its first car show this Friday, weather permitting, I busted out my bissell carpet shampoo/extractor to give the inside a good scrub. I have cleaned the inside of the car before with carpet cleaner and a shop vac but I was stunned how much gross water that thing pulled. I recommend this to anyone detailing cars as it makes the work much easier.
The carpet and seats looked really clean but now they are really there. I wish I took some before pics or what came out in the tanks but I didn�t, it was pretty gross though.
Passenger seat had some stains that finally came out with the extractor. I pulled the rear seats for the first time and found an earring, screw bit, and a few pennies. I have tried quite a few times but can�t get that stain out.
It�s not perfect but it seemed like time well spent as the interior smells fresh and looks great.
Finally made it to a local car show! Was a pretty good time but I was the only 3rd gen in attendance. I saw a lot of cool cars and talked to some good people. The swap meet even had a nice set of IROC wheels for $100!
My son with the GTA at the 2022 Clinton county fairgrounds car show.
I finally scratched the itch of finding a correct OE radio for the car and Firebirddude had one that was in nice shape. I sent it out to M&R in Saginaw, MI to have it refurbished, repair the cassette deck and add an aux cable. The radio should be good to go for a long time now. Cost of the refurb all in was $315 in case anyone is curious, turnaround time was fast (1 day).
Here is the old Pioneer.
Pioneer CD player after removal. Pioneer wiring and BT aux. UT4 radio, pretty decent shape and added an aux. I don�t know how many years it�s been since the car had an original radio but it does now.
I will miss the CD player as I still have a lot of CDs but I am trying to find a way to rip my cds onto my iPhone but the aux will allow me to stream XM, Spotify and Amazon music. My Chinese BT adapter was beginning to give me fits with connection so the AUX should cure that.
While sleeping today after my overnight shift my 5yr old daughter bursts into my room and tells me a man dropped off a trophy for my car, I was still half asleep but she proudly showed it to me anyways lol.
I had no idea I had won anything as after I went to the show on Friday I left and could not make it back on Saturday because of work etc.
It really made my day that the GTA took the Friday pick there were some really nice cars in attendance and this was my first time showing it. The car is far from perfect but cleans up nice for a driver.
Last edited by Reddragon88gta; 07-14-2022 at 05:10 AM.
Reason: grammar
I am back on trying to find a good set of GTA badges and am happy to report that the quality of the fender badges are much better this time around.
I found a NOS set of sail panel emblems in great shape from another member and wanted the correct bright red fender badges. NOS
I tried Carmotorsports again and the quality was just as terrible as last time, the paint was flat and full of black specs�just lousy all over. Many ppl on FB raves about the quality but on the bright red it�s just not there.
Bad paint Continued Continued
So after returning those again I tried The Parts Place, I wasn�t expecting much but when the package came, super fast too, the quality in packaging and the actual product was much better than the other vendor. The paint is crisp and bright with no imperfections and the bright work looks outstanding too. I highly recommend the parts place. I am curious if they actually have the correct bend in the bumper emblem but when I go to paint the car I will give them a shot.
Wish the pic was better but these really look amazing.
Have you thought of dying the carpet where it is stained?
If it wasn�t covered about completely by the mat I would likely get fabric paint or try dying it the old way. I�m lucky it is largely hidden. Do you have any recommendations on products? I have not researched it a lot.
Thanks for the recommendation, I will give this a shot, that stain is ancient and I�ve tried my extractor and a lot of other products but haven�t been able to fully get rid of that stain.
I love their leather cleaner/conditioner but not so much their wheel cleaner, just not strong enough.
I just re read through your thread, car is coming along nicely! Now that mine is finally running right I have the time now to admire other rides lol
Thanks! It�s really getting there and I am driving it a lot, my next project is correct badges. I was going to wait until paint but that could be a ways off and honestly the car presents well. The incorrect white fender badges and lack of sail panel birds has finally made it to the top of the list.
I was happy to see you got your car straightened out, so annoying when new parts are defective. TPI is so much fun though once you get the bugs worked out.
The GTA finally looks like it did when it rolled off the line with the addition of the correct color fender badges and adding the correct sail panel emblems.
Those small details have bugged me for awhile but with the help of my lovely assistant/wife we managed to get the emblems pretty close to where they should be according to the info on the GTA source page. I also found out the PO ,while close, had the fender badges in not quite the right location. I used a hair dryer and plastic putty knife to remove the old badges, removed the adhesive with goo gone and then hit the area a few times with rubbing compound to clean it up a bit. If you look real close you can see where the paint is slightly brighter where the old emblem was but shows now that the emblem is placed correctly.
Old emblem, found out after removal it was in the wrong spot so I didn�t need to tape it off
New emblem placed correctly.
The shadow of the old emblem before buffing a bit. New sail panel where before there was nothing.
Finished product, will likely clean the car up and take more pictures later. Once again I would like to comment as to the quality of the parts place fender emblem quality, they really look great.
I have been looking for one for a little while off and on and got lucky when I saw this one. Now I won�t have to deal with the flat backed reproductions that are all we have in the aftermarket.
I put together a TPI bare bones rescue kit the other day which included a 10mm wrench, combo Phillips and flathead screwdriver with hex head for distributor cover, used/tested MAF and a good ignition control module. All of it fits nice in the rear hatch glove box area in a big ziplock bag and some bubble wrap. Hopefully I never need to use it but nice to have.
I put together a TPI bare bones rescue kit the other day which included a 10mm wrench, combo Phillips and flathead screwdriver with hex head for distributor cover, used/tested MAF and a good ignition control module. All of it fits nice in the rear hatch glove box area in a big ziplock bag and some bubble wrap. Hopefully I never need to use it but nice to have.
Great idea.
My rear glove box was disintegrated, I ordered a new one but it took months to come in. During that time, since there is about 1 and a half square feet back there without the little box, I carry a set of replacement belts along with wrenches and a pry pipe for stretching the belts after replacement. May not install the new box anytime soon.
I need to grab an extra serpentine belt just in case, mine is pretty new but just in case.
Mike I�m the opposite carrying stuff that I have on hand and is easy to swap lol. One thing that always holds true is you can�t plan on the unexpected.
Finally had to put the car away as the weather looks it will turn fast after having an amazing Fall driving season. I went through my normal winterizing routine and now I am thinking of a possible winter project or two�I think it�s time I swapped out the brake hoses as they look old, not bloated or cracked, but man they look original especially the rear ones.
I was debating on going braided stainless but might not be worth the extra cost on a car that won�t see a track, that and no one seems to have the Goodridge brand in stock.
Ready for the cover in the garage until April hopefully.
Over the weekend I went back and finally replaced the question mark shaped heater hose that goes from the pipe to the heater core on the right side...what a PITA that was, it took over 2 hours and I had to remove distributor cover and coil which was nothing but removing that hose from the bottom coolant pipe was a fight. What finally worked was cutting the question mark part off, getting vice grips on the hose and attempting to twist it free which after awhile ( and a lot of choice words) finally worked. It was so tight in there I could not get a razor blade or any other cutting implement to the bottom where the hose met the metal pipe.
At least now all the hoses on the car have been replaced since I bought it and I no longer have that OE hose that could have popped at anytime to worry about. I almost should have let it be considering most of the rubber looked good except the end that goes into the heater core pipe was cut on the sides to remove it from the original core as it was basically welded on after 30+ years and I didn't want to take any chances.
Nice work. I'm planning on pretending I don't know that hose exists.
Lol, I wish I forgot about it too. Fun fact that just accessing that I had to hang over the engine bay like a circus performer. My knees still hurt from flopping against various metal bits.
Also I�ve seen that whole metal tube set up bypassed so keep that in mind if it ever springs a leak.
Took a look at my upcoming Goodridge braided stainless brake hose job and checked to see if I could get the bleeders, hoses, and lines off etc.
The front went pretty smooth, with everything coming loose, but the back was a different story. Looking like I will have to get new lines past the axle as they are not loosening and show a good bit of rust at the fittings. I did find the SS tubes site that had the lines I need and will order soon.
I am currently soaking the rear lines in PB blaster but really only need the one larger one that is before the axle and junction spot at the axle to loosen up. If I can get that loose I will be set as everything else will be new past that. The hoses on there now look original so this should be a good project to avoid future trouble.
I took another crack at that one line before calling it a day and after putting the kids to bed, with some heat from the hand held MAP gas torch it came loose. Now I�m in business and just waiting for new parts. I can�t wait for Spring to start driving the GTA again, looking forward to see how the brakes feel with new hoses.
It was over 40 degrees yesterday and I had all my new parts so I decided to tear into it and have it ready for late April, hopefully sooner.
I went with Goodridge 12252 SS Braided hose and the quality seemed great, the lengths and fit were spot on, only thing I didn�t use were their mounting clips. I did not like the way they kept the hoses a little loose(maybe error on my part?) so I used the original GM clips and those worked better.
It was also not easy to find a quality kit for the pre 89� cars, not many make a kit and I didn�t trust Russell after the negative reviews on here and elsewhere. Goodridge made this kit special order within a day or two and shipped direct from them.
Also the back brake lines on the axle were replaced, one was getting rough near the passenger side hose and even with heat/PB blaster didn�t want to go/could feel the line twisting. The replacements were a great fit and went on pretty easy. The only rub was getting the hose to hard line to come together, that fought me good and bathed my arms in brake fluid but it eventually went in.
I almost forgot to add that the hoses in the back were date stamped 1988�guess it was time to replace considering how crusty they were.
Lastly I bled the brakes with the one man soda bottle method. I highly recommend this as it was super easy, inexpensive, did a good job bleeding and I didn�t need to involve my wife lol. I even replaced the bleeders and got some protective covers for them. In case anyone is interested 1A auto had the video for the bleeder set up on YouTube. I will update once I hit the road again, but the pedal felt a lot better/firmer than before.
Last edited by Reddragon88gta; 03-13-2023 at 10:03 AM.
I wound up switching a few of the brackets to the new style today, only the ones that are near the struts but the ones near the hardline the OE ones were still better.
While taking a look after attempting to replace my tail light bulbs I found a patch a rust on the rear panel. I ground it out, tried naval jelly( mixed results), a few coats of self etch primer/touch up paint. Not perfect but better than before.
I also replaced the torn and beat OE trunk weatherstrip with the Metro replacement�not exactly sold on the quality of it yet as it looks different than original and getting that to lay correctly was not fun. Also the Metro does not have the piece that goes in the middle to connect the ends. I did not see soft seal for sale from 1A or Rockauto and the other brand I had never heard of and looked identical to the Metro. I used some 3M weatherstrip adhesive along the outer side similar to the factory to help get a good seal, I�ve seen some not use it and be fine but considering it came with I thought it wouldn�t hurt.
As much a pain as the taillights were to remove I hit the lenses with some buffing compound by hand a couple times, I didn�t go crazy but cleared up some light oxidation. Will swap out all the bulbs in the back/side markers tomorrow and get it back together.
I did take it for a quick ride around the block because the weather was so nice and I haven�t driven it since last fall, hopefully get a longer ride in tomorrow once it�s all back together before the weather turns colder.
The brake pedal seemed a little better with the new braided stainless hoses, I need more seat time. I had one small leak at a banjo bolt that I quickly tightened up and all is good again.
Last edited by Reddragon88gta; 04-14-2023 at 10:13 PM.
Liking the new brake hoses the more I drive it, clocked over 100 miles already and they are an improvement over worn out stock rubber.
Also found a small project I should have done when I was in the doors last winter, I replaced the deteriorated rubber window stops I found in the bottom of the doors.
I almost went ahead and ordered new door weatherstrip but considering they are in good shape, ironically the best of the lot as the other pieces I replaced were shot or damaged, and door weatherstrip on these seems to be the first to go but I got lucky. The incredibly mixed reviews on aftermarket door weatherstrip also was a factor. At this point I will likely replace them and the window sweeps if/when I paint the car, the sweeps are in solid shape too. I heard Fairchild is the best out there and closest to factory.
So I read a few threads by Drew and Okfoz who both wrote up some nicely detailed instructions on how to replace these. I also made my own stoppers rather than ponying up the $10 plus shipping the aftermarket was asking. For all of $4 give or take I hit the local hardware store and found some solid rubber stoppers roughly the same diameter as the OE ones, some bolts and lock washers and I was set. I cut the rubber stoppers to height of OE and drilled a hole for the bolt and used my dremel to make a nice pocket for the bolt head. I made sure the bolt head was recessed enough not to hit metal on metal.
Finished product.
The install was pretty easy on the driver side but the passenger was tricky and took twice as long as getting access to tighten everything was more difficult. Eventually out of frustration I used vice grips to hold the bottom and a ratchet to tighten it up. Now both windows stop where they should and no risk to damage the glass further.
This also solved the mystery of how I was missing a bit of glass in two spots on the top of the glass on the driver side window�apparently you can damage the glass with the window sweep screws if the glass goes too low i.e no stoppers. There was even a dent in the bottom of the driver side door where the window mechanism was bashing it. Passenger side was fine I assume because of less use but it was still missing the stopper so I replaced it.
Now that the windows are squared away I might purchase a window racer to see if that helps the slow windows, they honestly aren�t that slow compared to other third gens I�ve been around but every bit helps and after I lubed and cleaned everything up last winter I�m curious how that thing will improve them.
Last edited by Reddragon88gta; 04-22-2023 at 07:35 AM.
I recently saw an old YT video by member Klowny when he diagnosed a worn rag joint and I wanted to test it out on my car and found my OE rag joint had more than a little play based on his test of watching while someone wiggles the wheel back and forth with engine off. Mine wasn�t as bad as the worn out unit in his video but was close and not nearly as tight as the good one he showed.
So I did some research and found a site called Mike�s Montes that has the same replacement shaft as hawks for almost $30 less and decided to order one up and see if I get an improvement. The shaft is the same for our cars as the G body�s of that era and the new one even has a grease zerk at the column end.
I will report back once i get a chance to get it installed and see if it tightens steering up a bit as my car has a little slop at center and after replacing most of the front end and adjusting the box I hope this is the final piece.
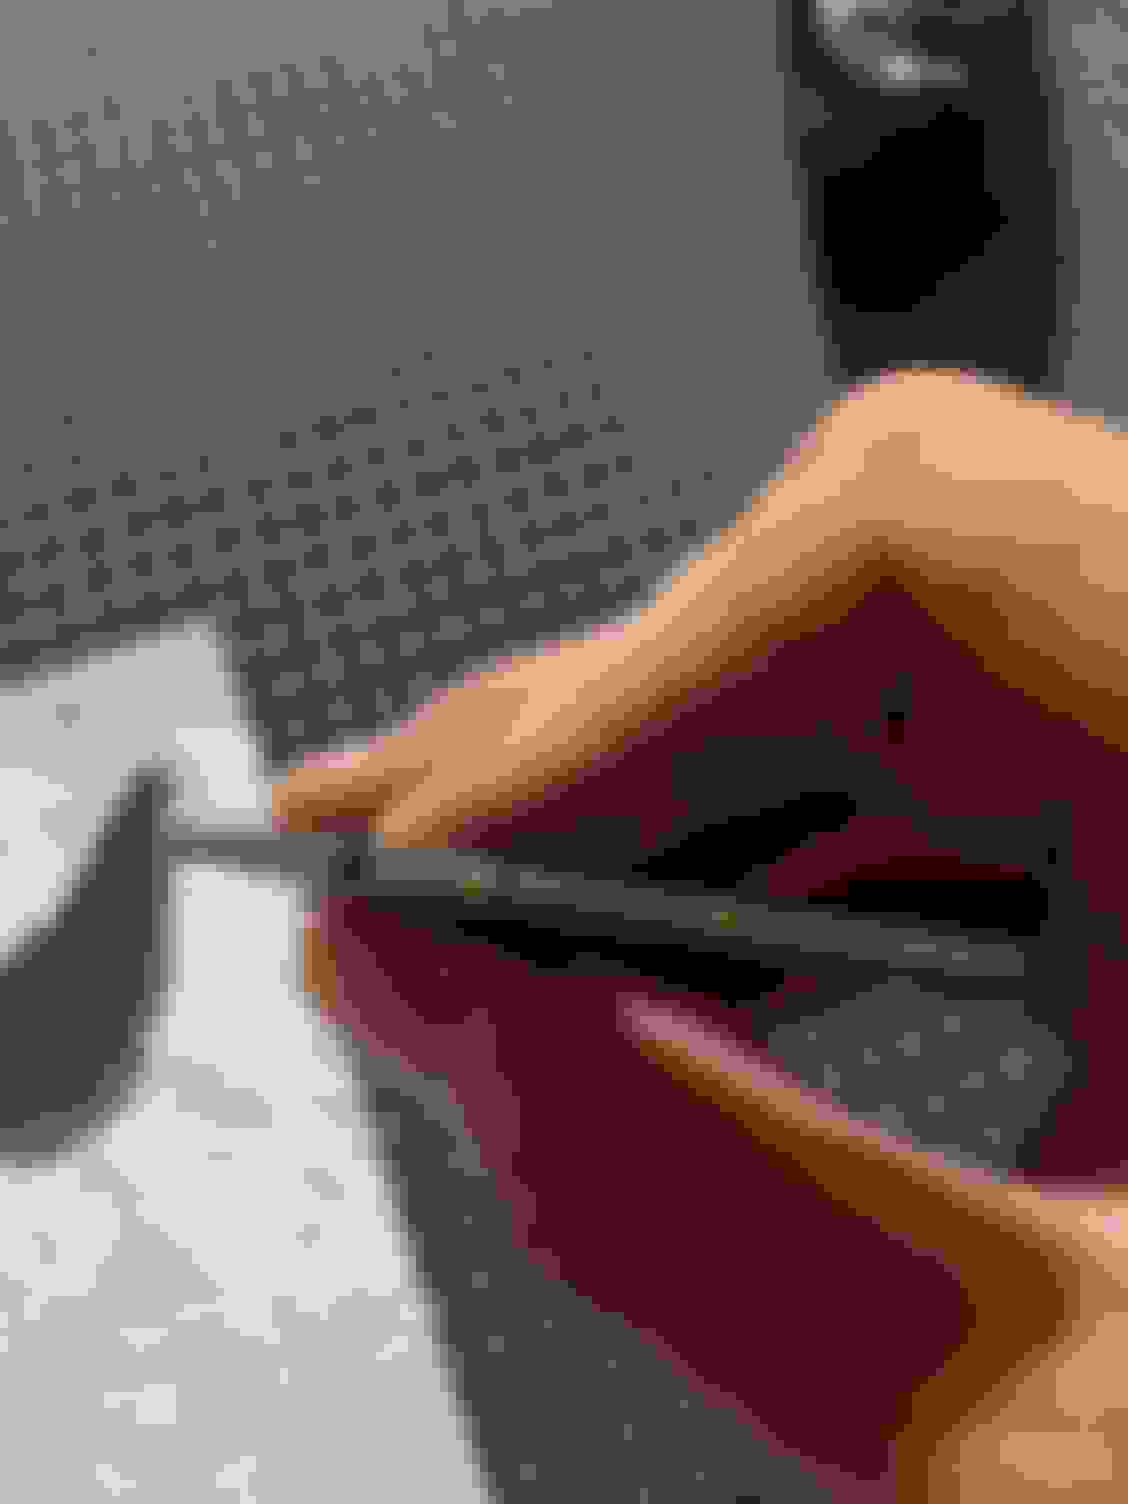
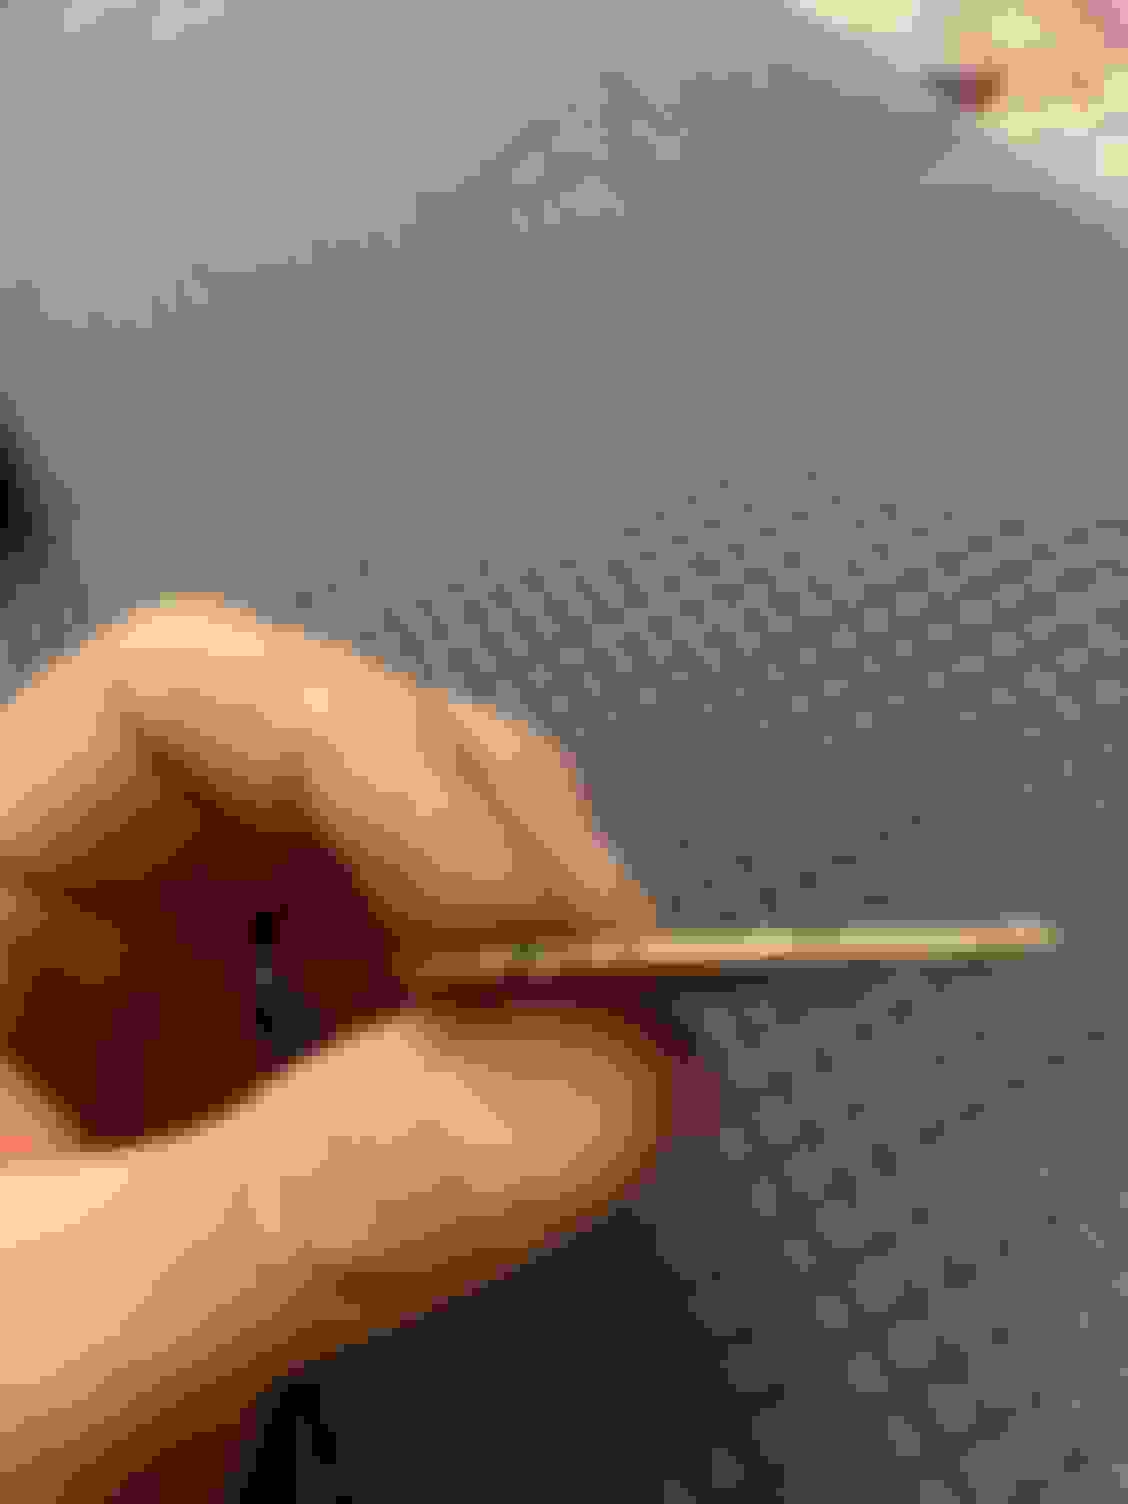
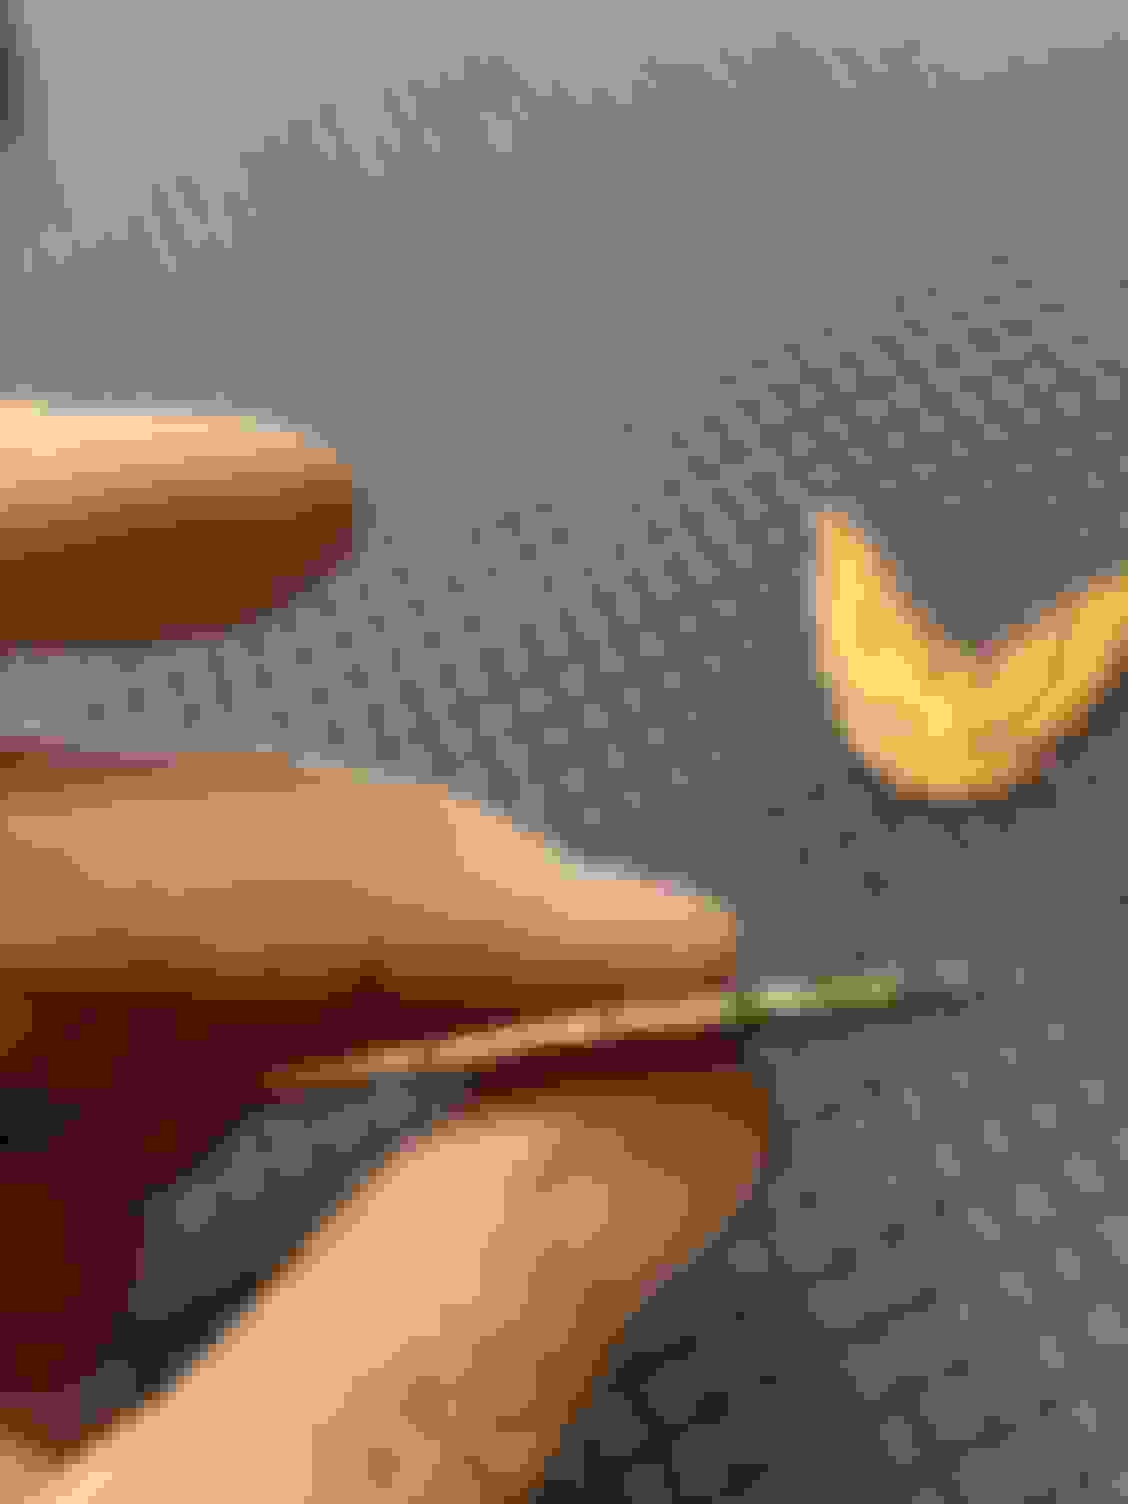
Received the new steering shaft and got it installed, seems like a quality part. Only things I did was swap the steering wheel end of the shaft around so the grease zerk was on the top for easy access, cut the new plastic shroud to the same length as the one I had, and I needed a different bolt to clamp rag joint at the steering box ( I went with a hex head 3/8 standard bolt, the one on the original was metric and wound not work). It was a pretty straight forward install.
I have my doubts as to how much this will improve steering but we shall see, hopefully can take a drive tomorrow or next time the weather is decent.
That was an utter waste of time and $, had more slop with the new then old. I swapped back the original and gave the adjuster on the top of the steering box a very small adjustment and was happy with that. It�s lousy how bad aftermarket parts are and of course I can�t return it as I already modified it as earlier posted, sometimes it�s best just to leave OE parts on.
Last edited by Reddragon88gta; 05-02-2023 at 07:31 PM.
That was an utter waste of time and $, had more slop with the new then old. I swapped back the original and gave the adjuster on the top of the steering box a very small adjustment and was happy with that. It�s lousy how bad aftermarket parts are and of course I can�t return it as I already modified it as earlier posted, sometimes it�s best just to leave OR parts on.
The difference seemed to be at the top of the where it mounts to the steering column, which makes no sense to me but I do know the original works better.
I would probly try to return it if I didn�t modify the plastic shroud.
sucks that you wasted time and $. It is definitely true sometimes if it ain't broke don't fix it. That being said I'm sure there is better alternatives out there
sucks that you wasted time and $. It is definitely true sometimes if it ain't broke don't fix it. That being said I'm sure there is better alternatives out there
I am done messing with it now, it seemed that there may be one other one out there besides that but OER makes it and I�ve never been impressed with their stuff.
Well one upshot to this was I at least got a full refund for the defective part so that helps. At this point I am really leaning towards getting a new quick ratio steering box from Redhead or having mine rebuilt if the adjustments don't work...the off center slop is getting old.
Last edited by Reddragon88gta; 05-14-2023 at 12:58 AM.
Replaced the high pressure power steering hose and the return hose tonight, the original pressure hose was seeping around the crimp.
The replacement was a Gates hose but as many mentioned the aftermarket fit is not amazing, it fought me a bit at the steering gear end but eventually got it. I tried finding a NOS replacement or even the discontinued AC Delco but no luck.
I have been putting some miles on and really enjoying the car, hoping the weather turns around to drive more. Another great find was I found about 80 cassettes for sale locally awhile back and almost all work great, some awesome 80s rock in there and the nostalgia of playing cassettes is cool. When I was a kid they were still around but on their way out and my son and his buddy like the 80s tunes when we cruise.
I just got done working them with lightly with 220 grit sand paper and then hit them with Simichrome Polish I had laying around. I wish I took more pictures of the before of the edges.
The end result turned out pretty good for an hour or so of work.
Before, it was like that around both of the sail panel emblems. After After After After After
Thanks! For under $20 I couldn�t pass them up considering the condition they were in, they actually came off a second gen Trans Am from the sounds of it. Sometimes scouring eBay for parts is worth it.
Today I finally went after one of the small issues that has been around since I got my car, the 2 screws that secure the center console lid on the back side constantly fall out resulting in the lid being floppy when opened.
After fighting with the console lid spring and not being able to remove it without the possibility of breaking some old plastic I decided to try some JB weld plastic weld. I had success with it in the past on a few small repairs so I removed the 4 hinge bolts (2 on each console lid side which the one closest to the back seat was actually giving me trouble but thought the other set was likely next ) , cleaned up both surfaces, mixed up the epoxy and applied it to the bolt holes, hinge and console lid areas where they met. I secured the screws and applied pressure for a few minutes to help set it up, time will tell if it holds but I read a few ppl have had success with this.
 06-16-2022, 02:51 PM