When you click on links to various merchants on this site and make a purchase, this can result in this site earning a commission. Affiliate programs and affiliations include, but are not limited to, the eBay Partner Network.
Fought the humidity today and finally swapped out my original torque arm bushing with a new energy suspension one. The old one didn�t look terrible but I�ve been chasing a intermittent weird noise at low speed and low speed turning and it feels like it�s coming from under my seat/torque arm area. Replaced U joints this spring when one went bad and it still persisted. Front end has no issues so this is what I will try.
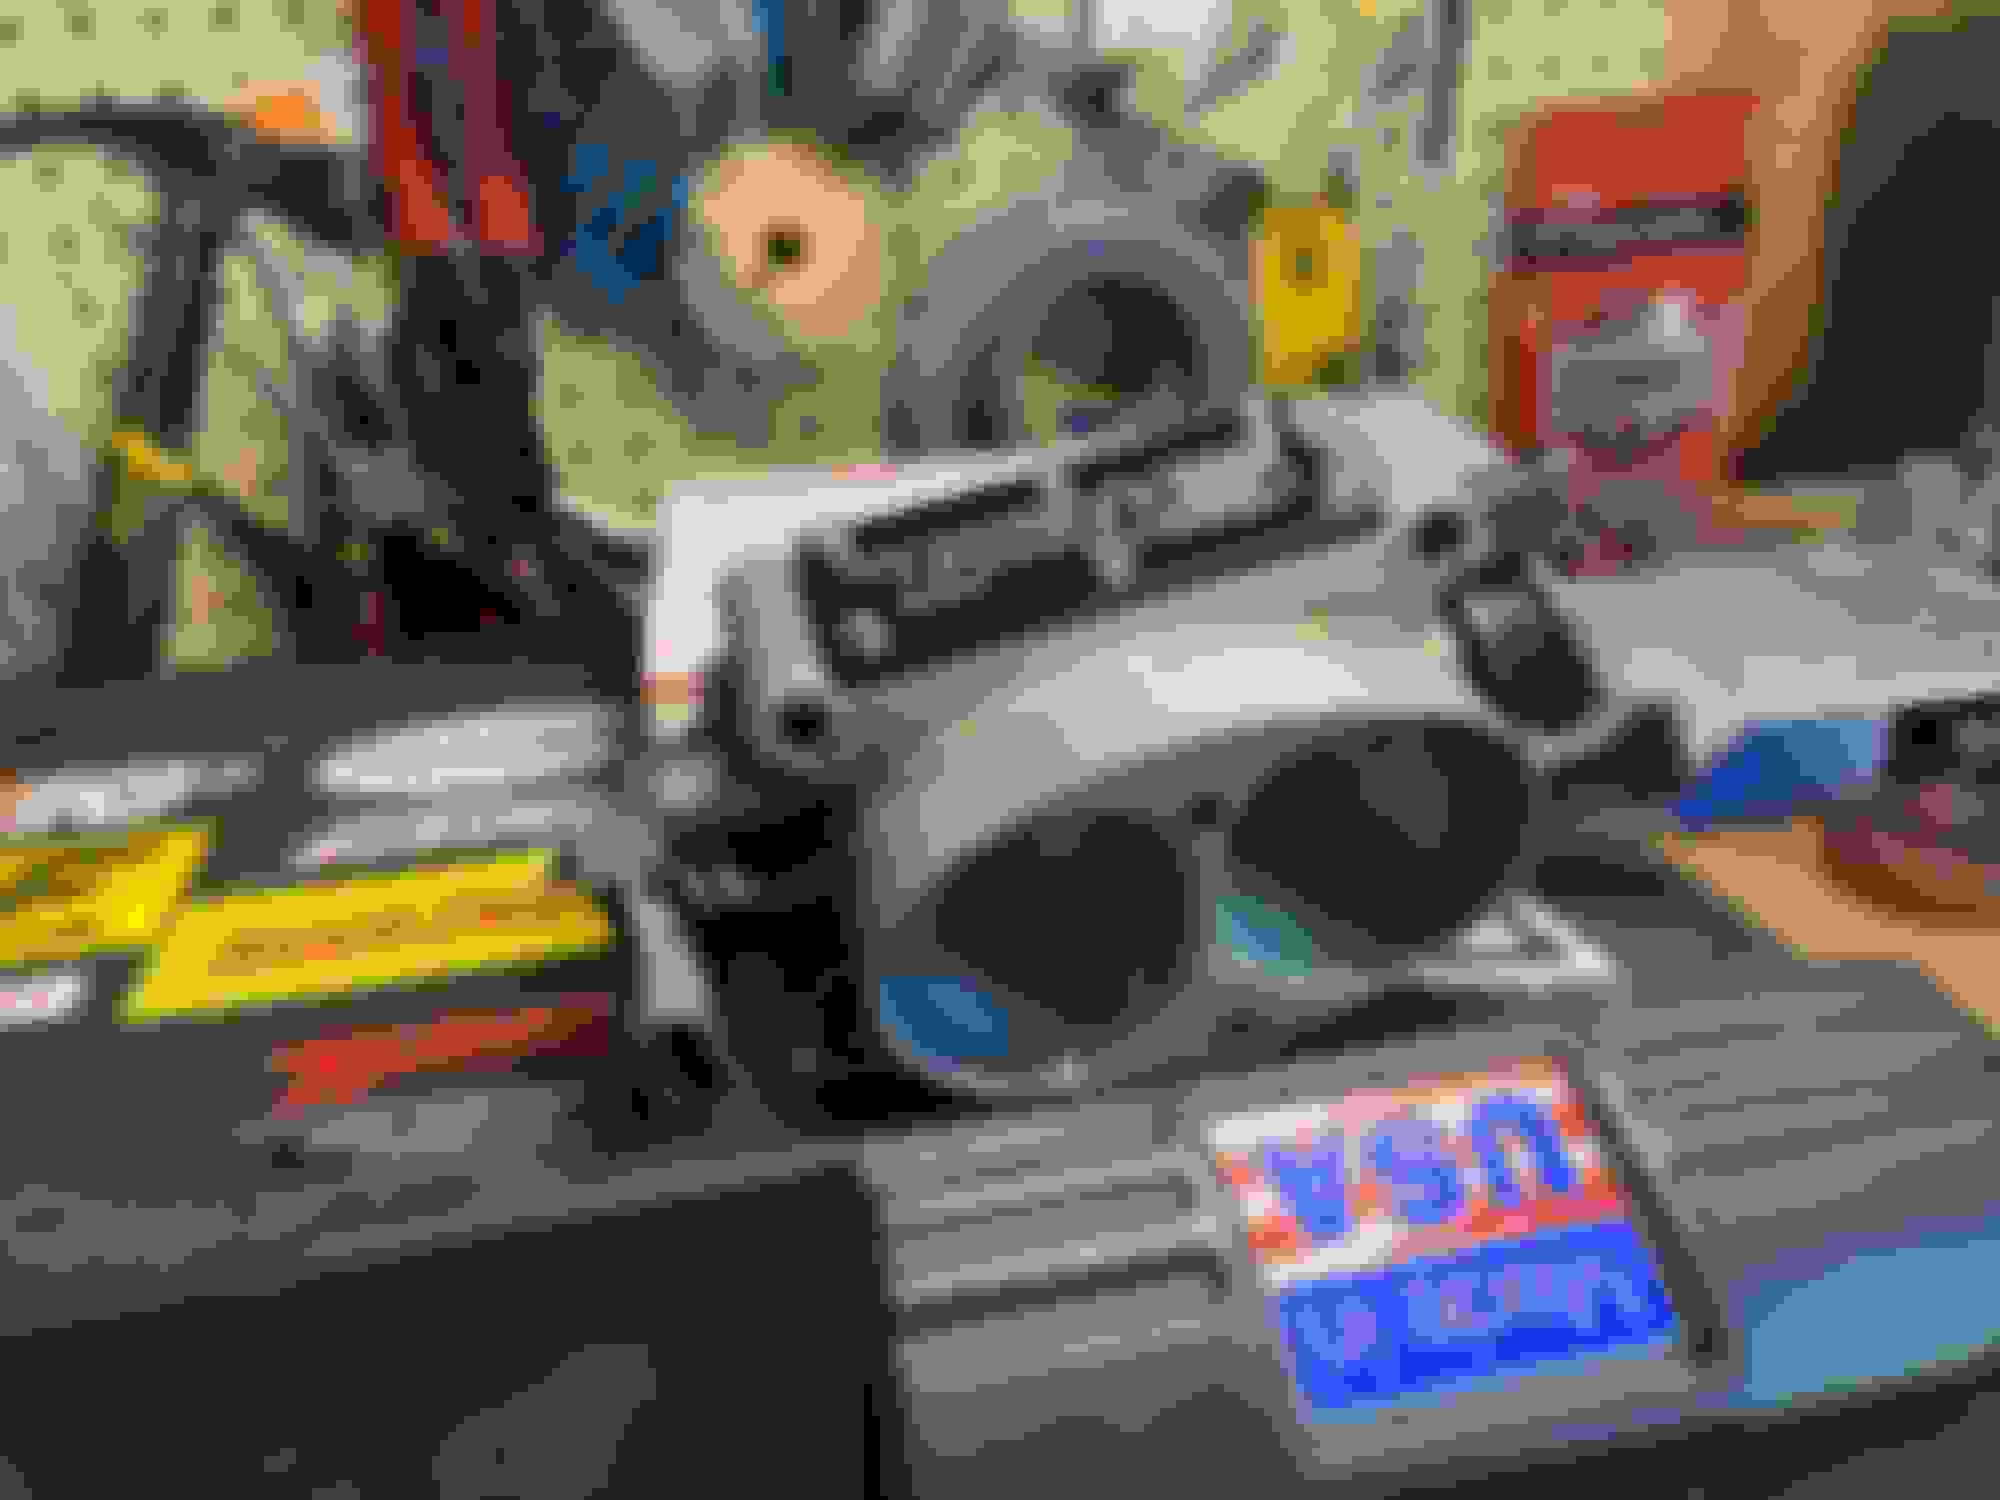
Original, not bad but a few spots were looking worn and cracked. New polyurethane and it seems much tighter than original.
The install was not terrible, the only real pain was getting the old rivets out of one side of the original, pretty tight in there and I didn�t want to fully remove the entire assembly. Might have made it easier but the video from Klowny on YouTube he did not remove it. Also getting the torque arm bracket back together took some work to line the bolts up with putting pressure on the poly�the lower one seemed to get cross threaded while tightening it up, odd because it went in with my fingers easily. Will keep an eye on it but the top went well and is torqued down good.
Well I think I may have solved a issue I�ve had with this car since I bought it�it had a intermittent, at cold start up only and typically once it sat a few days, start up and die unless you caught the throttle fast. It has done this and I�ve half *** tried getting it right but always thinking the next wear and tear item I would replace would get it and never did.
So today I was data logging a new chip and I started the log before start up and the car did this intermittent thing and I saw that my fuel pump voltage dropped fast from nearly 14 to low single digits. Led me to check the fuel pump relay/wiring and this is what I found:
The wires in the socket are almost all loose and one near bare wire. Thing feels like it wants to disintegrate. The relay also had broken connector tabs so I picked up a new relay. That can�t help connectivity with no hold down tabs.
So now I ordered up a new correct looking socket (Ebay had a few) that I will splice in and hopefully this cures my issue. Also for good measure picked up a new relay as well. It�s odd I overlooked this because I replaced the MAF relays long ago just as a precaution and must�ve overlooked this.
Last edited by Reddragon88gta; 09-12-2021 at 07:00 PM.
I hope it cures it, this issue is the definition of intermittent, can go days or even a week or so without doing it but then it happens once.
Regardless that socket looks like it�s falling apart so a new one is warranted. Also since I purchased that Bluetooth adapter scan tool that works with an old android phone it has been a huge help with troubleshooting, a real necessity with these cars.
Received the new FP relay connector from Hawks and went ahead and it installed it. The part seemed like good quality but one of the wire ends in the connector seemed a little loose but upon further inspection ( it would slide up a little but when moved down to simulate where the pins are when the relay is connected it was in the right spot) and once the relay is installed its nice and snug.
My buddy gave me a few of those connectors with solder inside that melts when heated to wire this up and man are those things slick, I�m never using anything else again. I then tested it out after install and have 14 volts to the FP so hopefully that is taken care of but I will keep monitoring the voltage.
I even used one of the bigger connectors to solder my FUBAR�d antenna wire and now I have FM radio again!
I also had a local guy remove EGR and AIR from the tune that I got from Tuned Performance, car runs great and should continue to with that removed from the chip. The guy who did it had a 1930s Chevy coupe with TPI and a 90s pick up with it as well, very cool stuff.
I found a really nice aluminum distributor cover from a Corvette on eBay for a fair price and put it on my car today. The Rogue stainless bolts worked great without the washers to secure it. Looks good and should�ve came on the F bodies instead of the plastic ones.
That whole unit is like that, seems like those disappear on a lot of cars. The bolt hole size and maybe the actual size is slightly different from oem plastic but it fits nice so far.
I had some luck finding a passenger side fender from a guy in Buffalo who has a ton of third gen parts, name is Camfire Dave on eBay. He was recommended by Kincer and was straightforward and easy to deal with.
Here is what I got for $125:
Once it was delivered I had a little more rust than I preferred but it�s a straight genuine GM fender and after some sanding, a little self etch primer and rust converter, I think it is preserved enough to sit in my dry basement until the car gets a total repaint in the next 2 years give or take.
After some rust repair:
This top pic had the worst of it and today I will cover the rust converter with self etch primer
It�s been 2 weeks since I replaced the Fuel Pump relay connector and the relay and so far have not had one start up and want to die�I am about certain this is the longest it�s ever gone without doing that so I really think I may have fixed it. Will update if it does it again.
It�s been 2 weeks since I replaced the Fuel Pump relay connector and the relay and so far have not had one start up and want to die�I am about certain this is the longest it�s ever gone without doing that so I really think I may have fixed it. Will update if it does it again.
I think you've got it Red, I found a similar plug condition on my son's Acura, repaired and that fixed the problem.
Well I found a pretty good deal IMO on a old style TPIS 52mm throttle body on eBay and decided I had to have it and see if it would do anything for my mild old school TPI build. I spent a few hours cleaning it up and prepping for install. Luckily it was as advertised with no slop or excessive wear etc.
The throttle body just needed a thorough cleaning so I swapped over my IAC/housing and TPS to replace what looked like factory units that were present. I almost was going to keep the OE stuff but didn�t want to test them at this time so just swapped the known working sensors in for now. All I had to add was a new TPIS cover plate( wanted to keep the look even though seller kept the old style plate but have a OE plate in case I want to switch later). The only modification I had to make was to cut 89� up style IAC passages in the TB bores to compensate for my 89� up style AS&M runners as I had to do with my other 85-88� TB.
One thing that was weird was the TPS, which is only a few years old, seemed to bind the throttle and cause it to stick�never experienced that before but adjusting a few things i.e the different pieces that go near bolt holes/adjusters, and all seemed to work out.
After the clean up, sorry I forgot to do before.
Installed and running good so far.
After a brief test drive the car felt largely the same except for throttle response which I will say is better(pretty much the effect of more air to get you to the same place but a little faster) so I can see why this mod is not the first thing ppl do or cost effective( a new 52mm TB is like $500�)
I know that the 48mm stocker can support a good amount of power( more than I have) but I had to try the slightly bigger TB after seeing so much conflicting info out there and with a good price on the one I found. I will put some miles on this and see what happens but for now I will keep the 52mm. I data logged and it seems to still be running about the same so no issues there.
This morning I �rebuilt� my original oil cap using a rubber gasket that I found at the local hardware store. Was a pretty simple job but necessary as the old seal literally was so hard I was getting oil seepage on my valve cover. I went this route when I saw that you can�t find new factory look oil caps and the $3 one from the parts store functioned well but looked like it belonged on a 57� Bel Air.
I also went ahead and set the minimum air as per the FSM. It seemed that my idle was a little low (enough to bog on a cold start after putting the car in reverse to back out of the garage) and felt like the car was choking for air. Fuel pressure was great and nothing off in the data when trying to repeat the condition but I noticed idle was a tad lower than desired on the data scan so I went ahead and did it. While performing the procedure it would not idle in drive at all until I gave a turn or so on the idle air set screw but once I did it went to 400-450 rpm as is spec. Vader had a great write up on it that I used.
As a form of preventative maintenance and piece of mind I had my fuel tank, pump and sender replaced. The original tank had a lot of rust on it and I replaced it with the Dorman tank, fits OK but it didn�t like taking gas fast. After trying to adjust the neck alignment a bit it seemed to help when I did the final top off of the fall before storage. Funny thing it actually took the fuel cap that I had on the OE tank, I always heard the new tanks never take the old caps.
I went with the AC Delco EP241 so hopefully that holds up better than other recent AC Delco purchases but the fuel pumps seem well reviewed( couldn�t find a Bosch at the time). The fuel sender was a Spectra as that was the only thing I could find.
I took the time to clean up and paint the tank heat shield with high temp spray paint. Not factory perfect color but an improvement over the rust and looks a lot better IMO
Car ran great after the switch but couldn�t put many miles on as I was getting ready for winter storage.
Another project that I just finished yesterday was replacing my factory speakers, one of the rears was either blown or something wrong as it made weird sounds�I am no audio expert but considering it was original I thought it was time to upgrade.
On the recommendation of Kincer I went with a JBL front dash and rear speaker set up from Crutchfield. I figured might as well do front and rear and be done with it and the new stuff should work better together with my old Pioneer CD receiver.
With the wiring kit and instructions from Crutchfield the install went very smooth with no splicing, just plug and play. Even the infamous Firebird driver side front dash speaker fit, albeit a little tight and needed to be adjusted but no cutting or modification needed.
The part numbers are JBL Club 9632 and 6421F if anyone is interested as I researched a lot trying to be sure good fit. I was also really happy with the customer service and even hit a Black Friday deal and saved some money on a better set of 6x9s. The original ones I wanted they had recently sold out.
Here are a few photos of the install, I noticed one of the rear mounting frames looked different than the other, was also missing a screw:
OE speaker with older looking bracket Nice new speaker, notice the bracket how good it looks.
I even took the time to clean the dead bugs up and the very bottom of the windshield glass while the dash pad was out. Cleaned the whole under dash pad area too.
Also polished up and waxed the aluminum wheel lips with the help of my 6 year old son. So all in all it was a pretty good day and got a lot done. This will probly be my last project until spring�which might be new front brakes with performance pads and new wheel bearings while I�m in there.
I wound up ordering new front pads from Stillen after reading a few members outstanding experience with these pads, a few guys have went front and rear with SS hoses with new rotors and have claimed the braking was much improved. I was on the verge of ordering Hawks HPS but a few threads put the Stillen pads as far and above them so I will give it a shot.
I will order new rotors from centric and corresponding hardware and bearings to re do my front brakes so hopefully I will have a big improvement as well. I debated with going LS1 up front but the cost and the fact the car is a summer daily driver that sees no track time ultimately made my decision, that and the fact I restored my OEM 16s myself and didn�t want to go 17s.
I may even pull the newish NAPA semi metallic pads in the rear if the Stillens up front make a big difference and turn the rotors in back to make the fit perfect. I will update once spring rolls around and I can see if I have a real braking improvement.
Hey @Reddragon88gta What does your transmitter look like and how does it link to the radio? Through the antennae? I just picked up a '88 GTA and have the stock radio but would like to use my phone, Sirius as well without spending a ton of money right now.
Also looked for the Victsing model and could not find it on Amazon but could find the Nulaxy suggested for the Camaro folks.
Its funny you ask about this because I am going to replace that unit next week with a BT transmitter that connects through the AUX jack in the back of my Pioneer CD player where the CD changer would plug in. The audio quality and volume is supposed to be better etc.
I just checked my orders and your correct it�s no longer available, the Nulaxy will have a tough time working where our cigarette lighter is located. This one here is really close to what I have:
However, seeing as you have the stock radio( which I wish I had) have you looked into the adapter that looks like a cassette? Those I have heard are much better and here is a link:
You could also get ahold of member John in RI who could add the aux port to your radio but a lot of new phones and stuff don�t even have a provision for an aux port anymore.
Alright, I will look into that. Also, I have some questions about hatch alignment. My car has the same condition where the hatch is probably 3/8-1/2" rearward also shows that gap at the front of the hatch. From my initial readings, I have seen people say rather than messing with the glass itself just open up the slots on the hinge to body but my fear is that it may look good initially but then the cylinders will push it back, So not enough clamp force to keep it in place. I am trying to strategize a plan as I will take mine of to get tinted then re-install.
Alright, I will look into that. Also, I have some questions about hatch alignment. My car has the same condition where the hatch is probably 3/8-1/2" rearward also shows that gap at the front of the hatch. From my initial readings, I have seen people say rather than messing with the glass itself just open up the slots on the hinge to body but my fear is that it may look good initially but then the cylinders will push it back, So not enough clamp force to keep it in place. I am trying to strategize a plan as I will take mine of to get tinted then re-install.
I would not mess with opening those body holes up, that could be a gateway to introduce water or other problems. I don�t know if you read about my saga with the hatch but I�m pretty sure I could�ve solved mine simply with the correct hatch struts but all of these cars are different in what can cause the overbite. If you have a gap at the front where hatch meet the body/roof you might just need new hinges which Hawks sells. It sucks how expensive they are and I will say this be very careful when working on the hatch glass as many ppl have shattered them.
Do you know if your hatch struts are original, aftermarket or recently replaced? The force those exert can push the deck out. The AMS 4967 on rockauto worked great on my car but keep in mind I have a fiberglass spoiler not the heavy original.
This morning I installed the Bluetooth adapter into the back of my Pioneer CD player. Install was pretty easy but not a ton of room with the wires but other than that it was a breeze and now I can run my music from the phone right to the stereo.
The only real con I noticed while testing it out is just like the old BT FM radio transmitter you have to have the volume cranked on the phone to get more sound but overall sound quality was superior to the FM transmitter with no background static etc. or losing radio signal.
For the $12 I spent on the thing it seems like money well spent so far. Also those new JBL speakers really sound great, the improvement in the dash speakers is especially improved over the OE ones.
2 wires, one to the 12v acc and one ground, very simple. I love these wire connectors. The actual Bluetooth adapter.
The wife gifted me new ACC floor mats for my birthday so I found some GM rubber mat logos off eBay to mount on the new ones. I still have my original mats (that I am trying to save from daily driver use) so I used the measurements off them to determine placement of the logo on the new mats.
For under $100 shipped from Rockauto the ACC cut pile mats are near perfect reproductions of the originals other than the rubber grips on the back for better holding ability and the rear mats being just a little bit larger.
Color selection was a little tricky as ACC lists dove gray as the color for our cars with grey interior and I was worried how it would match my interior and in the poorly lit garage they looked way off but once I pushed the car into the day light the match was better. Also the OE mats are a different shade than the carpet as well. I had some color swathes too but the closest one I felt would be too light and would show dirt even more so I stuck with that I had.
Finished product. New mat on top, original on bottom. The new one looks lighter in the pic but is actually darker. The lighting really matters with color comparisons.
I used E6000 fabric glue to bond the logo to the new mats, seems like a really good glue for this type of project. I let them sit with a weight on each logo overnight and they are perfectly flat and secure.
Today it was nearly above freezing so with propane heater I finally tackled the weak power door locks that plague our cars. Found a few good threads on what to do and what to use that was very helpful.
I probly sunk a good 4 hours or so taking my time with it and cleaning stuff as I went. I was surprised that it looked like I was the first person to get into the doors as it still had the plastic seals on both doors. I began by cleaning all the moving pieces for the locks with WD40, wiping that up and then lubing it all up with white lithium grease. It make an amazing difference! The locks now fly open and closed with no hesitation or drag.
Then I thought while I was in there might as well check out the power windows and lube them up. Both sides needed this it turns out but after a healthy dose of white lithium grease they seemed to move better. These window motors aren�t speed demons by any means but the grease helped and they are smoother too.
This should be a sticky, it has 4 pages and pretty good info all over. JamesC really has a lot of good tips and tricks especially if you have rattles.
The only thing I wish I did while I had it apart was to try to compress the bottom of the window triangle where the glass rides to give the glass a tighter fit. But on the other side of the coin these motors aren�t powerhouses so maybe it was best left alone.
I've really enjoyed following along with your restoration journey, and can't wait to see what else is in store. Keep up the great work!
Thanks! After I replace the front brakes in a few weeks I am seriously contemplating swapping out the stock torque converter for an upgraded unit and a secondary trans cooler. I�ve been researching it quite a bit and it seems like they can be a great upgrade.
The weather was nearly 50 today( that�s like summer in February here) so I took the opportunity to replace the front brakes/hardware/ wheel bearings etc with the Stillen pads and new rotors.
It was great not needing a heater going and freezing in my garage. Also it was not a terrible job and my first time packing wheel bearings so that was a good learning experience but eventually I used the bearing packer I had. I used a members 50 steps to changing front brakes and that was very informative.
I can�t wait for spring to see if the Stillen pads give me a little more bite, a few members raved about these pads so hopefully they were worth the month and a half wait. The old stuff wasn�t shot yet but definitely showing it�s age.
I told my wife this morning that I've official had enough winter for one year. This might be the earliest in the calendar year that I've ever declared this, but I'm not sure.
My son just moved down there. My Dad was stationed there in the '50s while in the Navy, and Mom lived there with him. She loved it down there (they were from Illinois), and semi-retired down there.
Today I finally got the car out of storage and replaced the clapped out stock steering shaft with the Detroit Speed one which is basically Borgenson parts but seems like a well engineered piece.
I was on the fence the past few years on doing this because of all the flack a lot of members had with noise and vibration from the Astro shafts but the DSE has all of the pros and none of the cons other than the $300 price tag as opposed to the Astro shaft. That and the sloppy steering was pretty annoying during the days I would drive the car to work and I figured I might as well take a chance.
Install was not terribly hard but the instructions were slightly vague IMO but I also took my time and the only thing I had to modify on my car was trimming down the locator pin for the steering box. I also finally invested in a dremel tool which I�m sure will prove to be handy for other projects and was used for that purpose.
New unit installed. OE piece.
After the install I took the car for a 30 mile cruise and was pretty impressed with the steering response as opposed to before. No more slop when you turn the wheel, this really caps off all the work I had done on the other steering components previously. Also no excess noise or vibrations thorough the steering wheel as has been reported on the Astro shaft.
DSE recommends to check the bolts after 100 miles so I will keep it local until then, it�s just great to be able to finally get out this season and enjoy the car.
BTW the new JBL speakers sound great! Really look forward to them once they break in more. It was a huge upgrade from stock.
UPDATE:
I've been driving the car quite a bit lately and wanted to update on the DSE steering shaft, I notice when I don't have the radio on and you twist the steering wheel while not moving I have been hearing some power steering pump whine. Not a big deal and it could be my pump is just a little noisy but I don't remember it doing that on the stock rag joint. I flushed the old PS fluid last year and it was nasty so that may be part of it. I was even thinking of adding the Astro van bearing but I've seen some posts and LSXmatt's YT video where the new bearing was sloppy out of the box so he just re-used the original.
ANOTHER UPDATE:
After having noise and binding issues with less than 1k miles on my DSE shaft I went back to the OE rag joint.
Here is the thread where I had trouble for reference:
After getting to finally drive the car the other day I was extra motivated to finally tear into adjusting my driver side door which has had the annoying problem of not being able to roll the window all the way up while the door is closed. The window would also jump right before fully closed as well. It has done this since I got it and after looking at the FSM, a few YT vids and of course here I figured I would give it a shot.
About 4 hours or so into it after fiddling with a few different adjustments I finally got it dialed in and it works as it should. Like others have said you just have to be patient and adjust one thing at a time and before putting it all back together check how it all works with the door panel before final reassembly. I should have done this while repairing/lubricating the power lock actuators to save having to get into the door again.
IN CASE anyone has wobbly glass and the problem I mentioned above, of all the adjustments the one that finally corrected it was the horizontal adjuster right above where the door armrest bolts in. I thought for sure it was one of the others but I was wrong.
Also still waiting for more miles and the new Stillen pads to bed in before giving them a review but so far they seem a little better than the stuff I replaced.
After driving quite a bit the last few weeks I noticed I have a tiny oil leak at the rear China wall. I figured it being a pretty small leak it might be worth attempting to go back over the area after a thorough cleaning and using the Right Stuff to back butter it. All I had to do was pull the distributor and oil sending unit( no leak on that as I double checked it).
Considering the rest is good and no other issues it might be worth a shot. Also gave me a reason to pick up a old school Craftsman timing light to reset the timing and experiment with advancing it past 8 degrees.
I have been experimenting a little with base timing and think I have settled on 12 degrees BTDC, the car felt stronger and after a good initial drive I hooked up my scan tool to see what I was getting for knock counts to make sure it was nothing crazy. I could hear no pinging at all and I only run 91 non ethanol fuel for reference.
At first start up it was 7 counts and stayed that way for awhile but eventually settled on 82-88 while cruising with mixed rpm�s. I referenced a few old data scans from when I had the timing set to 8 degrees BTDC and saw a varying degrees of knock with a high of 120 IIRC.
At this point I assume I am OK and will pull a plug or 2 to make sure.
Interesting, I recently did a deep dive of recommended base timing for TPI here on tgo and 12 BTDC is about the highest I read anybody going with. Some people mentioned that much advance seemed fine on the street, but then they started pinging on the dragstrip around the 2-3 shift during full load. Something to look out for, in any case.
I recently found a local shop with a dyno, I was thinking of doing a three pull test to see if there's any merit to the old school TPI tricks. I was going to get a baseline pull at 6 BTDC 43.5psi, then bump timing to 9 BTDC, then finally bump fuel pressure to 47psi.
I did the same, 12 or 14 was as high as I saw and I was nervous about 12 but it seems to like it. My car is also just a street cruiser too.
I pulled some plugs today and they looked good to my untrained eye but my buddy who knows more also said they looked good. Had some oil on the #1 plug threads but that may be leftover from before last summers valve seal job.
Keep us posted on what you discover. I also run 48 psi on the AFPR which may help my cause for the 12 BTDC.
Number 3 Number 1, don�t love the oil on threads.
Update:
Went out and pulled number 2 plug just to see what the passenger side looked like and seems good.
Number 2 Number 2 other angle.
Last edited by Reddragon88gta; 06-01-2022 at 11:38 AM.
I was looking at the timing again today and I tried it back at 6 BTDC and it ran great. Really ripped hard so I think I will keep it there. Sometimes factory might be best as the car seemed to like it more.
Also noticed that idle was a little off at 12 BTDC and some start ups sounded a little off.
Just wanted to update on the DSE steering shaft, unfortunately I had to remove it because it was binding/making noise when coming off center. It was not smooth when transitioning off center, had a clunk, and I did not feel it was safe to have that happening so I put the original rag joint back and with a little adjustment to the steering box the steering feels great.
I am pretty disappointed in the DSE shaft as it worked great at first but I don�t even have 1,000 miles on it and it began acting up and was even getting noise transferred inside the cabin.
The only issue is my steering wheel alignment is off a little but apparently I can get that corrected by adjusting the toe.
Here is a video of what it was doing from another thread I started when I was diagnosing the issue:
Damn! I'd pull that thing out too. Should make a good door stop.
A pretty expensive door stop but that�s how lessons are learned, sometimes it�s best to leave factory stuff alone or the old adage if it ain�t broke don�t fix it.
The older I get, the harder I consider replacing factory designs. When I lowered my last car, I thought I was being a real smart enthusiast tuner guy. It did somewhat raise the performance potential of the car, but the handling became very knife-edged; the difference between being in control and spinning out was very slight. In hindsight, the car was easier to have fun in with the factory sport setup.
You inspired me to actually check and set my timing, it was very easy now that I painted my harmonic balancer black and used a paint pen to fill the timing mark with white. Turns out I was only at 4 BTDC , which is pretty good for eyeballing it but I definitely had snappier throttle response after I set it to 6.
My final effort of trying to improve steering feel is the Astro shaft bearing that I just received from Hawks and installed this morning.
A really simple install but I wonder how much it will improve as the new bearing after install had a very similar amount of play compared to the old plastic one. I will give it the benefit of doubt for now as it�s really easy to swap them out and many ppl on here have liked this upgrade.
Next week I have an appointment with my alignment guy to get the steering wheel straight again and will hopefully have some drive time to see if there�s an improvement.
Wanted to check a little rust repair off my to do list so I tackled the rust I found under the rear ground effects last year. I checked the rockers when I got the car and they were very clean minus the built up dirt and sand I removed at the time.
I initially missed this rust but wanted to catch it now before it became a real problem. I used my drill and a grinding attachment to do the job, then hit it with rust converter and finally will give it a top coat of rattle can touch up. No one will likely ever see this repair but I still want it to look decent.
Another small project I took a second shot at was the metal frame around my hatch glass is not tight at the very top and my first attempt using JB weld glass only held for a year or so.
This time I had some leftover 3M windshield urethane from the hatch reseal so I tried packing that in there after cleaning up the previous attempt. If this doesn�t work I have a local glass shop I can take it to too see what they think.
To continue the theme of hatch related projects I took a shot at painting a 6�� section of the hatch glass metal frame that lost a little paint over the years and it turned out pretty decent.
I found that hardware store flat black with primer included rattle can is almost an exact match to aged original black paint in that area and is good for touch ups. The satin black was just too bright and shiny.
 08-23-2021, 03:12 PM


 , which is pretty good for eyeballing it but I definitely had snappier throttle response after I set it to 6.


