When you click on links to various merchants on this site and make a purchase, this can result in this site earning a commission. Affiliate programs and affiliations include, but are not limited to, the eBay Partner Network.
LTX and LSXPutting LT1s, LS1s, and their variants into Third Gens is becoming more popular. This board is for those who are doing and have done the swaps so they can discuss all of their technical aspects including repairs, swap info, and performance upgrades.
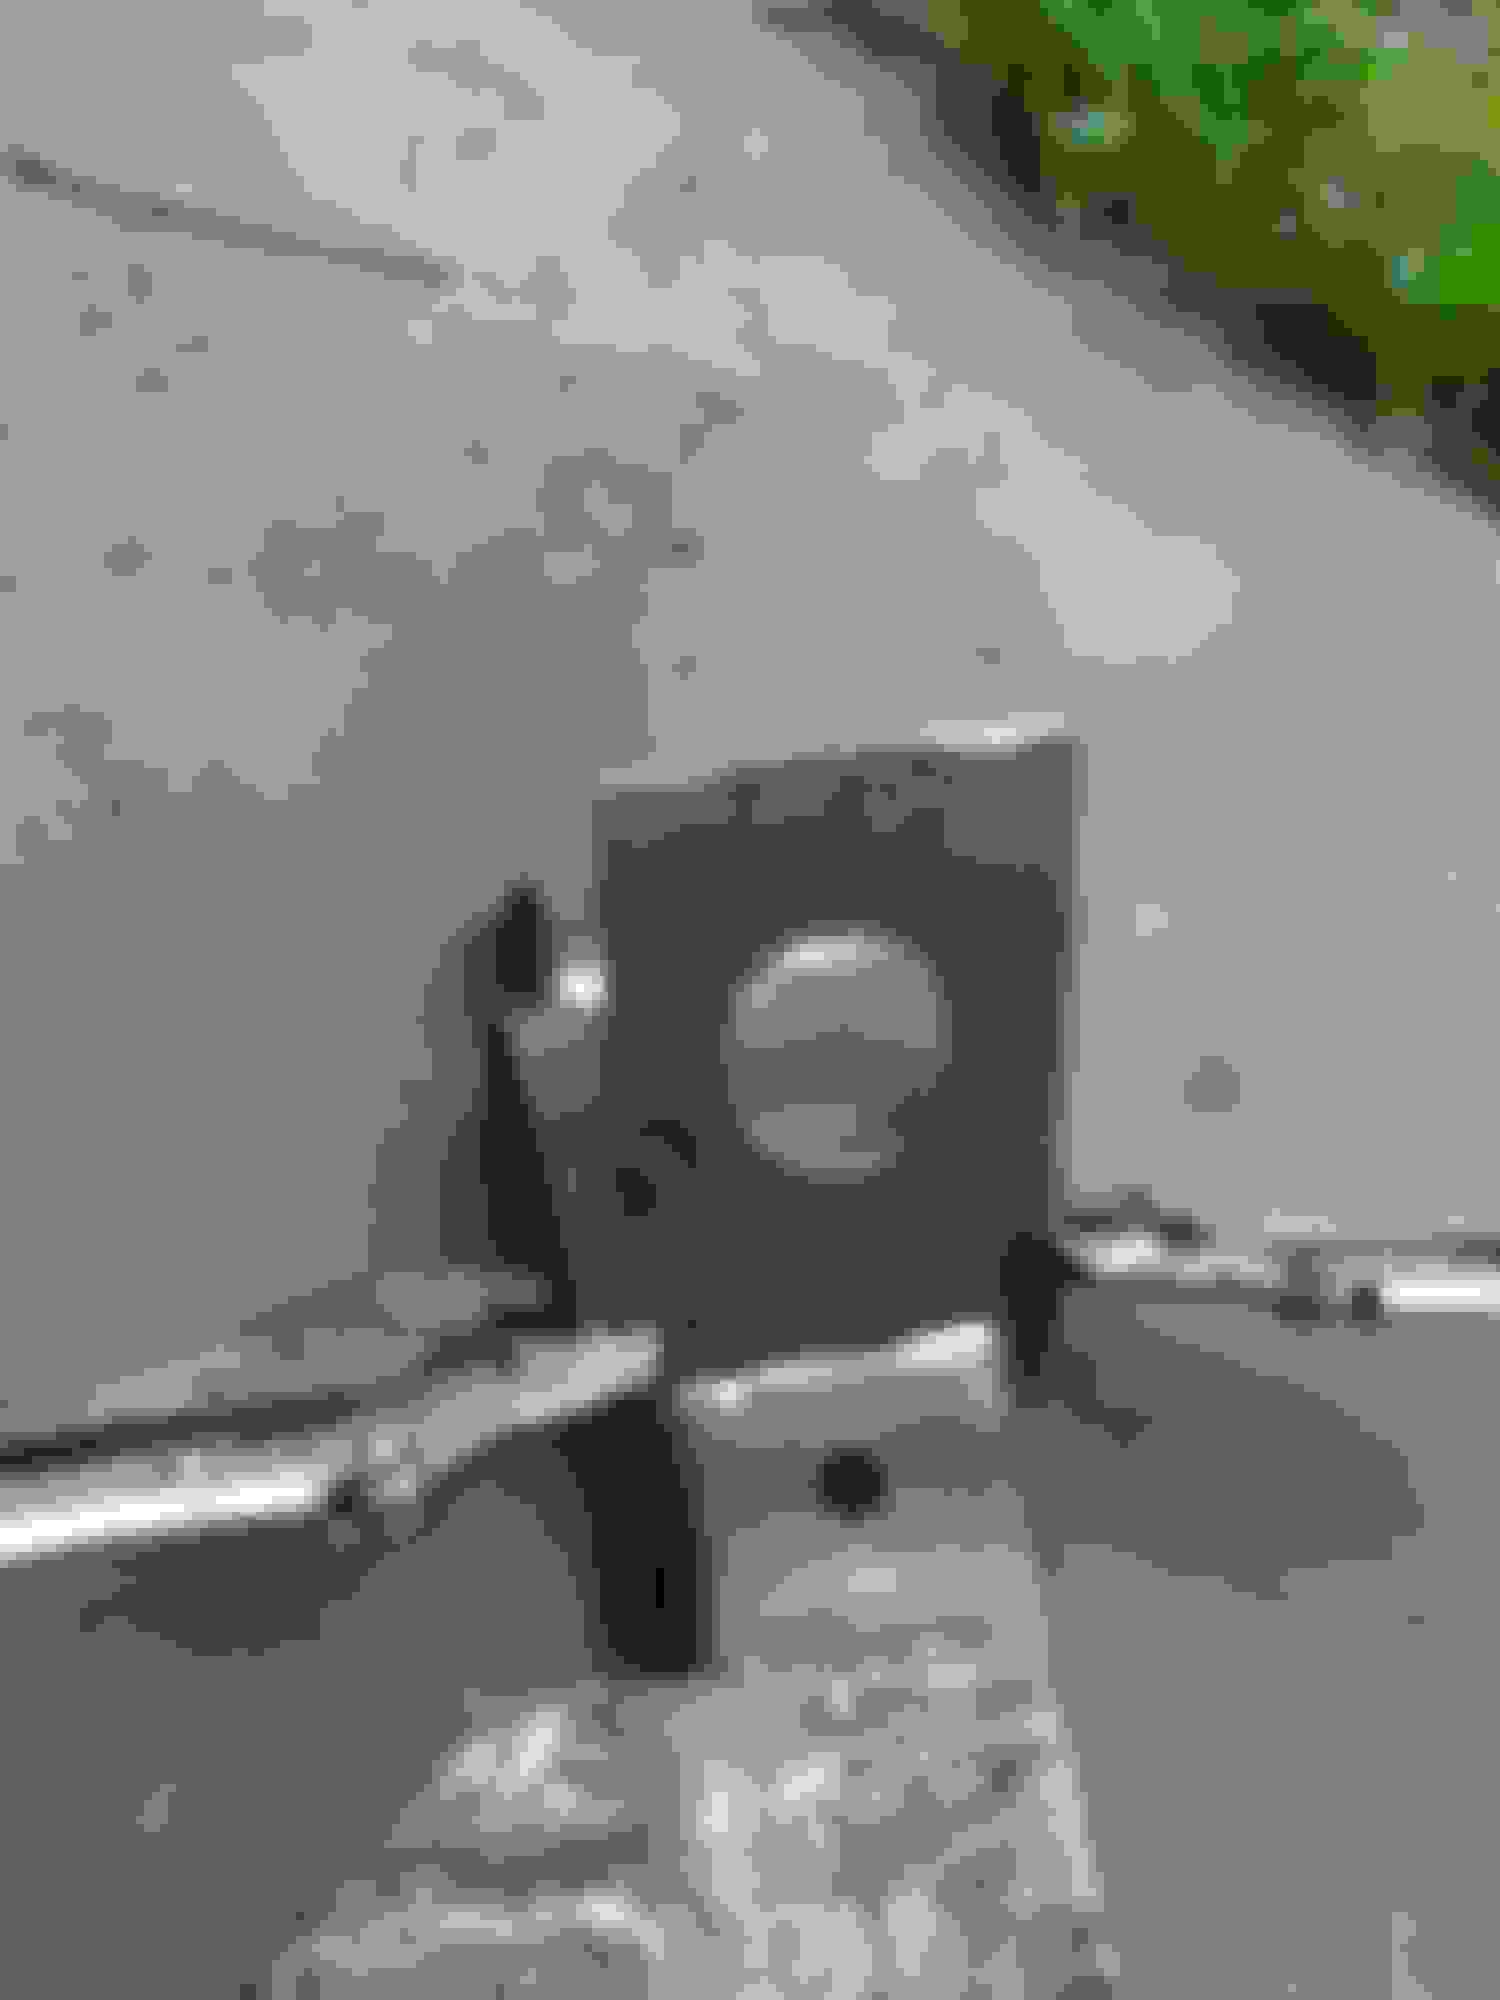
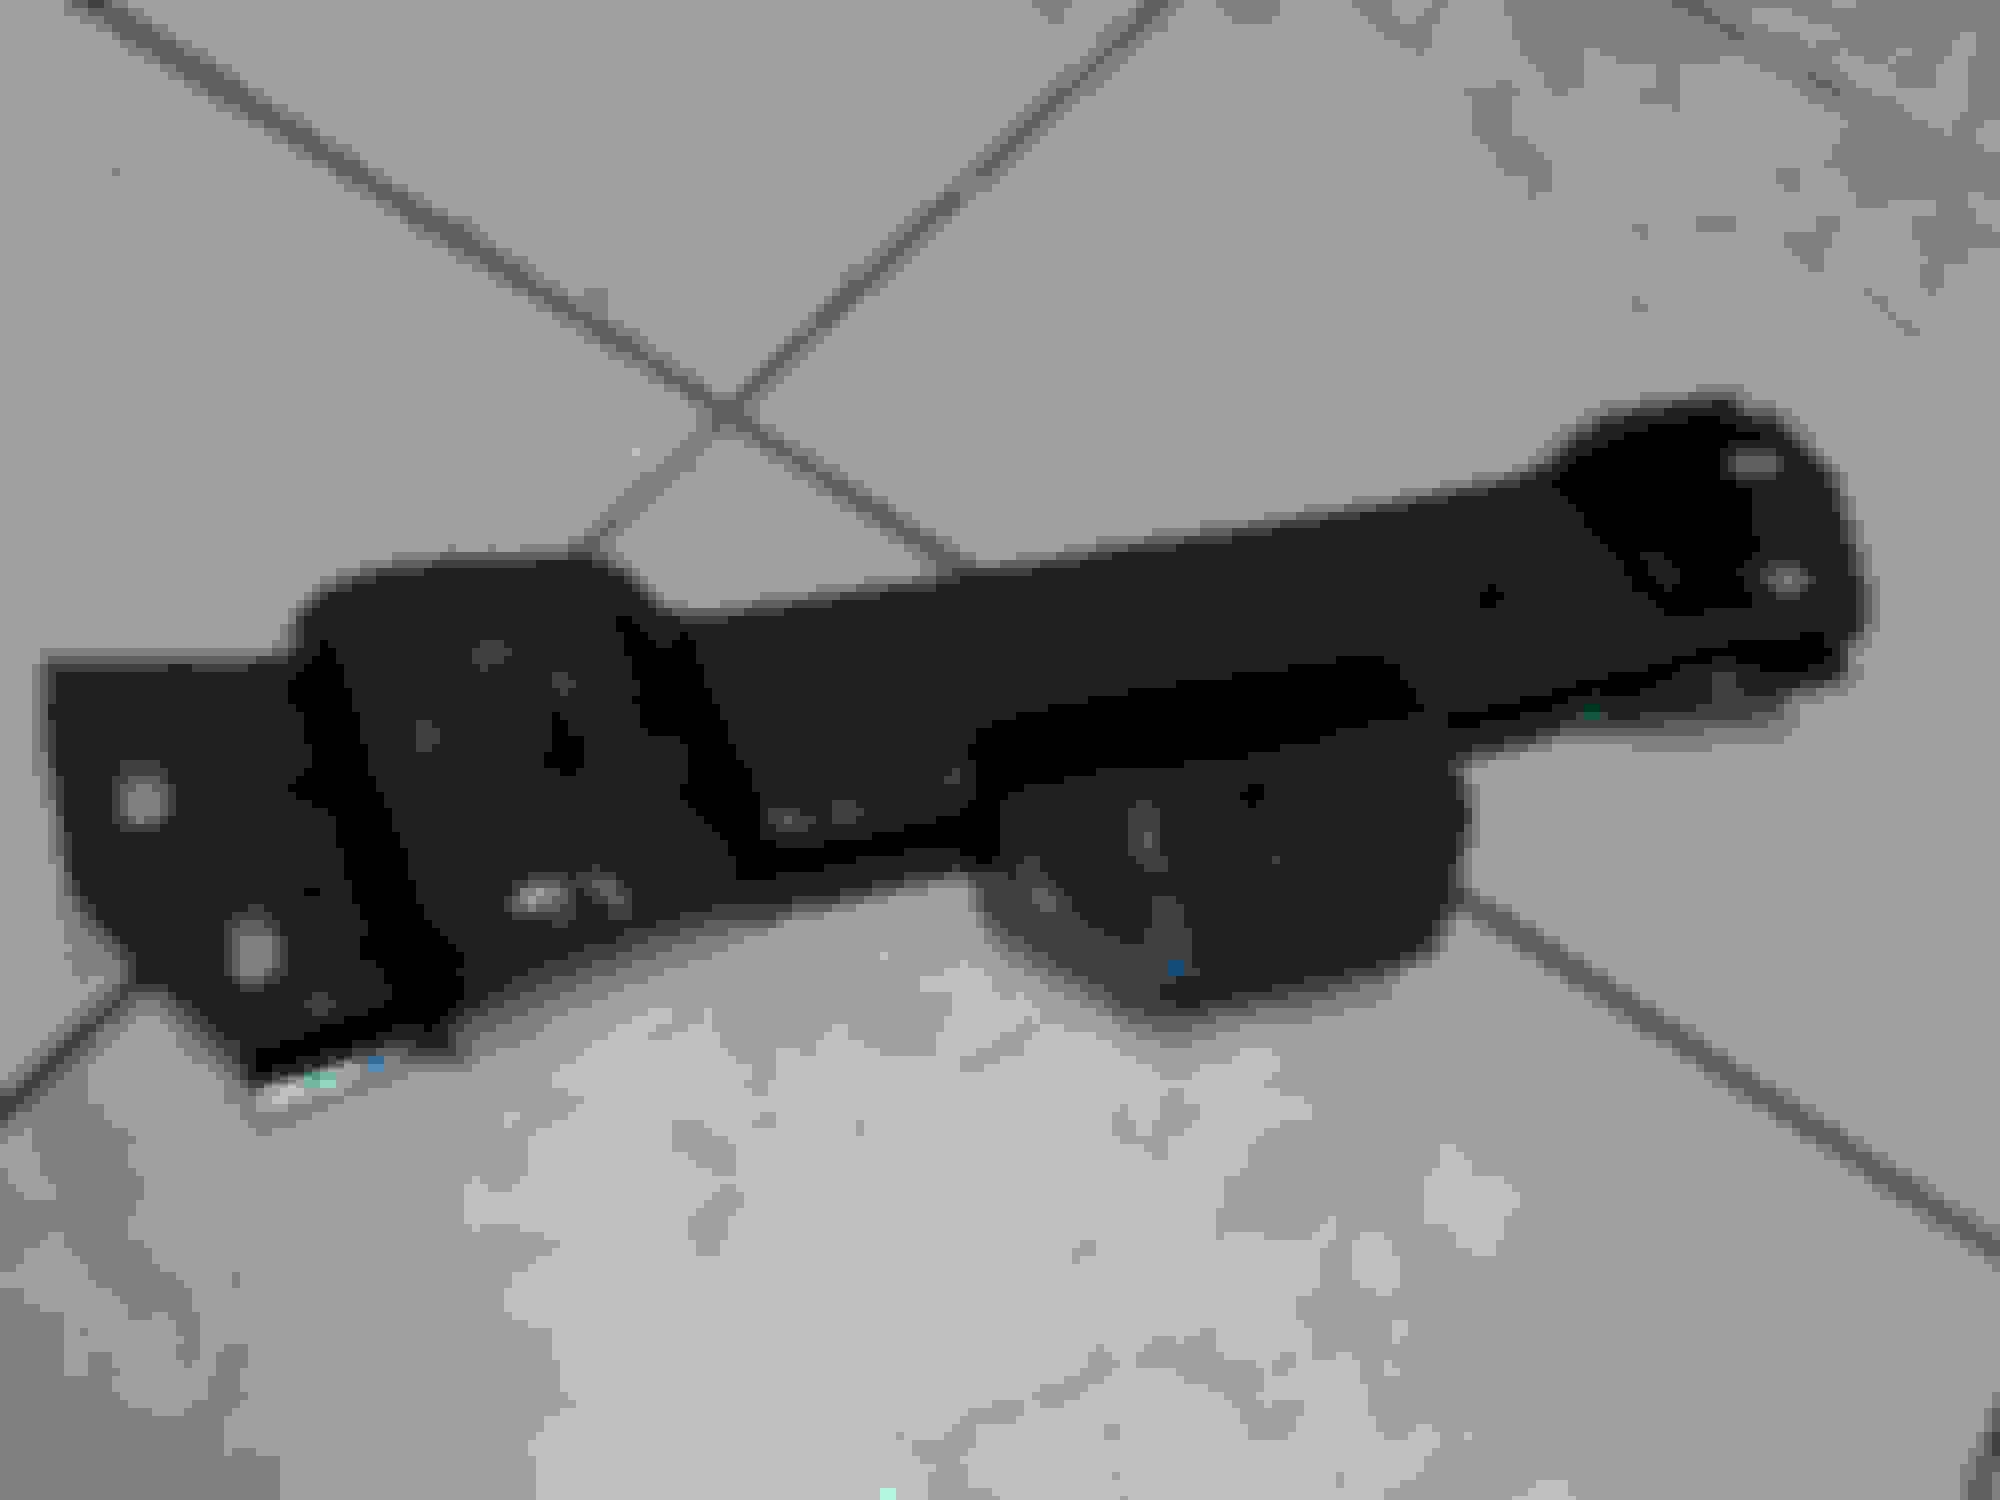
Truck idler relocation is like $10-20 and it puts the pulley lower and more towards the WP a little. It will really clean that up instead of having the random pulley being a high point. Just swap the ruined pulley u got and it will move it down some and give u a little more belt wrap around the PS pump.
Truck idler relocation is like $10-20 and it puts the pulley lower and more towards the WP a little. It will really clean that up instead of having the random pulley being a high point. Just swap the ruined pulley u got and it will move it down some and give u a little more belt wrap around the PS pump.
Huh, I didn't know that product existed.
This Firebird doesn't have a power-bulge hood like yours does (But MY 'Bird does! Cheap truck 6.0 swap coming soon!), so I might not get a full truck setup to work.
Also, I'd really like to run the large case DR44 alternator, which you said definitely won't work.
Like I said, I'm going to try my setup first, and if I have any problems with it, I'll try the full truck setup like you, with the small alternator.
Worst case scenario, I have to go to the F-Body setup. I have everything except the power steering pump and bracket; when I looked at the price of USED F-Body pumps and brackets, I said "F*ck it, let me see if I can make the truck stuff work."
Yea lol the idler relocation will put your pulley in a better location. I would get it if I were u. I run them on all my truck accessories as I always go with the fbody pump and spacers.
Stock firebird hood and power bulge are the same... the bracing is the same. The alt isn�t near the bulge. The large case will work just need to trim the underhood bracing a little. I didn�t want to do that so I went small case. It�s not a lot that has to be trimmed.
Stock firebird hood and power bulge are the same... the bracing is the same. The alt isn�t near the bulge. The large case will work just need to trim the underhood bracing a little. I didn�t want to do that so I went small case. It�s not a lot that has to be trimmed.
I actually hope you're wrong, because I just cut/ welded a Goat Built alternator mounting kit, and I can't return it... And I already cut up my truck alternator/ power steering bracket.
You used different engine mounts than I did.
If I find a good deal on another truck alternator/ p/s mount, I'll grab it and mock everything up with measurements.
Who knows, maybe I'll use that setup after all; the car isn't ready yet.
No problem. I�m using standard SBC solid mounts (the $30 for the pair kinda mounts) not the 3rd gen specific solid mounts from Moroso. I have nothing to compare them too so they could be the same or they could be shorter who knows.
Stock firebird hood and power bulge are the same... the bracing is the same.
No, they are different. The base model Firebird hood has the least clearance of all the hoods. I learned this through the saga of trying to find a strut tower brace for my car.
No, they are different. The base model Firebird hood has the least clearance of all the hoods. I learned this through the saga of trying to find a strut tower brace for my car.
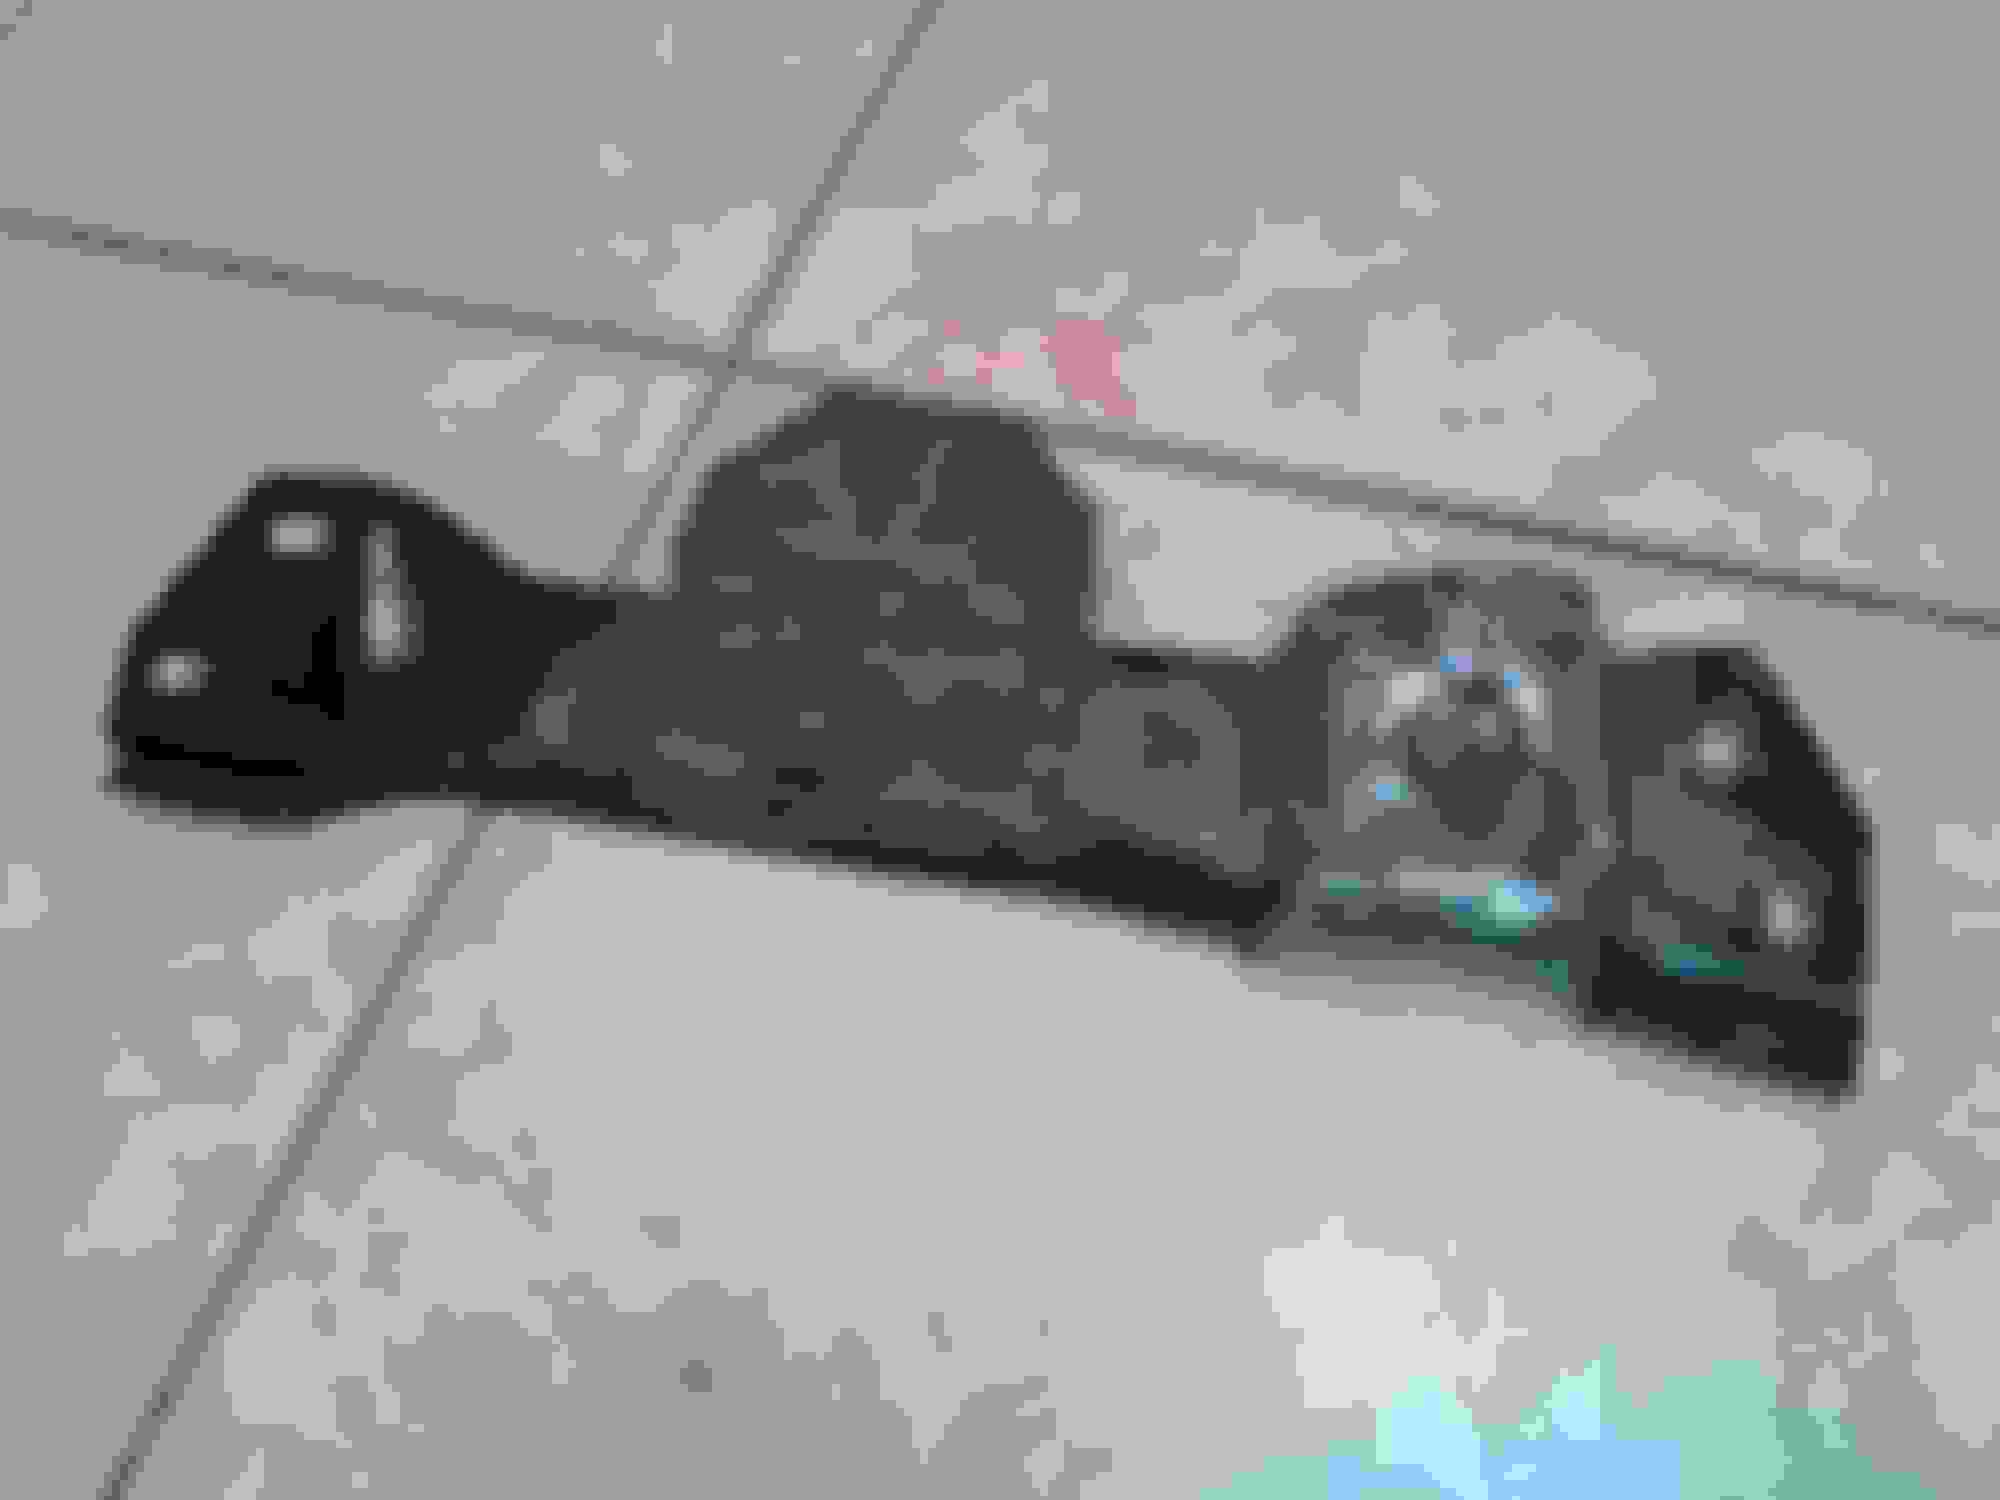
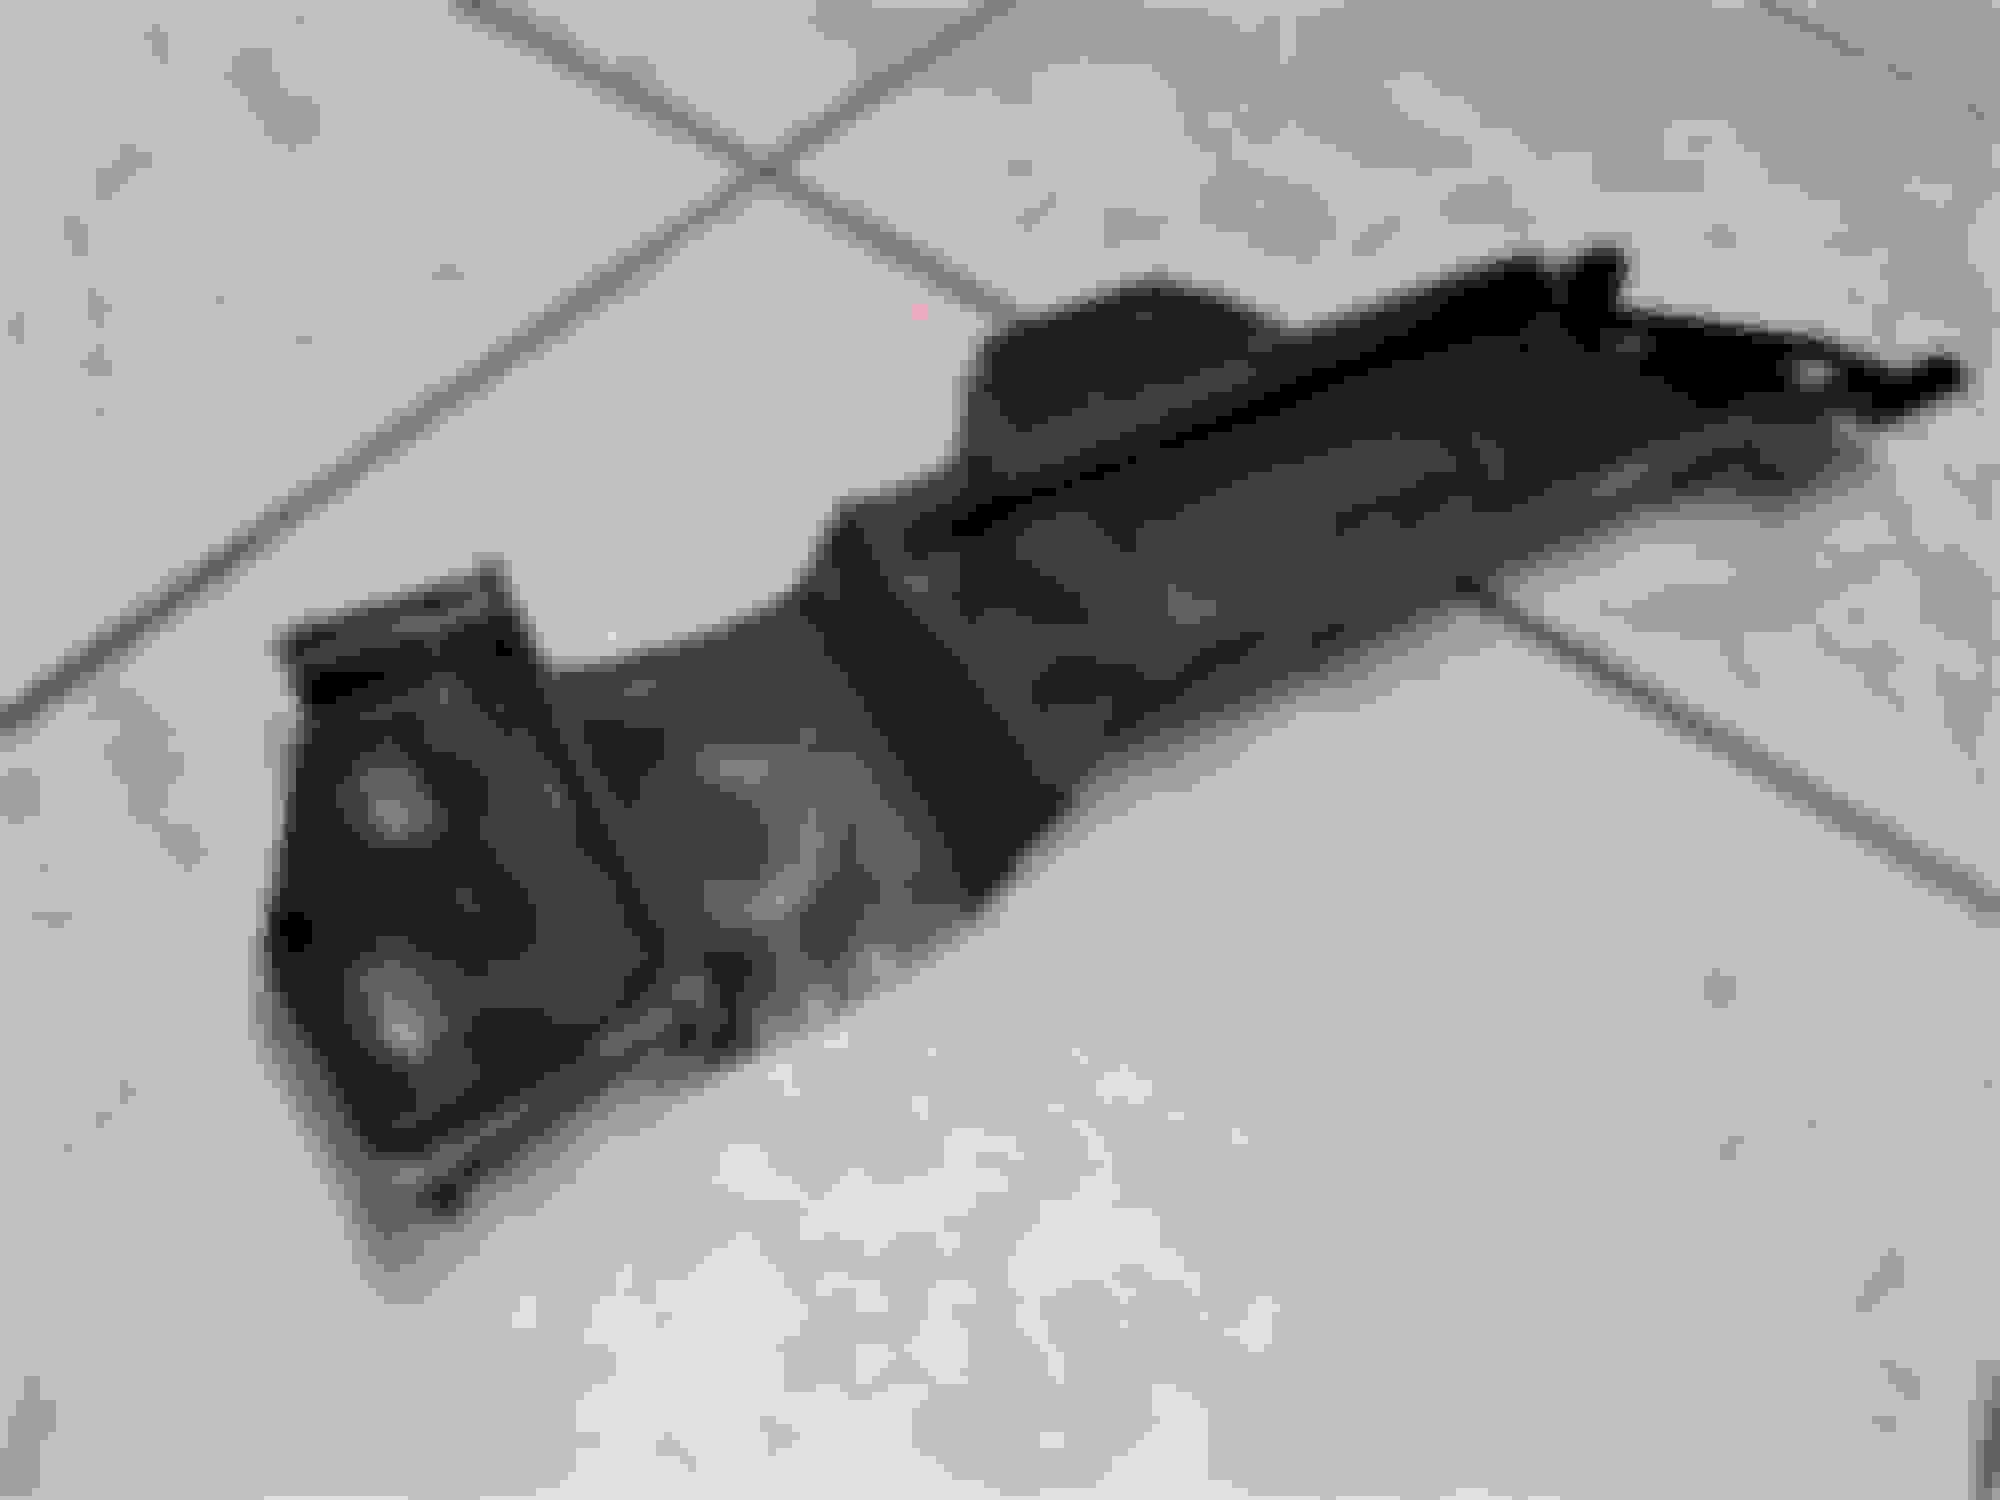
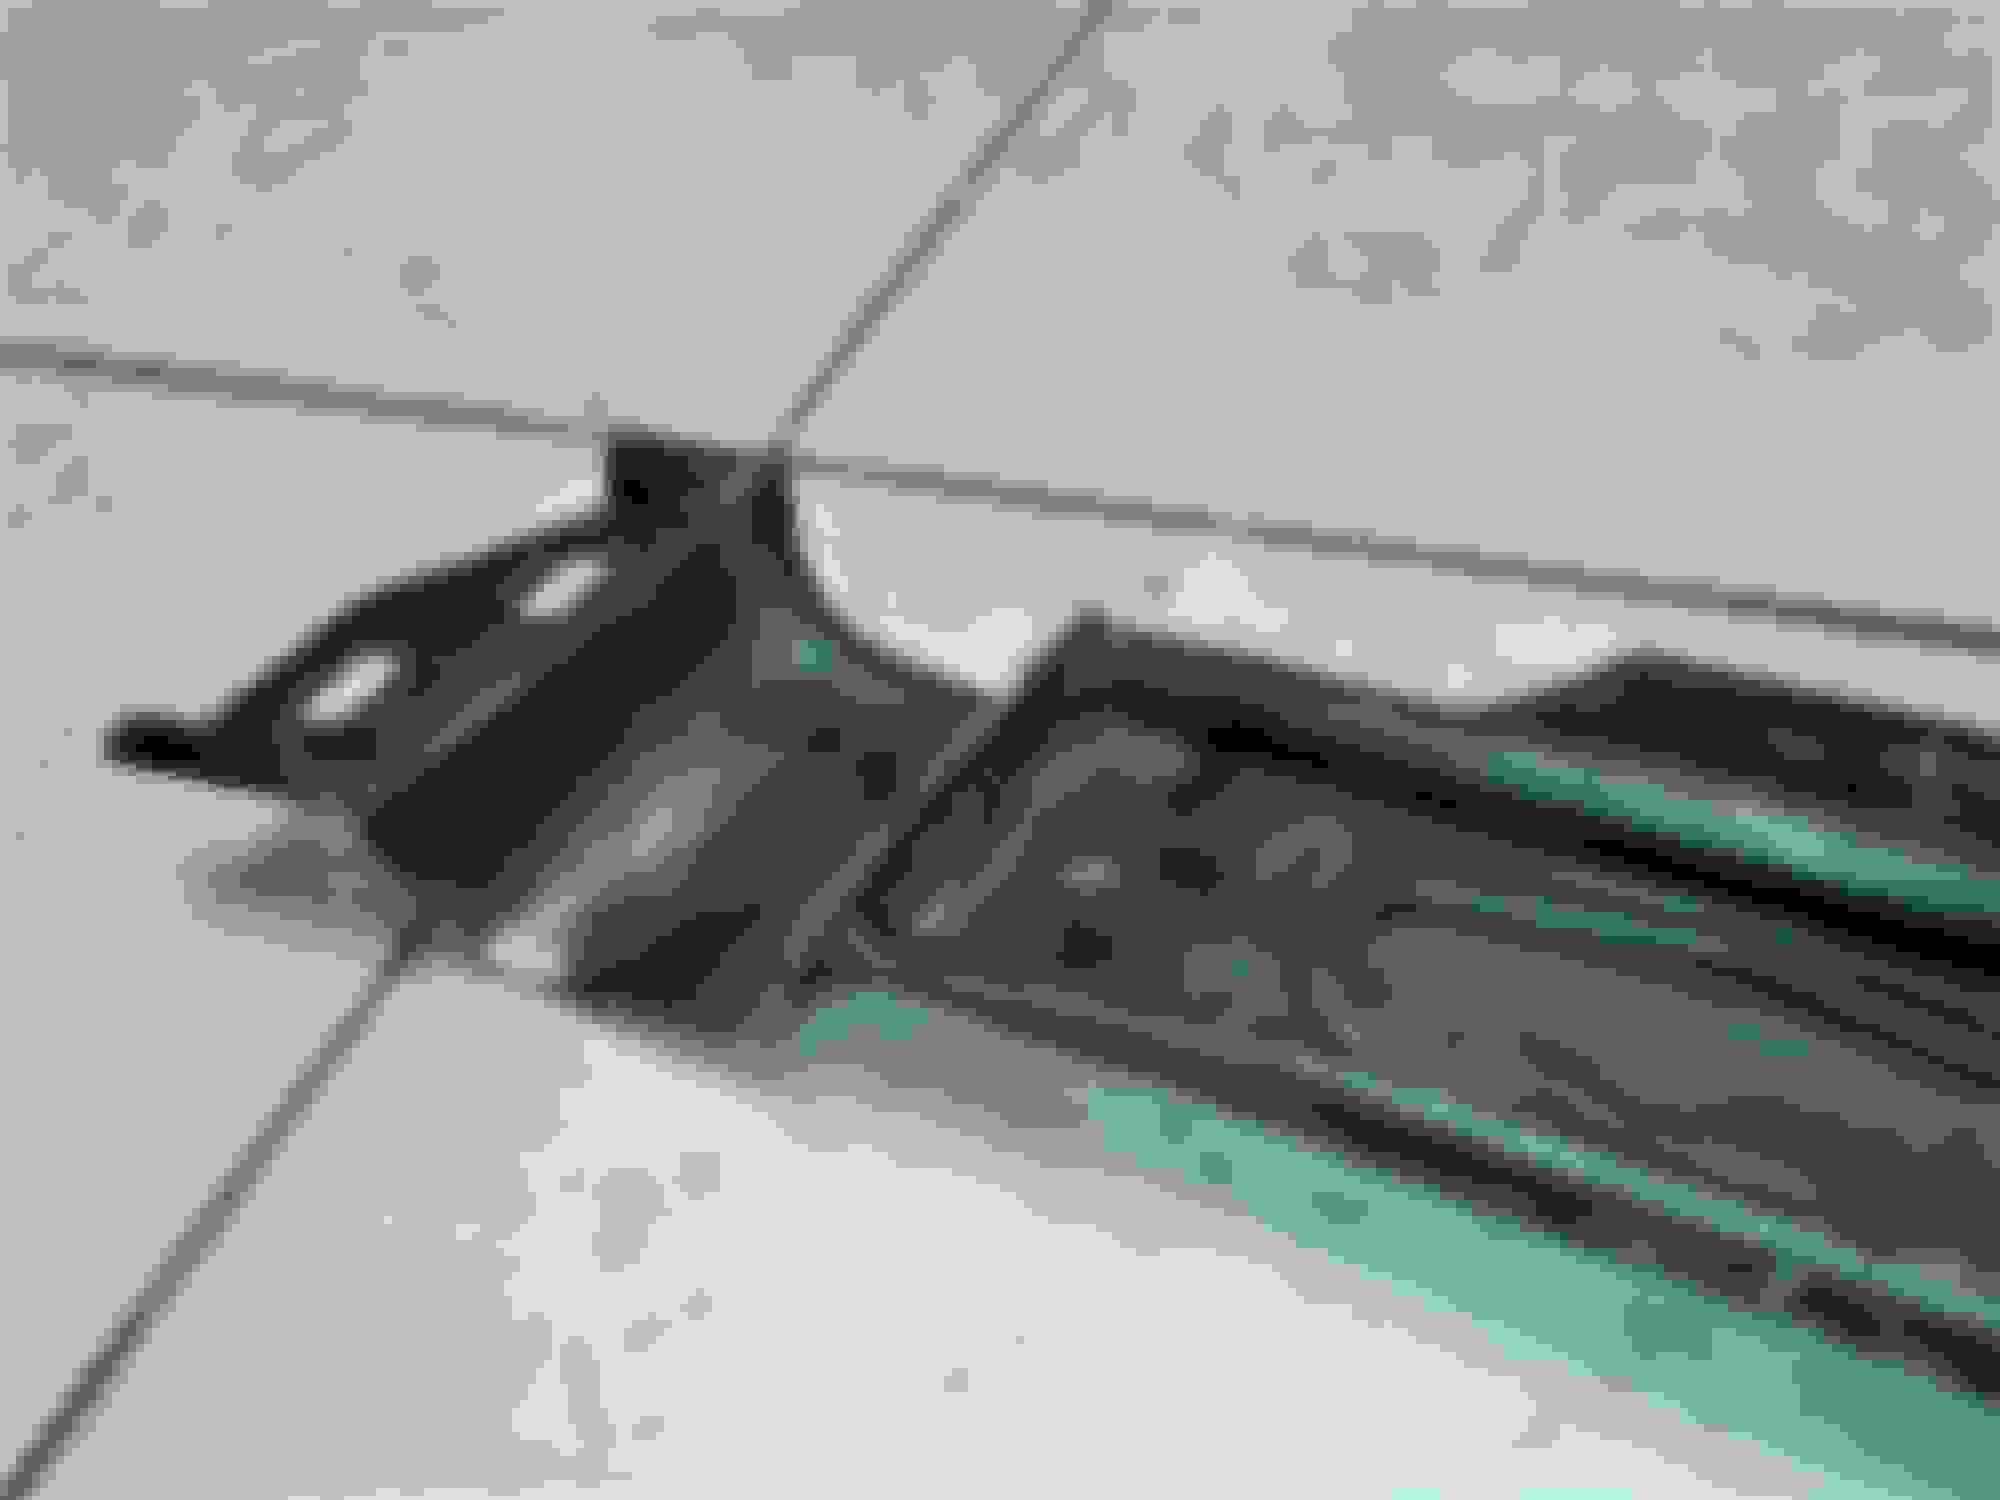
I don�t have a stock firebird base hood. But here are 2 pics of the stock hood and bulge hood bracing. Both are identical except around the bulge which the bulge hood bracing is omitted. So to clarify the stock truck accessories are at the front of the motor (not the STB area) and the alt contacts the forward bracing before the bulge area. So it�s safe to say the base hood and the bulge hood are IDENTICAL before the bulge area which is rearward of where the alternator sits. So it seems that I am correct in that the truck accessories Should also clear the base hood with a small case alt no mods, slight trimming to the bracing if you want to run the large case. My small case alt doesn�t even rub the new hood insulation on the hood now, which is why only slight clearancing is required with the large case alt.
This is the area where the truck accessory alternator hits (red). Green is where my map sensor is super close to the bracing but doesn�t touch on the NNBS intake. I had to cut out the hood insulation there for sensor clearance.
Okay, after taking entirely too long, I've got an update.
Since my last update, life has just been kicking me in the ***** over and over again: first, my son's transmission messed up (I'm the mechanic), then I had a pipe break under the house (I'm the plumber), then the home A/C unit went out (I'm the electrician)...
You guys get the picture. So I got caught up, and finally got to prep/ prime/ paint the engine bay.
This first post is the priming. My son helped me with this.
Here it is, painted.
I used Nason epoxy primer, and Krylon farm-implement paint.
I had nothing but Hell applying the paint; I think I used too much hardener, because it wouldn't spray more than a couple of inches past the nozzle, and it came out with a matte finish, which is not a problem for me.
Sounds like me. Since starting my project I�ve had a trans go out in my truck and re plumb my entire house. Same as you, I�m not paying anyone to do it. Lol
curious what size tip you had on the gun?
edit:: man I just remembered the first time I ever used a paint gun I had a similar thing happen. I think my problem was wayyy to much air pressure and not getting close enough to the panel but I can�t be sure. I still have those pics somewhere. It was an engine bay and it came out low gloss black just like yours.
Last edited by Billgluckman; 03-09-2020 at 04:03 AM.
I used a siphon-feed HVLP gun from O'Reilly's (not my gun - borrowed).
It has a 1.8mm tip, which was recommended for the products I was using.
The instructions said to use about 20psi inlet pressure, but that wouldn't spray ANYTHING.
I had to turn up the pressure to about 50psi before it started spraying semi-decently, and even at full shop pressure, it wasn't as good as it should have been.
Like I said, the primer came out okay (but still not as well as it should have), but the paint was really thick; I mixed it according to the instructions, and even added extra reducer, but it seemed like the gun was having trouble picking up paint out of the pot.
Before anyone asks, no, the gun was not clogged, and I took it apart and cleaned it between applications.
Yes, I did try adjusting the volume levels. Even at maximum volume, it was still spraying half-assed.
As I've said before, I'm not a Body-Man, and it's been about 15 years since the last time I used a paint-gun.
But when I did, it wasn't like this.
Sounds like a gun issue but who knows. From what I�ve read the siphon guns behave differently than gravity fed hvlp when it comes to tip sizes but I honestly don�t know. I do know with the mini/detail hvlp guns tip sizes don�t behave the same as full size. When I use the majic implement paint I use a fenix fx3000 with a 1.4 and it lays it on a bit heavy actually.
Okay fans, here's an update. I've had nothing but Hell trying to reinstall the front springs; I will swear on a stack of Bibles that I've NEVER used any special tool to install 3rd gen front springs. I always used a jack, a block of wood, and a sledge hammer.
This car wasn't having my sh*t.
I had to rent a spring compressor, and even then, it was fighting me the whole way.
The good news is that I got the springs installed, but I did run into a little snag for guys that are doing A/C swaps: I had some clearance issues with the K-Member.
This probably won't happen to everyone, because the A/C compressor cuts are usually "custom," and I tried to make my cut as generous as possible.
Basically, the bracing I welded in for my A/C compressor intruded on the control arm.
So I did the easiest thing: I notched the control arm.
Here is where it was contacting the K-member modification:
So the springs are finally in, but in other news, I sealed the cowl screen.
I'll bet that a lot of you don't think about your cowl screen much, but it's pretty important if you want working air conditioning.
The factory setup on these cars draws air from the cowl area, and that area is VERY poorly sealed from the factory.
It's metal screen, that is SUPPOSED to be melted/ bonded to the plastic frame.
In reality, it's barely holding on, and it lets all manner of leaves, pine needles, etc. go into the cowl area, and block your A/C evaporator.
Here is a picture of the part in question:
Here is what I did: I mixed up a batch of JB Weld, and sealed of the edges of the screen.
This isn't the first time I've done this. Afterwards, I'd recommend sealing the whole thing silicone, because that plastic edge isn't going to stop Jack Shi*t when it comes to leaves and pine needles.
I fought with my passenger coil springs, still have to do driver side.. in the beginning, I rented a coil compresser, but if you dont have a air gun...its useless especially on HD front springs...
In the end I used a mall, jack, and piece of wood also.. just have to be very careful
Should of just made some weight jacks or bought them from UMI. I got my stuff from speedway for like $150 which included 850lb circle track springs... now my springs slip right in even on my UMI front control arms (aftermarket are even harder to install the springs). Then I can reach below and adjust ride height with a 1/2� extension. I�ve done stock springs and eibach pro kit springs and vogtland and it�s worth the couple hundred bucks for the weight jacks for ease of install and adjustability trust me. A small jack under the ball joint and a large pry at to keep the spring seated and your all set.
Okay fans, here's an update. I've had nothing but Hell trying to reinstall the front springs; I will swear on a stack of Bibles that I've NEVER used any special tool to install 3rd gen front springs. I always used a jack, a block of wood, and a sledge hammer.
This car wasn't having my sh*t.
I had to rent a spring compressor, and even then, it was fighting me the whole way.
The good news is that I got the springs installed, but I did run into a little snag for guys that are doing A/C swaps: I had some clearance issues with the K-Member.
This probably won't happen to everyone, because the A/C compressor cuts are usually "custom," and I tried to make my cut as generous as possible.
Basically, the bracing I welded in for my A/C compressor intruded on the control arm.
So I did the easiest thing: I notched the control arm.
Here is where it was contacting the K-member modification:
So the springs are finally in, but in other news, I sealed the cowl screen.
I'll bet that a lot of you don't think about your cowl screen much, but it's pretty important if you want working air conditioning.
The factory setup on these cars draws air from the cowl area, and that area is VERY poorly sealed from the factory.
It's metal screen, that is SUPPOSED to be melted/ bonded to the plastic frame.
In reality, it's barely holding on, and it lets all manner of leaves, pine needles, etc. go into the cowl area, and block your A/C evaporator.
Here is a picture of the part in question:
Here is what I did: I mixed up a batch of JB Weld, and sealed of the edges of the screen.
This isn't the first time I've done this. Afterwards, I'd recommend sealing the whole thing silicone, because that plastic edge isn't going to stop Jack Shi*t when it comes to leaves and pine needles.
I would have welded in a support like the kmember for the AC knotch so keep the integrity of that mount location. It would still give you the clearance just like the AC kmember knotch.
I agree that a little stiffening on the control arm notch would make me feel better. Probably won�t have an issue but I�d be a little paranoid. But im a paranoid kinda dude. Lol
I would have welded in a support like the kmember for the AC knotch so keep the integrity of that mount location. It would still give you the clearance just like the AC kmember knotch.
I briefly considered that, but 1) The new bushing is already pressed in, and I didn't want any welding in the area to damage the rubber (yes, I used AC Delco rubber bushings.), 2) I'm kind of pressed for time right now; I want to get the car from my shop to my house before the country gets locked down, and 3) The steel of the control arm seems pretty solid as it is; worst case scenario: I notice some cracks forming, and I have to change it out and deal with that damn spring again. No big deal, I've got three parts-cars to scavenge from.
Hopefully, today my son and I can get over there, install the master cylinder and bleed the brakes. Then in a day or so, we'll pull it over to the house, and I can start getting a lot more done.
Little update: I finally got the master cylinder in, but am having trouble bleeding the brakes; one bleeder is stuck. I might just pull it over to the house anyway.
As I mentioned many posts ago, I'm doing the Astro Van steering shaft upgrade.
If you're going to do this, or even if you're not, take the opportunity to re-route the brake lines closer to the frame rail.
I've always hated the way they were routed from the factory, caging in the steering shaft; I remember that the brake lines were dangerously close to the headers on my Camaro when I first bought it because of the factory routing.
It's a subtle change, and aside from the extra clearance, I think it cleans up the engine bay a little.
FINALLY, AFTER ALL THIS TIME, THE CAR IS BACK ON THE GROUND!
Suspension is back together, steering connected, brake system bled... It's ready to pull to the house.
A buddy at work has a dolly with a wench, so wait for an update Tuesday.
Little update; as I mentioned here , I was planning to route all of my HVAC wires/ vacuum lines through a hole I cut under the HVAC box, instead of through the factory location because of dipstick tube clearance, and just to clean things up a little.
That begs the question: What about that 1.75" hole left over?
I've never seen this addressed before, so I'll cover what I did.
First, I went to the electrical section of my local True Value hardware store, and got a 1.5" steel plug.
I know that the factory opening is 1.75", but trust me, in its delivered form, that plug wont fit in there.
The "fingers" on the back won't fit by a long shot, so I tapped them down with a hammer, then bent a few of them out to help locate it properly in the hole.
It took a little bit of trial and error, but I got it to where it would lightly snap into place.
Next step: JB WELD THAT BITCH IN!
And use the conventional JB Weld, not that "Quick Weld" BS; I've never had good results with that stuff.
Just be patient and wait the 24 hours; you can't rush success. Good things come to those who wait. All that stuff your elementary school teachers used to say.
I decided to take the advice of a smarter man than I:
Originally Posted by Aviator857
I ran mine through the factory location. What I did was buy a second harness and stripped it down by cutting the wires as long as possible. Installed the pcm where I wanted it and routed the wires up by the blower motor where the stock harness ran. Then with the engine installed and that harness routed so the pcm plug was above the blower I cut and spliced the wires. Be warned there are duplicate colors so be careful. Also staggered the splices so you don't have a large bulge in the harness.
I got a Silverado/ Tahoe engine harness for next to nothing, and stripped it down from the opposite end.
Next, I'm going to merge it with the sensor-side of the wiring. Half of the soldering for the win!
1) New fuse box I added that only controls the engine, transmission, and fans
2) Electronic throttle-body **** that I don't want to deal with right now; its going under the dashboard.
3) PCM connector One. Mostly connected. Also going under the dashboard.
4) PCM connector Two. Mostly connected. Also going under the dashboard.
5) Special attachment I made to monitor transmission line-pressure. Ask me if you want details.
6) Transmission range-sensor connector. Going on transmission.
7) Firewall and windshield wiper motor connectors
8) Main transmission electrical connector. Going on transmission.
I had to trim down the cooling fins on the PCM to really get it to fit under the dashboard. I still haven't figured out how I'm going to permanently mount it in there, but I'm open to suggestions.
It is my understanding that these cars need a slight boost in their tachometer signal, as shown here:
Mine is in here, covered by several layers of heat-shrink tubing. I tapped into one of the PCM power wires.
Last of all is the solenoid that will be providing key-on power to the auxiliary fuse box in the first picture. It's a 200 amp, continuous duty solenoid made by Cole-Hersee. It will be triggered by the big pink wire coming out of the C100 connector.
That's the view from the BOTTOM of the fender support; it won't be seen when everything is back together.
Speaking of the C100 connector: DOES ANYONE, ANYWHERE, HAVE A DIAGRAM OF IT FOR AN '89 FIREBIRD?
I've seen the stuff on austinthirdgen, I've done a lot of searches on here and elsewhere, but the C100 and C207 pinouts for '89 Firebirds are missing. Only for Camaros, and I can tell you for a 100% fact that they ARE NOT the same.
Last edited by dixiebandit69; 05-03-2020 at 08:26 PM.
I was able to mount my ECM under the dash on the factory TPI bracket by trimming it a bit and using zip ties to hold it to the bracket, and I didn't need to grind the ECM to get it to fit, it's tight up against the jute, but it fits
I finished reinforcing the crossmember hump.
Here's how I did it:
I cut out a similarly sized piece of 1/8" steel, cut a hole in in it, then welded it on. The purpose of the hole is to add more welding between the two pieces of steel. I welded a little, then heated the patch piece red hot, bent it to conform to the bottom piece, welded some more, repeat.
Here's the finished product:
More to come soon; now that the crossmember is finished, I'm starting on the exhaust Y-pipe.
I got a spare crossmember to play with.What diameter is that hump about? 3-4inches?
I got a spare crossmember to play with.What diameter is that hump about? 3-4inches?
I'd need to go under the car to get an exact measurement, but it's about 3.5". It's got about 1/2" of clearance from the 2.5" Y-pipe that's going through it.
I'll get you a measurement tomorrow; the scrap piece that I cut out is still on the floor in the corner of my shop where I do the metal work.
I'd like to have gone wider/ bigger, but that's pretty much all the room I had to play with; I know that some guys have used 4" steel tubing for this, but that seemed way too tight to me.
Speaking of the C100 connector: DOES ANYONE, ANYWHERE, HAVE A DIAGRAM OF IT FOR AN '89 FIREBIRD?
I've seen the stuff on austinthirdgen, I've done a lot of searches on here and elsewhere, but the C100 and C207 pinouts for '89 Firebirds are missing. Only for Camaros, and I can tell you for a 100% fact that they ARE NOT the same.
I might... but I do not think so...
The C100 terminal locations and wire colors (Pin-Outs) vary depending on the Engine/ Transmission combination; and some of the RPOs (Options) that the vehicle was built with.
Which engine and transmission did the Firebird come with and which package is the car (IE: Trans Am, GTA, etc)?
The C100 terminal locations and wire colors (Pin-Outs) vary depending on the Engine/ Transmission combination; and some of the RPOs (Options) that the vehicle was built with.
Which engine and transmission did the Firebird come with and which package is the car (IE: Trans Am, GTA, etc)?
This was a base model '89 Firebird with a 2.8L V6 and TH700.
I forgot to add this picture from the day I started removing it in the beginning of the thread:
Okay guys, it's update time. I got the fuel system figured out, and now I'm working on mounting the gas pedal and PCM.
That's a 3/8" nylon fuel line, with a Dorman # 800-082 quick-connector, and a Dorman brass connector for the factory fuel line connection; I don't have the part number right now, but I can get it.
Here's how it looks installed:
Now, I know that some of you are going to ask "Why the hell are you running the fuel line between the master cylinder and the brake lines?!"
That was the best angle I could get without starting to kink the nylon line. Think of this as a temporary setup. I've got another 10 feet of this stuff to play around with in the future. Just let me get it running, first.
Next, we've got the PCM. I decided to mount it behind the dash board, in the factory location.
I took the advice of some other guys on here and modified the factory PCM mount.
Yeah, that's right, I drilled through the cooling fins to zip-tie it on there. I don't think it's lost much cooling efficiency, plus, it's going to be mounted in a much cooler location.
Here's the back side:
Here are some shots from the bottom:
I don't like the clearance here, I'll probably bend that bracket in a little bit:
Now onto the gas pedal (Or Accelerator Pedal Position Sensor Assembly, as GM likes to call it).
I had no clue about how I was going to mount it, because I'd never seen anyone except Irishhockey do it before.
I didn't do things the same way he did, but here's how I am doing it (work in progress):
ATTENTION: THIS ONLY APPLIES IF YOU ARE USING A GEN3 TRUCK PEDAL ASSEMBLY!
Make a cut here; you won't be using the bottom half of it:
Here's how it looks bolted in place to the factory throttle pedal studs. I'll have more detailed pictures of the backside tomorrow.
Last edited by dixiebandit69; 09-28-2020 at 08:50 PM.
One last question, for all of you smart guys out there:
I've been checking the electrical system before I start this thing up, and my plan was to recycle as many of the OBD1 wires (Power, ground, and communication) as I could, and connect them to the OBDII connector.
I've got a real problem: The ground pin on my OBDI connector is getting battery voltage with the key on.
Does anyone, anywhere, know why this would be happening?
This OBDI port worked perfectly before this swap, so I must have messed up something in the wiring.
Just so we're all clear, this is the pin I'm talking about:
I'm worried about what else is getting power, when it should have ground.
I think you can put that nylon tubing in HOT water to soften it up just a bit to get gentle radius bends with it
I will definitely experiment with some spare tubing, and possibly implement that if the results are good.
Thank you for the suggestion!
I've got the truck gas pedal permanently installed:
Here's how I installed it using the factory throttle pedal studs, and it shows how much I had to cut off the truck pedal to get it to fit:
About the problem with power on the ground terminal of the OBD1 port:
I haven't figured that out yet, but I did buy a reproduction '89 Firebird service manual, so I'll be going over that in the coming days.
I think you can put that nylon tubing in HOT water to soften it up just a bit to get gentle radius bends with it
I followed scooter's advice, and got it to clear the brake lines; I'd like the bends to be a little tighter than they are, so I may try some experiments with the heat gun (can't believe I didn't think of this sooner; thanks, scooter!).
Also, at LONG, F*CKING LAST, I have a definitive C100 pinout for an '89 Firebird.
It's almost identical to the Camaro C100, but I did spot a couple of differences.
Unfortunately, this manual doesn't seem to have a C207 pinout; it shows a picture of the terminals numbered, but it doesn't say where they go. I'm trying to piece that together looking at subsystem diagrams (everything I have found has matched the Camaro C207 so far).
You just have to be careful with the heat gun it gets way hotter much faster than boiling water and you can cook the tubing. I screwed up a pieces of corrugated tubing for my in tank fuel lines in my second gen.
If the C207 isn't listed you have to go through the engine section and look for all the 207 connections and write them on your own.
Here's an update that most of you guys will find boring: I found out the electrical issue that I mentioned here.
The answer was stupid, but understandable: I didn't have the C207 connector connected.
C207 - M is ground for the datalink connector, and a lot of other stuff, thus, I was not seeing ground on it.
I was seeing voltage on it with the key on because there was no ground.
I was only able to figure this out once I got the factory service manual, because all prior information I had glossed this over.
In an effort to find the problem (before I got the manual) I thought there might be a problem with the ignition switch.
So I took it apart, cleaned it, inspected it, and found nothing wrong.
Someone else on here (I'm not sure who) did a tutorial of how to disassemble and reassemble an ignition switch, but I couldn't find it that night, so I took my own pictures.
Hopefully they help someone.
This an original GM ignition switch, and the circled areas are where you need to un-crimp the tabs.
Here's what you're going to be left with. Beware: one spring has a spacer.
Here are the springs in place:
Contact points in place:
Put some dielectric grease on the contact points, clamp it back together with some pliers, and you're ready to go for another ten years.
Now onto the transmission build.
Last edited by dixiebandit69; 11-28-2020 at 09:39 PM.
Here's an update that most of you guys will find boring: I found out the electrical issue that I mentioned here.
The answer was stupid, but understandable: I didn't have the C207 connector connected.
C207 - M is ground for the datalink connector, and a lot of other stuff, thus, I was not seeing ground on it.
I was seeing voltage on it with the key on because there was no ground.
I was only able to figure this out once I got the factory service manual, because all prior information I had glossed this over.
In an effort to find the problem (before I got the manual) I thought there might be a problem with the ignition switch.
So I took it apart, cleaned it, inspected it, and found nothing wrong.
Someone else on here (I'm not sure who) did a tutorial of how to disassemble and reassemble an ignition switch, but I couldn't find it that night, so I took my own pictures.
Hopefully they help someone.
This an original GM ignition switch, and the circled areas are where you need to un-crimp the tabs.
Here's what you're going to be left with. Beware: one spring has a spacer.
Here are the springs in place:
Contact points in place:
Put some dielectric grease on the contact points, clamp it back together with some pliers, and you're ready to go for another ten years.
Now onto the transmission build.
Nice work man. I'm looking to do the a/c on mine next. Good luck with the transmission build. I successfully completed my 4l60e build with flawless results.. at least so far. Take your time, and keep everything clean.
Yep, I initially overlooked that C207 ground wire too. It's easy to forget. I think it is ground for datalink, Passkey module, and the speed signal conditioner.
Also had to refurbish my ignition switch because it was acting flaky after sitting so many years. Been good for years after polishing the contacts. Little tricky to get that darn thing back together though!
Hey guys, I'm not dead! I finally got this thing running! I had to take a bit of a break on the build; shortly after my last post, I hydrolocked the engine on my daily driver. So I got a spare vehicle running... And promptly blew a headgasket. So I fixed that... Then a pinion bearing in the differential let go... And well, basically, I've had a lot of setbacks.
But I stayed the course, finished the transmission build, bit the bullet and paid someone to unlock the PCM, etc., and here I am. There were some hiccups along the way (Ex: It took me a couple of days to figure out why I couldn't keep it running without keeping my foot on the gas, and why I had a bunch of MAF/ MAP codes; it turns out some dope forgot to put new injector O-rings on the LS6 intake! What a dumbass!), and the build is far from over, but I'm at least a lot closer to the finish line now.
The fuel pressure with the Corvette filter is great; I'm using a first generation Vortec ('96-'98) fuel pump that fits right into the third gen sending unit.
Hiccup: When I made the exhaust Y-pipe, I forgot to account for the torque arm mount and transmission linkage. I tried some "fine tuning" with a sledge hammer, but even after mangling the pipe, it was clear that it was never going to work. So out comes the exhaust cutter. Muffler shop is my next destination.
Here's how it's currently exiting:
So this is the belt drive that I'm running. It seems to work:
I had a problem with the transmission cooler lines; I could not get the factory Tahoe lines to work, so I bent my own, but I ran into a problem attaching them to the transmission. Most brass fittings are NPT, but the 4L60 case is Straight Pipe Tread, and incompatible. So I had to find an NPT-Straight Pipe Thread adapter, then find a 45 degree NPT to flare-nut adapter. Those fittings are a lot harder to find than you might think, and I had to buy a pack of ten. If anyone is interested in buying a couple, hit me up.
Last of all, I know that @vorteciroc is going to cuss me up and down, but the lines are 5/16", not 3/8". I couldn't get 3/8" line to bend tight enough to clear the floor pan. Hopefully the large transmission cooler I installed will make up for it.
If you have questions, ask away. There will be updates soon.
I finally got the exhaust hooked up; I ended up ditching all of the tubing I had made, since even the passenger side was hanging too low and hitting dips/ bumps.
In retrospect, it was a huge waste of time. Next time, I'm just going to let the muffler shop handle it.
I'd still consider this a work in progress, but at least now I won't wake up the neighbors when I start the thing.
QUESTION: My tachometer IS NOT accurate. I already added a "booster" resistor, as seen here:
Right now, the tach is running at approximately half the engine speed. I'm using a known good V8 tachometer. What is the remedy for this situation?
I don�t recall everything your running but you have a few reasons why your tach is wrong.
- stock LS pcm outputs a 4cylinder tach signal
- car was originally a 6cyl car and if your not running a 4cylinder tach it won�t read right. If it�s a v8 tach then it will read about 1/2 of engine speed.
- fix is to put a aftermarket tach that can accept a 4 cylinder tach signal.
- or swap out the factory PCM for a terminator or something that outputs a v8 tach signal.
when I ran the factory 5.3 pcm I could never get it to output a v8 signal (in the tune) so I switched my speedo over to 4cyl (speedhut gauge) and it worked fine. I use a cheap sun pro in 4 cylinder mode when I test LS engines on my test stand with factory pcm and it works fine.
 09-06-2019, 10:01 PM