When you click on links to various merchants on this site and make a purchase, this can result in this site earning a commission. Affiliate programs and affiliations include, but are not limited to, the eBay Partner Network.
Electrical Wiring Harness/ Cable Construction in Motorsports (or some Mil-Spec) and Competition Vehicles can be mysterious or baffling to some...
Without going over anything that would be considered secretive to anyone in the Electrical/ Harnessing Business...
I would like to just go over some basic examples here.
Starting off, will be a Power Cables.
This would be used as a Battery Cable, Alternator Cable, or anything that I would Build for High Amperage Applications.
I offer Cables in this Category, up to 250 Amperes (Higher Loads would be in a Specialty/ Hybrid Electric Vehicle Category).
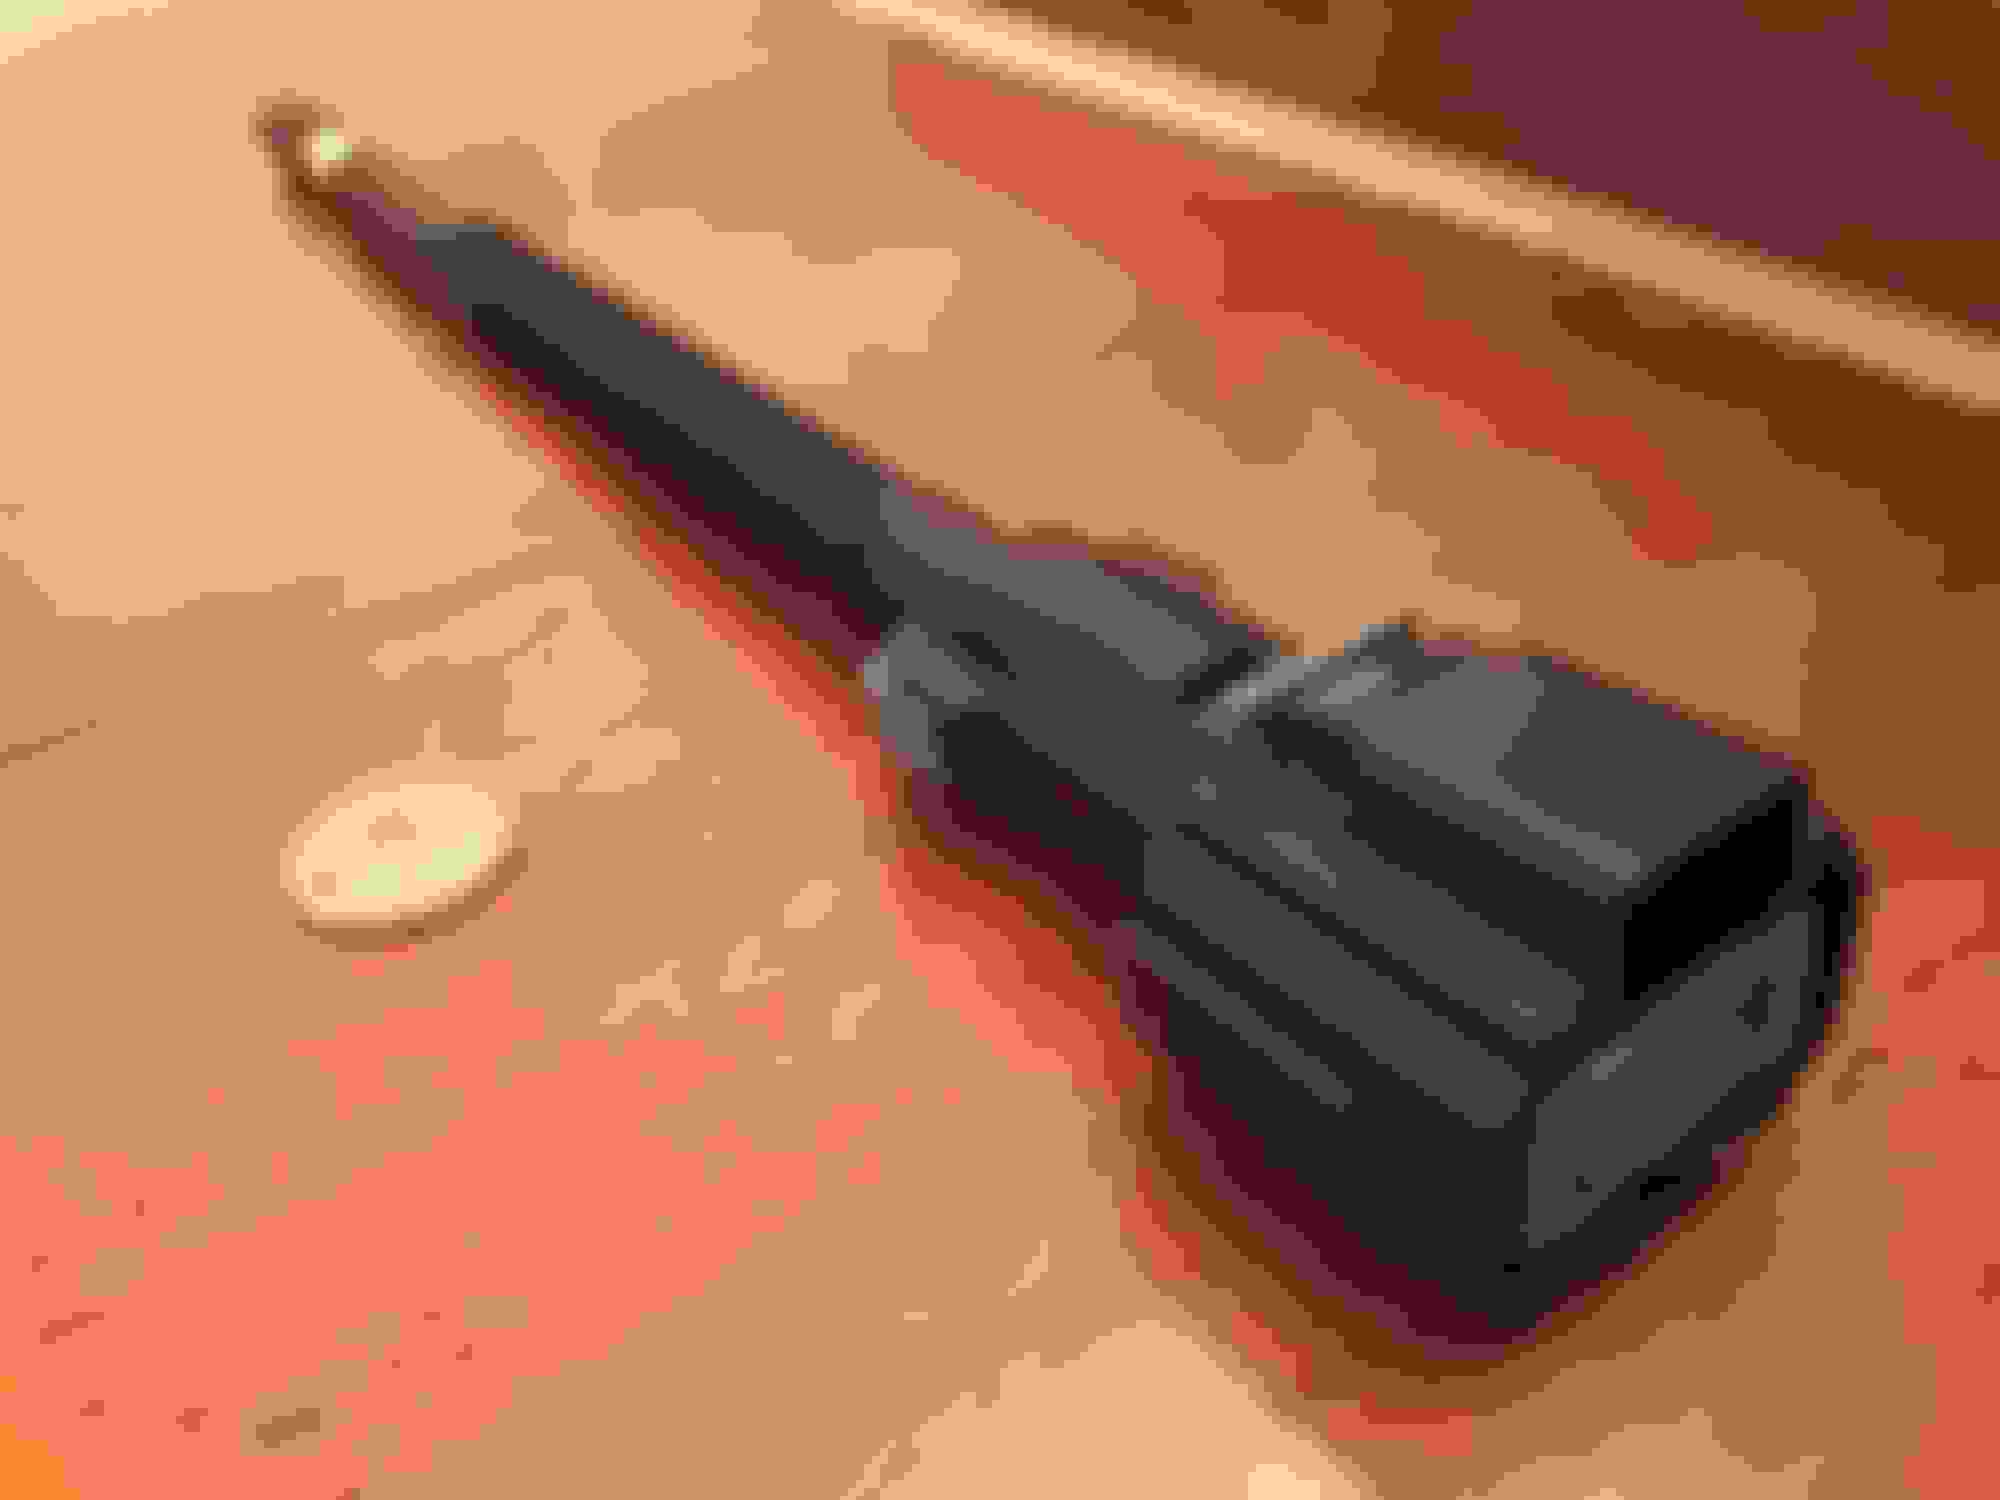
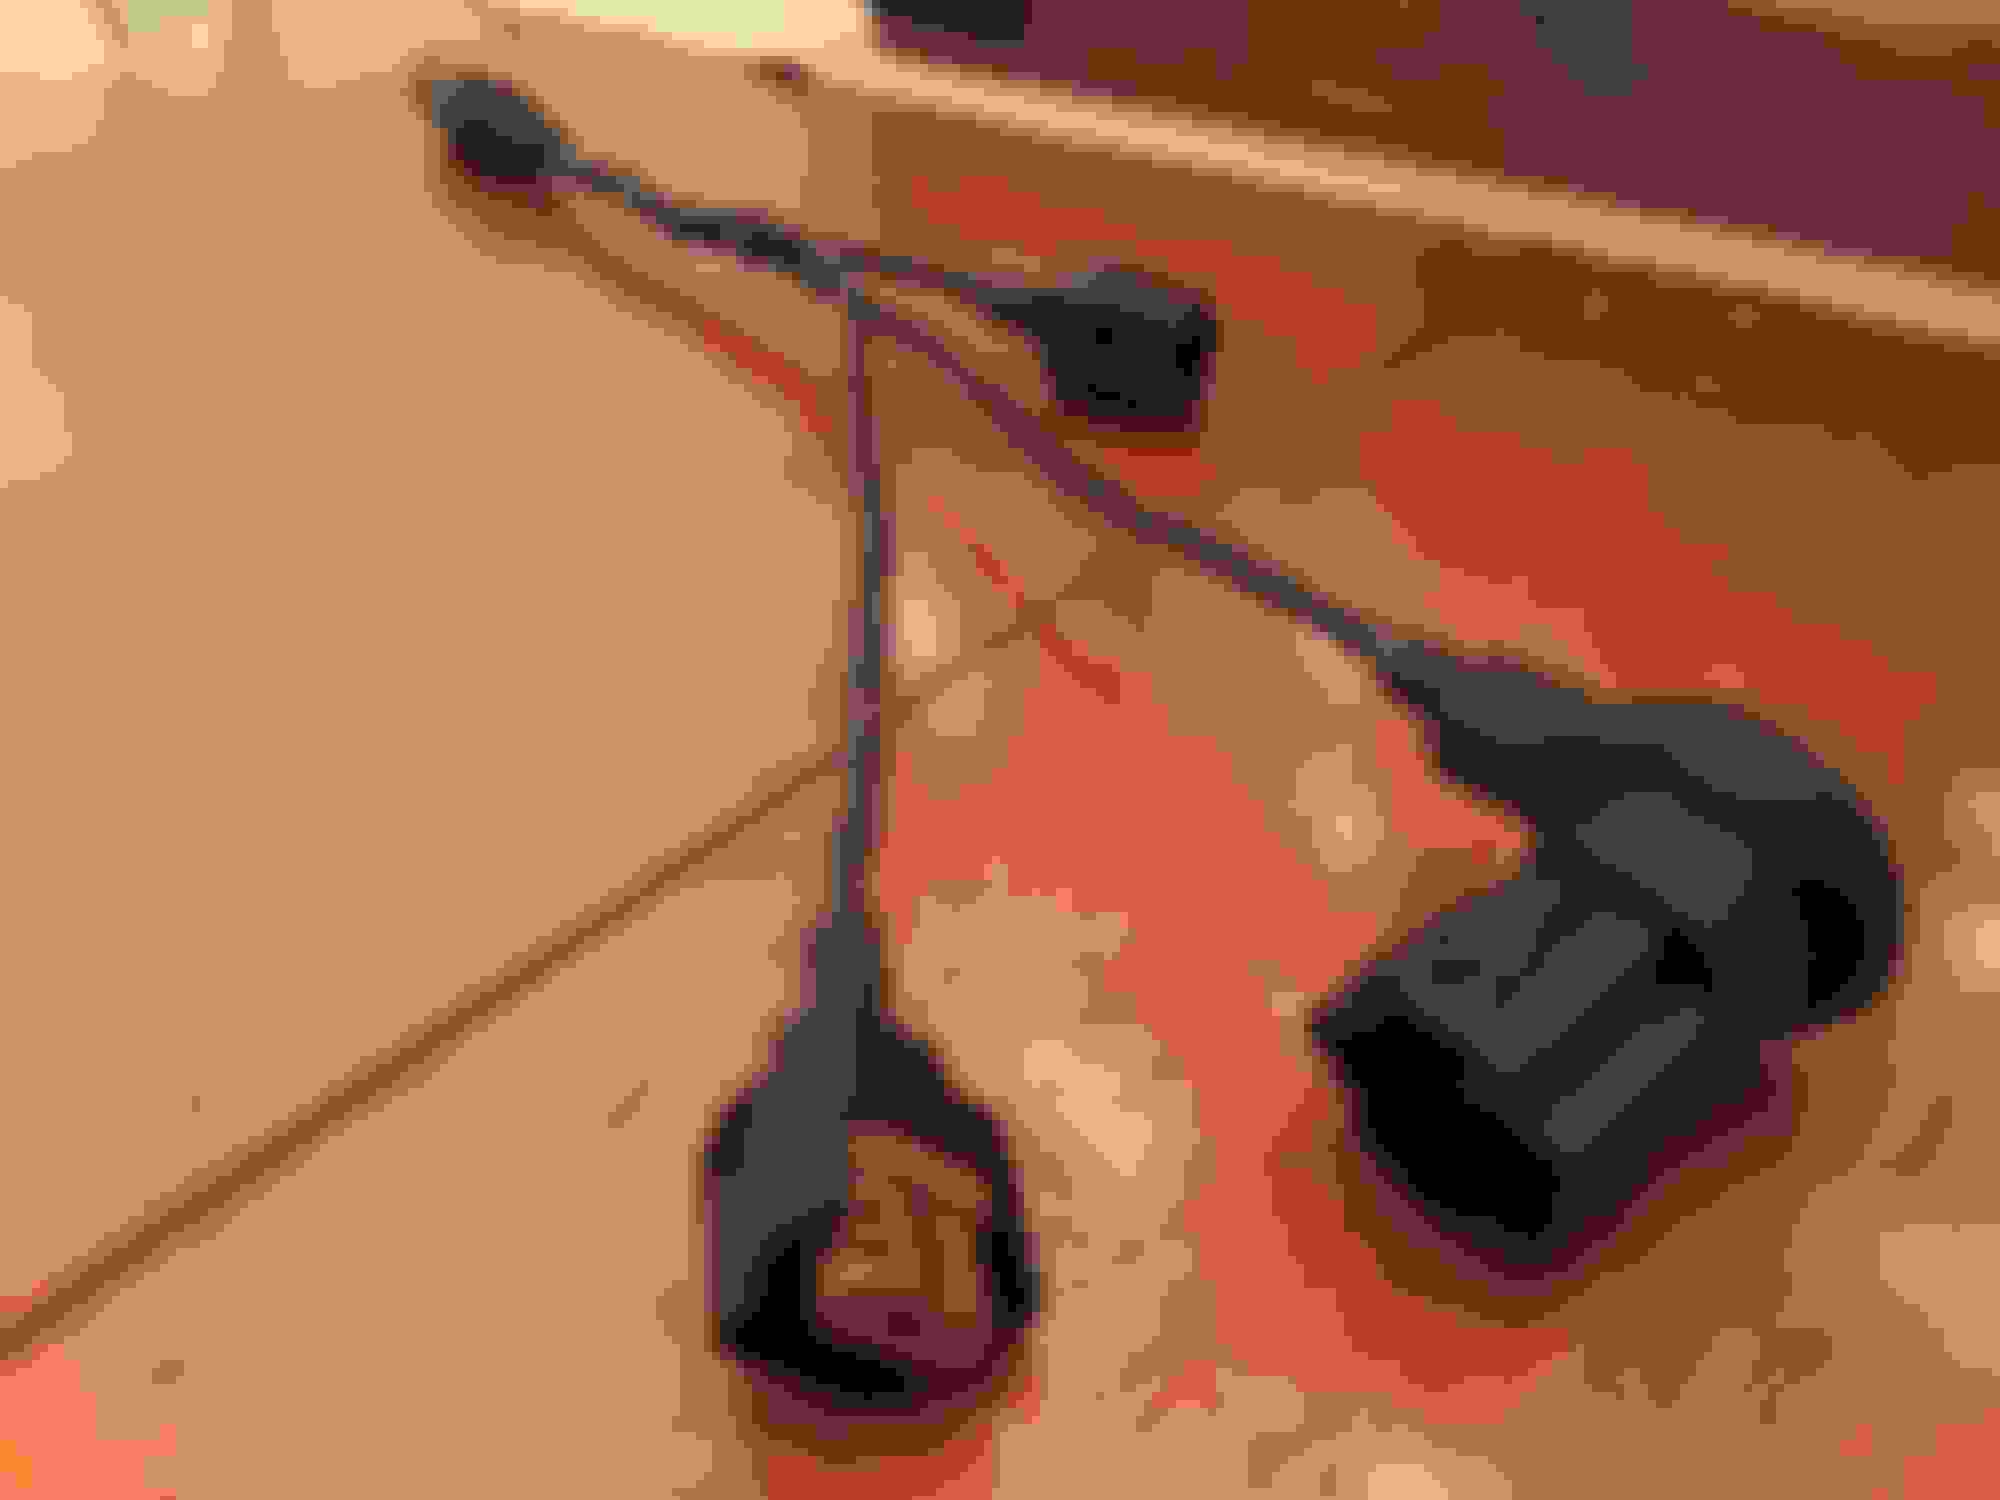
2 AWG Power Cable "Cut-Away" with Delphi Single-Terminal Power-Pack 2000 Electrical Connector (250A Max. Cont.) shown below:
As shown in the Image above, there multiple layers that comprise the fully assembled/ completed Power Cable Section.
I do NOT want to over complicate this Thread and make it more boring... so I am going to cut back on the details.
Shown above... from the Left side of the Image to the Right:
-Bare Conductor: Annealed electrolytic copper with 665 x 30 Stranding for flexibility.
-Inner Insulation: White flexible Poly Vinyl (PVC) for protection from external forces (cuts/ abrasions) and flexibility.
-Outer Insulation: Black Thermo-Plastic Elastomer (TPE) for Temperature protection, durability and flexibility.
-Raychem DR-25 Jacket: Proprietary Crosslinked Elastomer for Fluid, Heat, and Chemical protection and flexibility.
-Techflex Flexo Sleeving: Black Poly-Ethylene Terephthalate (PET) for aesthetic purposes, handling, and flexibility.
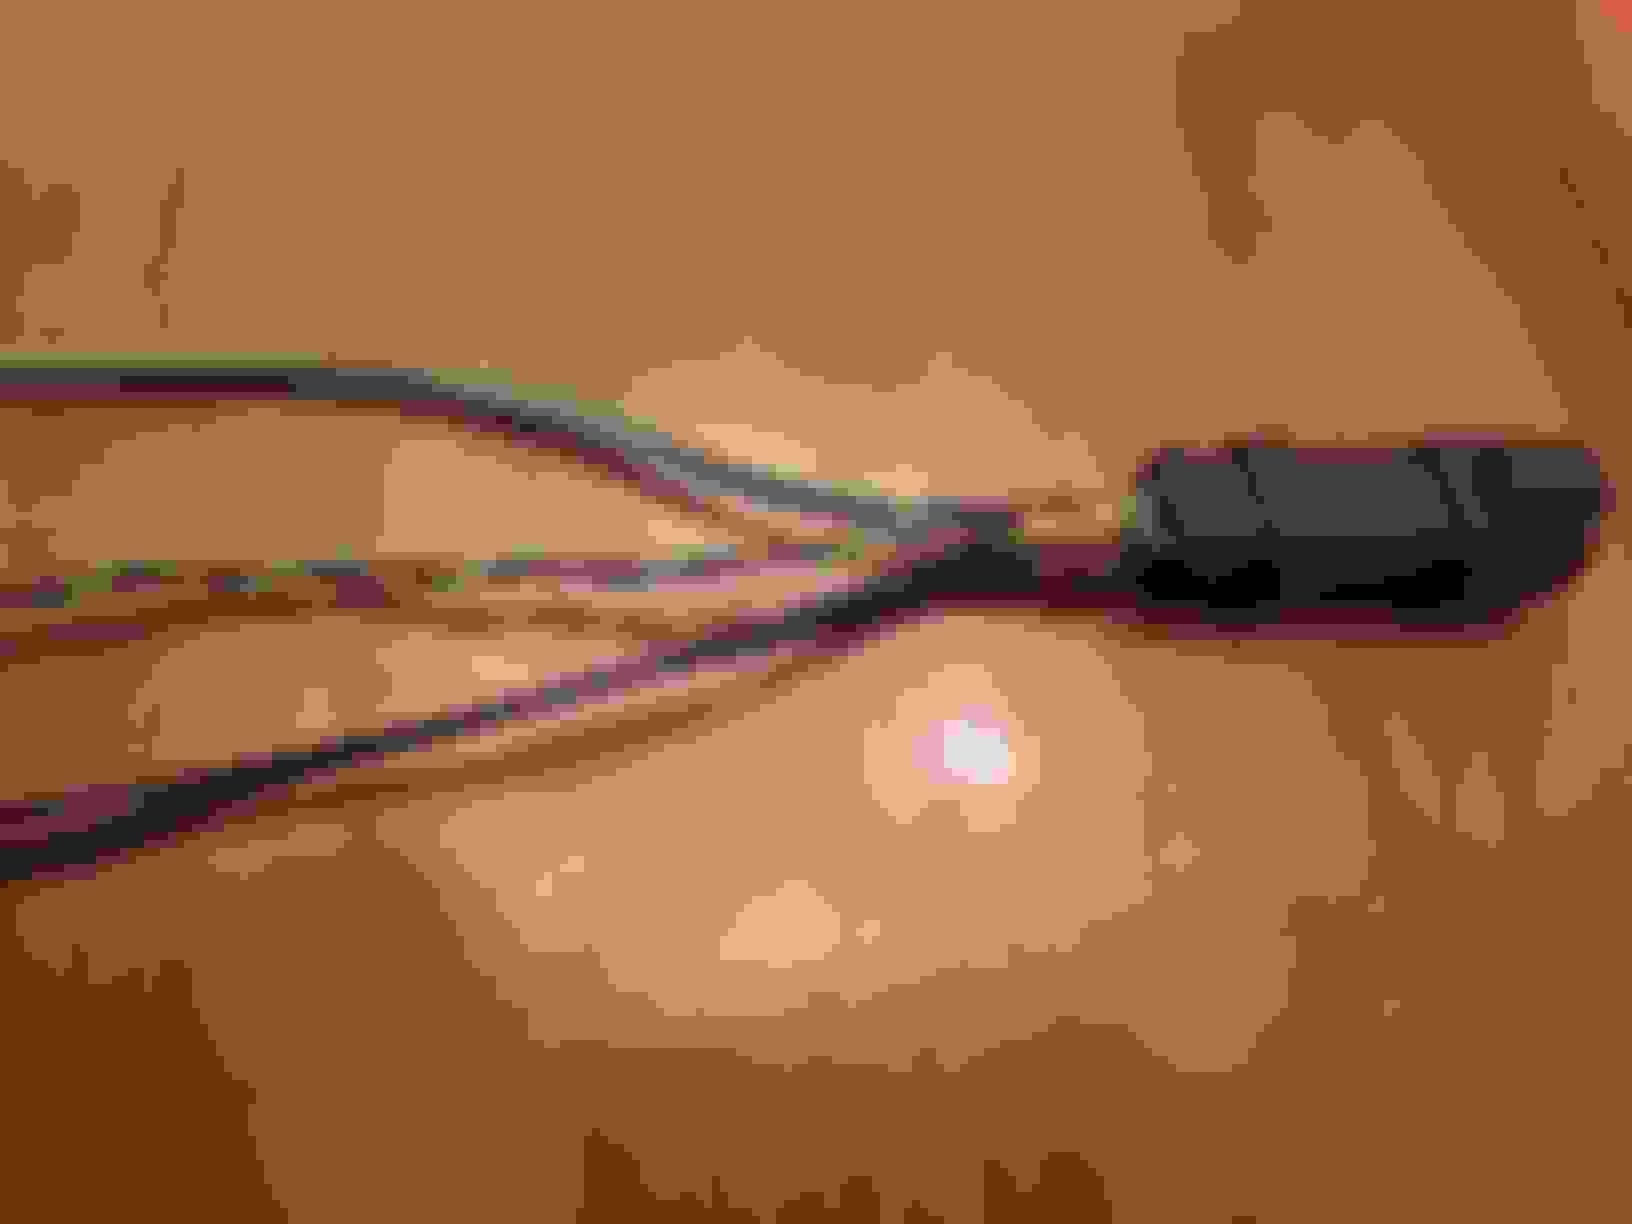
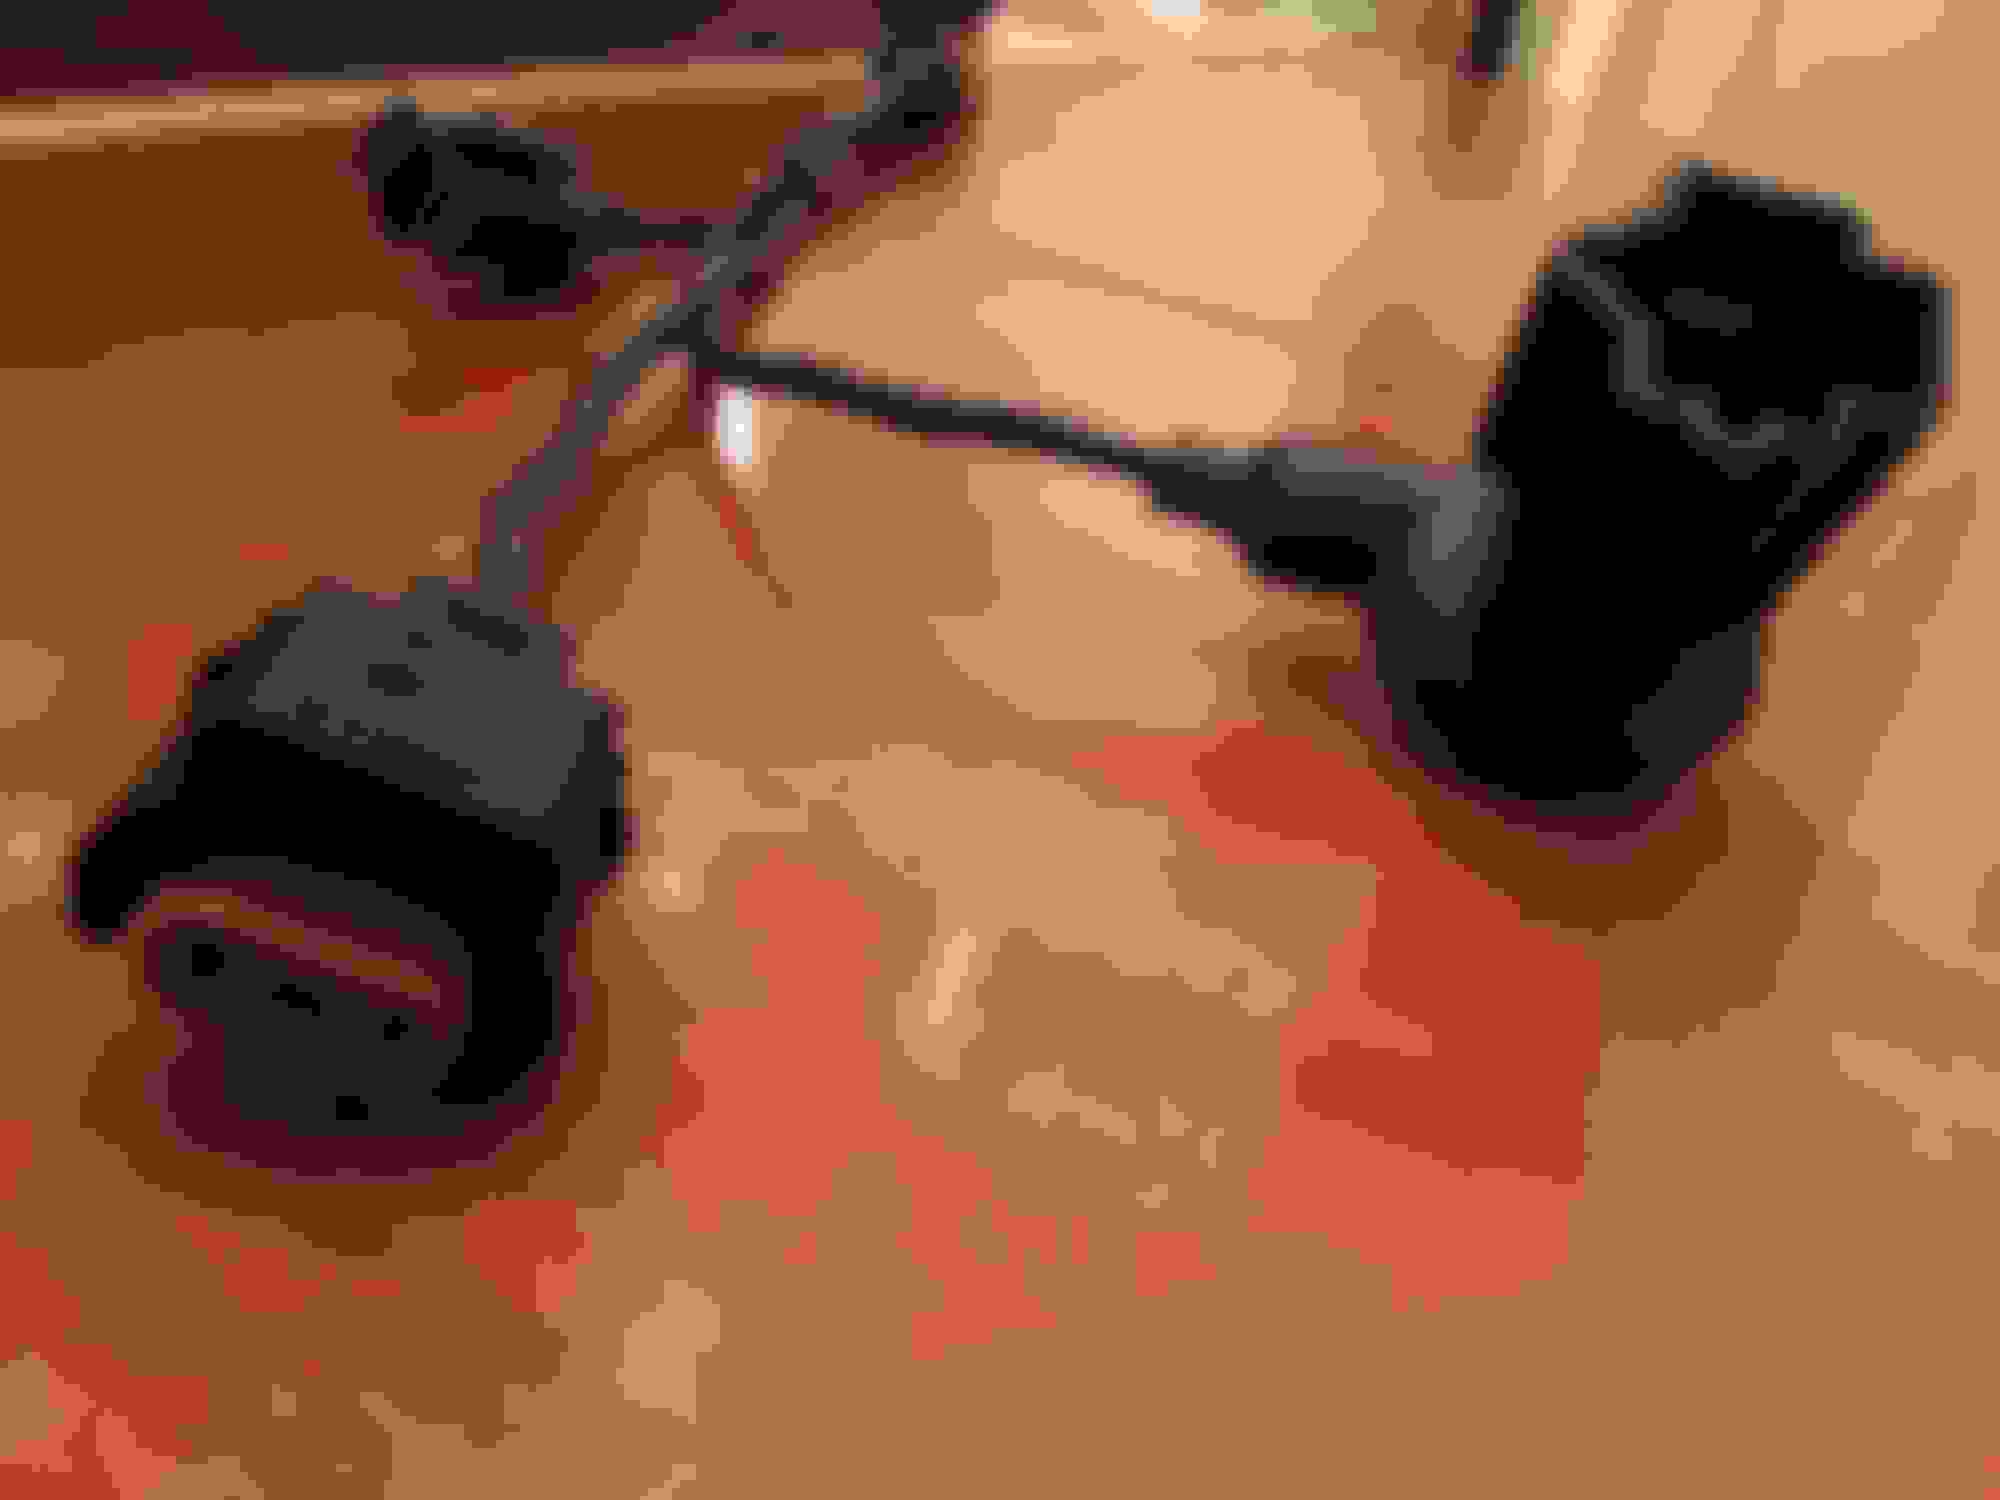
The final Layer before the Connector is shown in the Image below:
From the Image above, the final Layer:
-Raychem SCL Sleeving: Black Adhesive Lined Crosslinked Polyolefin for encapsulation and rigidity (Stress/ Strain Relief).
Last edited by vorteciroc; 11-30-2022 at 07:18 PM.
All of the Layers if this type of Power Cable are designed for Flexibility, except for the Raychem SCL outer Layer Heat Shrink.
Even the Copper Conductor is designed for Flexibility from the Composition of the Annealed Copper to the arrangement and quantity of Copper Strands.
The Raychem SCL Heat Shrink is used mostly at Termination Points, and is used as a Strain Relief at the Terminal or Connector being used.
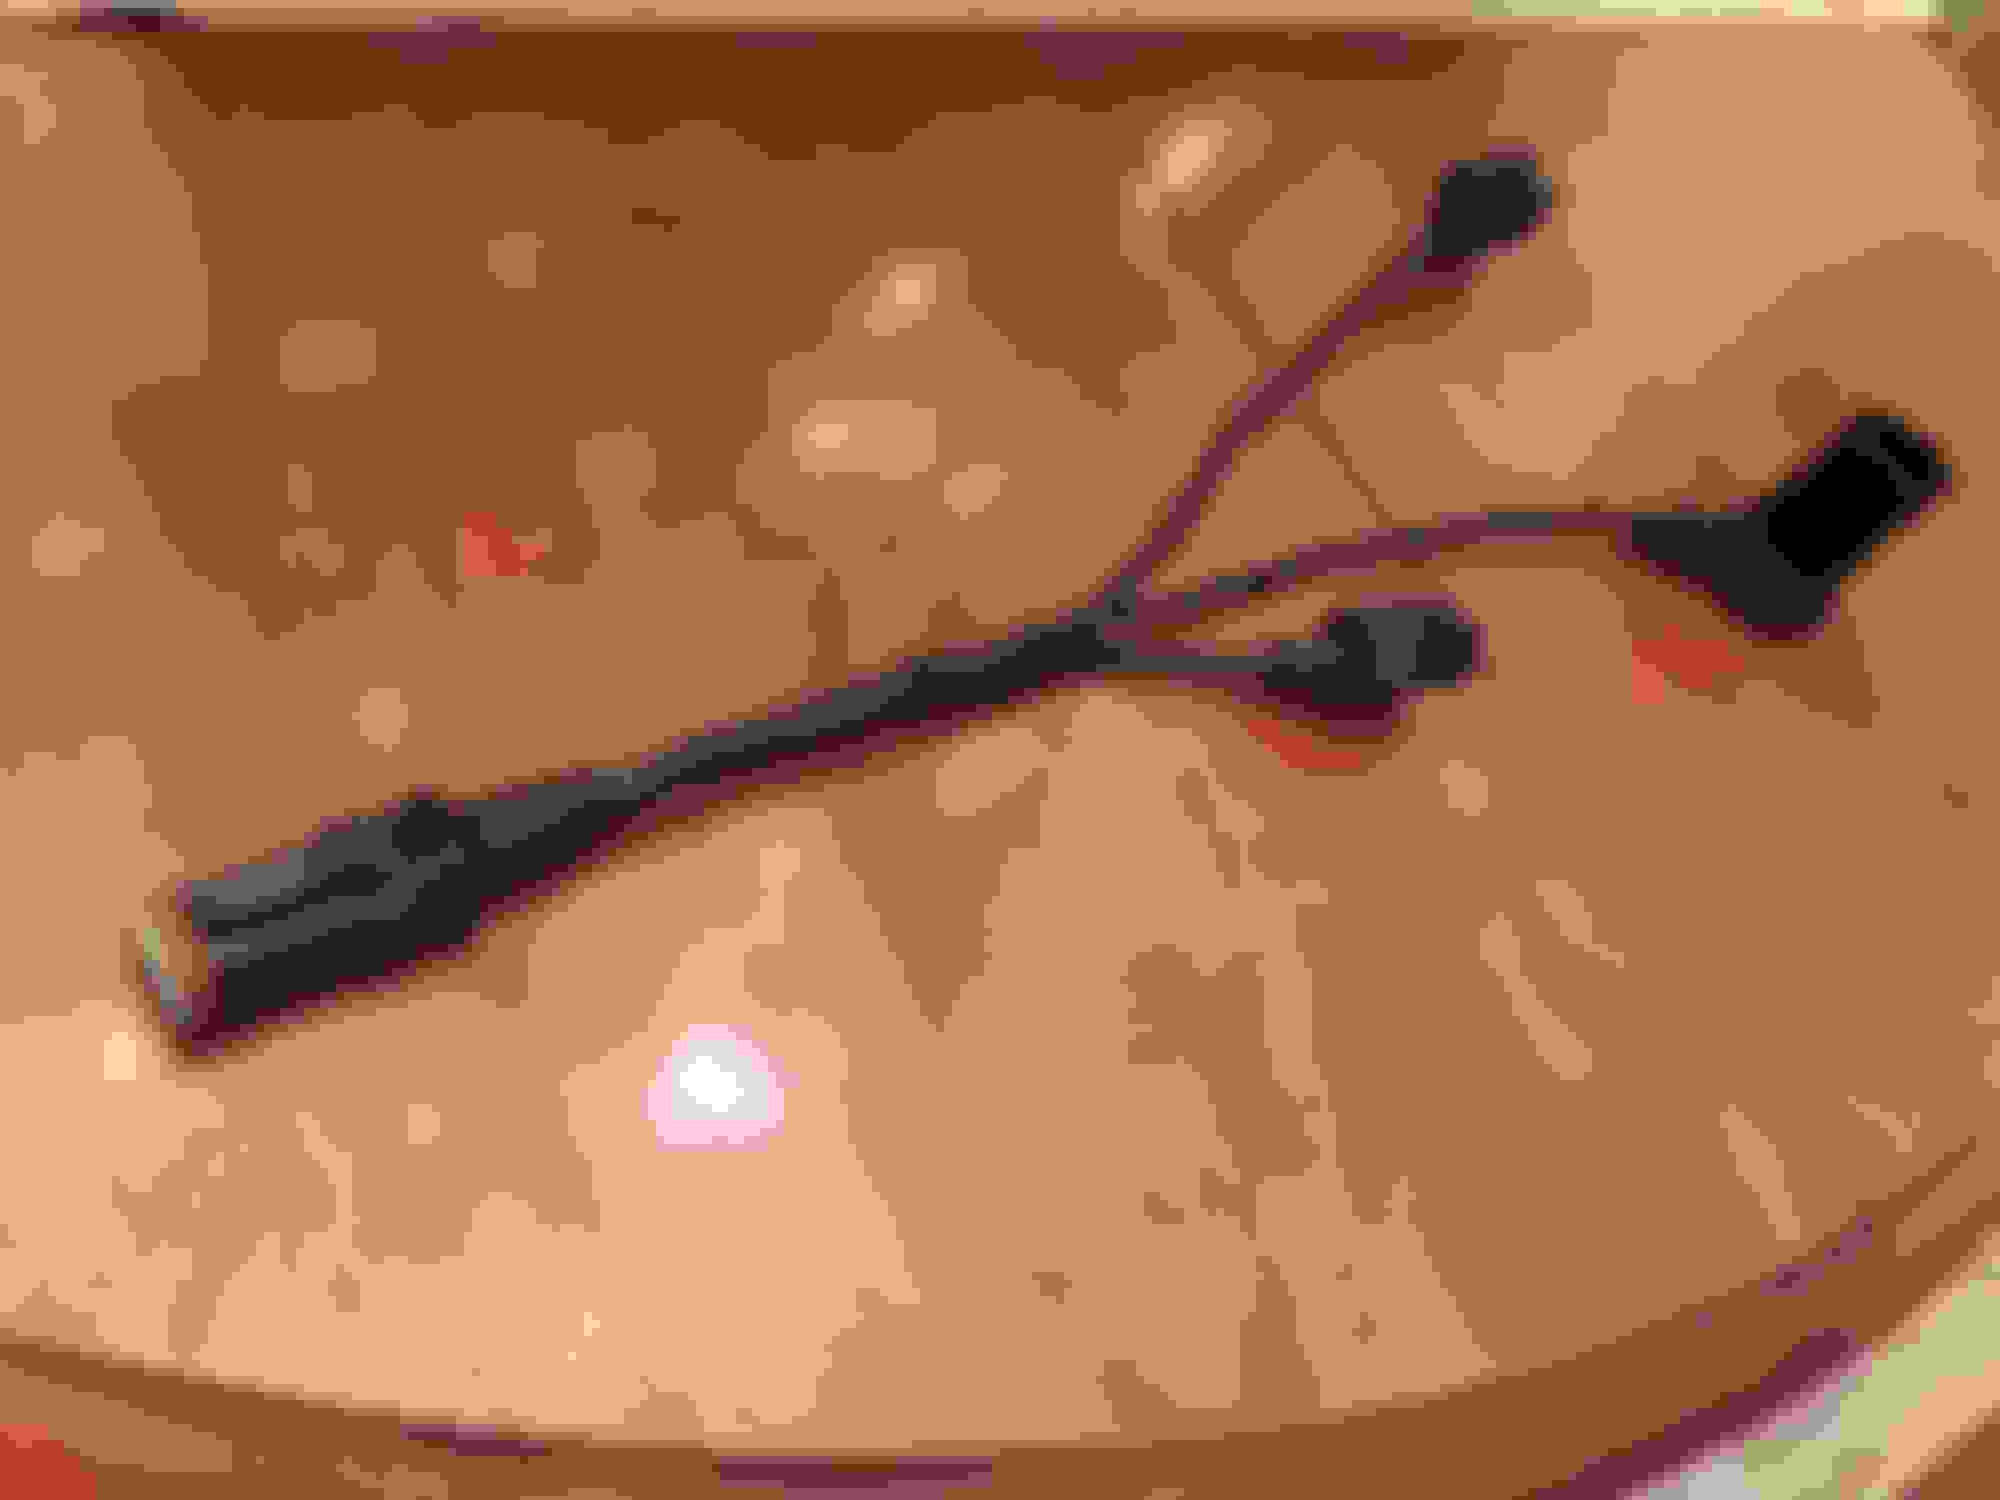
As shown both above and below (in the Images), these Power Wires can be configured for different types of use/ Termination as for the Battery, Alternator, Distribution Point, Bulk-Head, or Electrical Connector.
Last edited by vorteciroc; 11-29-2022 at 06:47 PM.
Start by laying-out all Wires from the Connector.
Strain-Relieve any Small Gauge Wires.
Splice any Wires that need to be Multiplied.
Splices will be sealed in SCL Heat Shrink:
Next, Align all Wires in a straight plane:
Next a very Thin and High Heat Tolerant Tape (Kapton) will be used to secure the Wires at the end of the Connector Body:
Last edited by vorteciroc; 11-30-2022 at 11:56 PM.
This Harness will be Part of a Headlamp Update/ Upgrade for 3rd-Gen Camaros.
One Relay will now allow for proper powering of the Low-Beam Lights and a Second Relay for the High-Beam Lights.
The Low-Beam Lights attached to this Harness are 35W HID Arc-Tubes.
This section of Harness contains 6 Wires consisting of 3 Pairs.
Now layout all the Wires and select the First Pair of Wires to Twist by order of Smaller Gauge Wires.
This First Pair of Wires will be Twisted towards the Left/ Counter-Clockwise:
Next, continue to complete a Linear Twisting Assembly by selecting the next Layer or Wires.
Separating any yet unused/ untwisted Wires/ Pairs.
Each Layer will be Twisted in the Opposite Direction from the Prior Layer.
In this Harness, One Pair of Wires will make the next Layer and be Twisted towards the Right/ Clockwise:
Next the Third and Last Layer of the Harness Section can be Twisted Opposite the Prior Layer:
The Image below shows all Layers completed...
Ready for Raychem DR-25 Heat-Shrink Sleeving and Raychem SCL Heat-Shrink Tubing (Sealing the back of the Bootable Connector, just like a Heat-Shrink Boot):
The Image below shows the Raychem DR-25 Heat-Shrink Sleeving and Techflex Flexo "Clean-Cut" expandable Braided-Sleeving applied:
The Image below shows Raychem SCL Heat-Shrink Tubing (Sealing the back of the Bootable Connector, just like a Heat-Shrink Boot):
With the Wiring in the Linerar Twisted configuration...
You would be incredibly surprized just how flexible and pliable the Wiring Harnesses are!
Last edited by vorteciroc; 01-02-2023 at 07:03 PM.
Some may think there's "too much" attention to detail above, but IMO that doesn't apply to automotive electrical wiring. We've all seen examples of wiring "repair" jobs gone horribly wrong with haphazardly twisted conductors covered with tape, those awful Scotchlock connectors, and even all wires in a harness with the same color wire. All manner of problems is the usual result (seen in posts on this site almost daily), and even the possibility of a vehicle fire.
The Images below shows 1 of the Sub-Sections of the Sealed HID Low-Beam Headlamp Harness...
That is the same as the Wiring Harness in the Post above this one:
The Harness Trunk to Sub-Section Transition Connectors are Bootable TE DT Series Connectors:
Last edited by vorteciroc; 01-02-2023 at 07:21 PM.
I designed these Harnesses to take the original Headlamp Low-Beam and High-Beam Power Circuits...
And now use those Circuits as the Relay Coil 12V+ Activation, and 12V- Activation Circuits.
The Original H4656 Headlamp Socket-Connectors are the Interfaces for the New Headlamp Harness Assembly and Lighting.
The Delphi 59-Series Connector that Mates to the H4656 Headlamp Socket-Connector...
Is where everything starts!
One of the epoxy filled/ sealed and Booted 59-Series Connectors can be seen in the Image below:
2...
3...
Last edited by vorteciroc; 12-13-2022 at 09:48 PM.
This Harness Assembly incorporates Modern ISO 280 Foot-Print Devices, such as ATM Fuses and Micro Relays...
As we all know, these Cars skimped on the use of Relays... and the most modern Fuses at the time were ATC/ ATO Fuses.
These Harnesses use Sealed GEP Power Distribution Components, which are shown below:
The Images below show the Power Distribution Center (PDC) that I designed/ configured for my Sealed Custom Relay Powered HID Headlights:
My Power Distribution Center (PDC) is incomplete in all of these Images.
(The Relay and Circuit-Breakers shown are just for Mock-Up... Two SPST Relays and Four ATM Fuses will be installed when complete).
A very large Raychem Heat-Shrink Boot will be installed at the bottom of the Power Distribution Center...
And Two more Raychem Heat-Shrink Boots will be used (One on each Deutsch DT Connector):
Last edited by vorteciroc; 01-02-2023 at 07:40 PM.
This Custom Relay Powered HID Headlight Harness is also available with a Standard Wiring Configuration...
As well as a Concentric Twisted Wiring Configuration.
Concentric Twisting will be next.
The Images below show some examples of Concentric Twisting (part of a Wiring Section that I cut shorter).
The Image below shows the Core (Sleeved in Black with 4 Shielded Wires inside) towards the Top of the Image.
Below that, is the First Layer that is Concentric Twisted over the Core (10 Wires in the First Layer):
The Images below show part of the Second Layer (13 Wires in the Second Layer):
Concentric Twisting adds a significant amount of Wire, Components, Weight, Time, and Cost.
A $50 Section of a Wiring Harness that is assembled without any type of Twisting...
Would be around $300 when Concentric Twisted.
Completing the Harness with all Motorsports Grade Wire and Components, would be around $600.
If anyone here is interested in any of these Wiring techniques...
Please do let me know.
Concentric Twisting is both an Art and a Science (some Math involved)...
It can be difficult and frustrating to learn/ start out.
However, it does become easier with practice.
Last edited by vorteciroc; 01-02-2023 at 08:04 PM.
 11-16-2022, 10:29 PM