When you click on links to various merchants on this site and make a purchase, this can result in this site earning a commission. Affiliate programs and affiliations include, but are not limited to, the eBay Partner Network.
Most of the threads for wideband installs are very high level discussions that don't delve into specific details including where the wideband controller was mounted, how the sensor wire was routed into the cabin, what electrical connectors are required, etc. This was my first time doing automotive wiring so I learned most of this as I went. Hopefully this guide will answer those questions for people interested in installing a wideband O2 sensor in their car.This guide will cover the installation of an Innovate LC-2 WB 02 sensor into a 1991 Camaro with Dyno Don headers and y-pipe. The car also has a EBL-P4 computer which will be used to capture data from the LC-2 wideband controller. This guide assumes that you have the instruction manual for your wideband controller and provides a wiring diagram for reference that is essentially the wiring diagram that comes with the controller.Materials Used
Black 16 gauge wire. Used for wiring up ground connections.
Red 16 gauge wire. Used for wiring up power connections.
Any color 22 gauge wire. Used to connect the LC-2 controller output to the ADC channel of the receiving device (in my car, the EBL-P4 computer).
Absolute RLS-125 5-pin automotive relay. Used to create an ignition switched power source for the LC-2 wideband controller.
14-16 gauge 0.250” male quick disconnects – Dorman part number85453. Used to connect the relay to a keyed ignition source in the fusebox (one of the single port IGN slots).
14-16 gauge Ring Terminals 3/8” - Dorman part number 85411. Used to connect the ground and power wires to the battery terminals.
One 1A ATC fuse and one 5A ATC fuse.
Two 16 gauge inline ATC fuse holders.
UV resistant zip ties
Routing Wires into the Cabin
The first thing I did was look at what holes existed in the firewall to route power/ground/O2 sensor wires into the cabin. Without drilling a new hole in the firewall my options were limited, but I did not want to do that unless absolutely necessary. Initially my plan was to route the power and grounds wires from the battery into the passenger side fender and then jam the wires through the antenna grommet in the passenger side kick panel. That plan went out the window as it became clear that 16 gauge wires would not fit through the antenna grommet.
The next best hole was the cruise control grommet in the drivers side footwell by the pedals. Oddly enough, when I checked the grommet, the previous owners had pushed the grommet out and ran a power wire for a custom sound system (that was also removed before I owned that car) sometime before I owned the car. They never bothered to figure out a way to put the grommet back in with the wire there, so for the past 9 years of owning this car that hole has been exposed to the engine bay. I ended up using the cruise control hole to run my wires into the cabin.Jacking the car up,
I found that routing the O2 sensor wire from the cruise control hole to the y-pipe in front of the catalytic convertor was fairly simple. Starting from the y-pipe, the front lip of the transmission crossmember and some zip ties could be used to cross from the passengers side of the car to the drivers side. Then zip ties can be used to run the O2 sensor cable up the fuel lines, which puts the cables right next to the cruise control hole and away from electronic noise.
Finally, the 16 gauge power and ground wires from the battery + and – terminals can be routed along the wiring harness by the A/C lines on the passenger side using zip ties. Then cross of the distributor up by the cowl, and drop down by the brake booster into the cruise control hole. Not the cleanest way to route it across the car but it looks fairly sanitary.Ultimately, I ended up cutting the cruise control grommet as I could not push the O2 sensor wire through it. When I reinstalled the grommet I made sure the wires are all sitting away from the cut part so they do not rub on the firewall. While it isn't a 100% tight seal, its 90% sealed which is more than good enough considering that grommet wasn't installed at all for nine years. If it truly was a problem, then silicone could be used to seal up the grommet permanently
Mounting the Controller
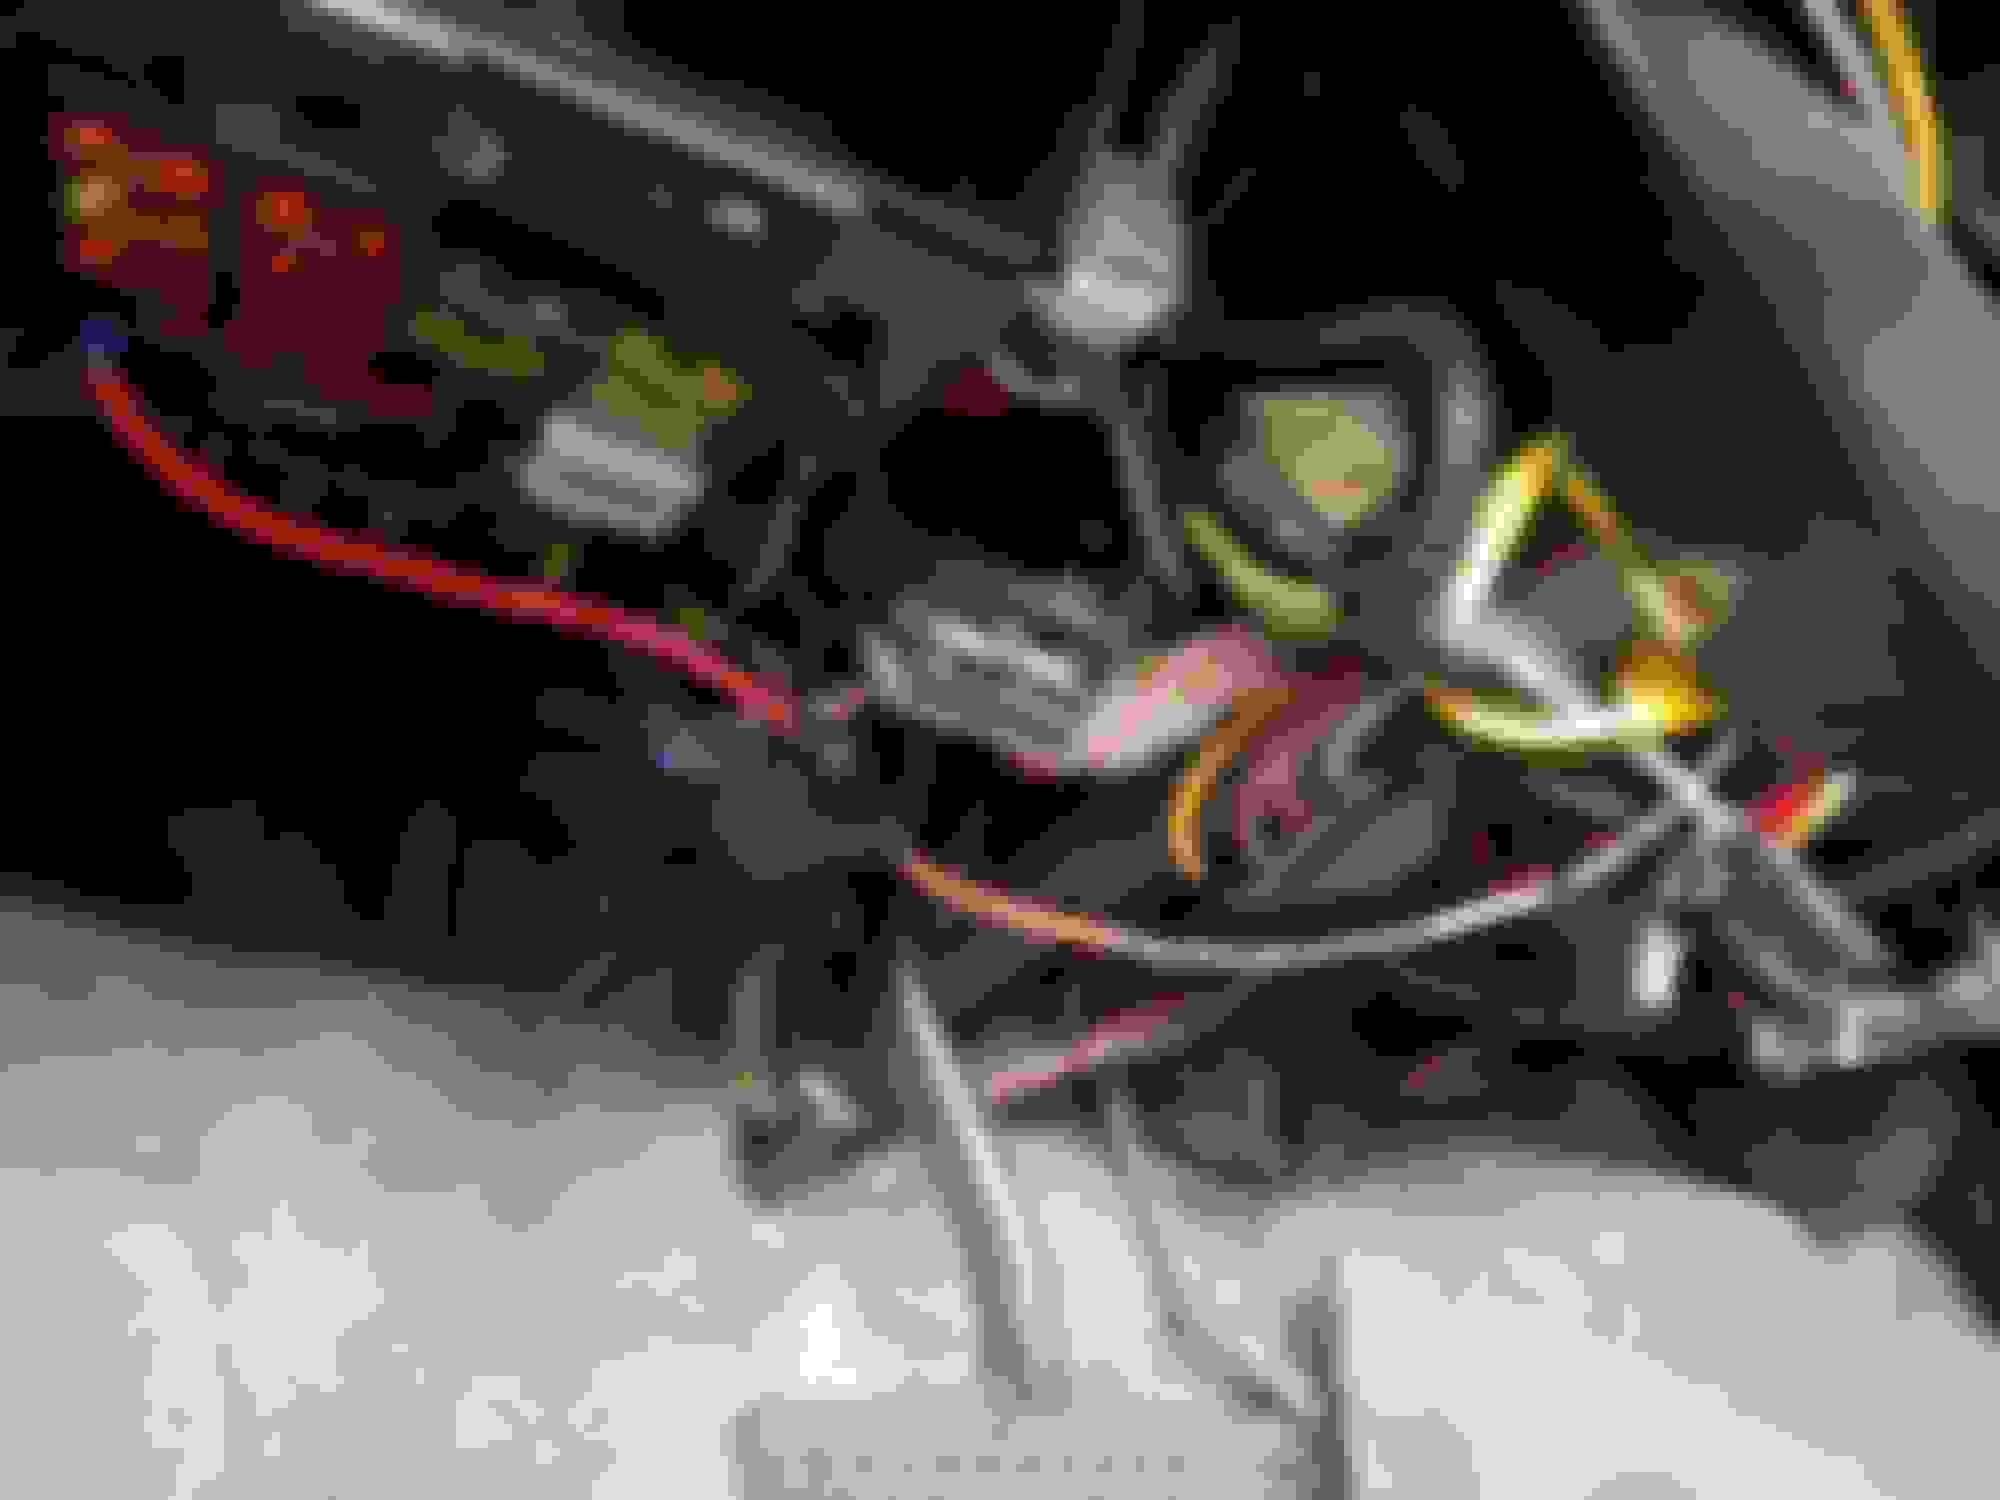
Originally I had planned to mount the wideband controller and the relay in the center console behind the radio. The rats nest of wiring in there from the previous owner had me looking elsewhere. Under the drivers side dash on the left side of the steering wheel, I found a bolt that allowed me to mount the relay in an accessible area. Then I zip tied the controller on the right side of the V shaped metal piece under the steering wheel with the LED status light facing outward. All of the excess O2 sensor cable was coiled up and tucked up into the right side of the drivers footwell where an empty space is.The rest of it was just wiring up the controller according to the wiring diagram making sure to route wires in way that won't block the dash panels when you put the dash back together. Zip ties are your friends here for proper cable management. Running the 22 gauge wire through the center console over to the computer was trivial as there is lips you can zip tie or tape the wire onto the dash.
Pictures are included below of my wiring diagram and my interior install of the controller.
Thank you for taking the time to write this up. I am in the same spot, trying to find best way to route the sensor wire thru the firewall. Didn't think of cruise grommet, going to check that out in the morning.
Two quick questions: was there an EBL drop down config for the lc2 wideband or did you have to adjust the lc2 signal output using the innovate software?
And any issues with not using an annex ground to the ECU? I was a bit confused about that with the lc2 instructions suggesting a common ground but the EBL site saying not to connect up wideband grounds as the heating element draw may damage the ecu
 01-05-2019, 08:27 PM