When you click on links to various merchants on this site and make a purchase, this can result in this site earning a commission. Affiliate programs and affiliations include, but are not limited to, the eBay Partner Network.
ConvertiblesDiscussed here are problems and solutions to convertible specific questions, including difficult to find part numbers and other convertible tech help.
This 91 TA needed a top and I found info for the specifics woefully lacking. One youtube video and a bunch of dead links. Here is my experience as a total newbie to tops. Hope this helps someone
I bought a top and install kit from convertible top guys. The install kit (stay pads, tack strips, cables, glue etc) arrived within the week. The top showed up a month later. I found out during the install that a key part was missing. One quick phone call and they shipped it out to me. Very happy with their customer support. Their instructions on the otherhand are very lacking
Additional parts ordered:
vinyl cement (convertible top guys)
T50 x 3/8" SS staples (amazon)
Weatherstripping adhesive (amazon)
Tools needed:
Philips/small flathead screwdrivers
Metric allen key set
Cordless drill with 1/8" bit and small wire wheels
Masking tape
Old blanket to protect the rear paint
Acetone/rags
Gorilla tape
T50 stapler, air or manual
Rivet gun, rivets 1/8" x 3/8"
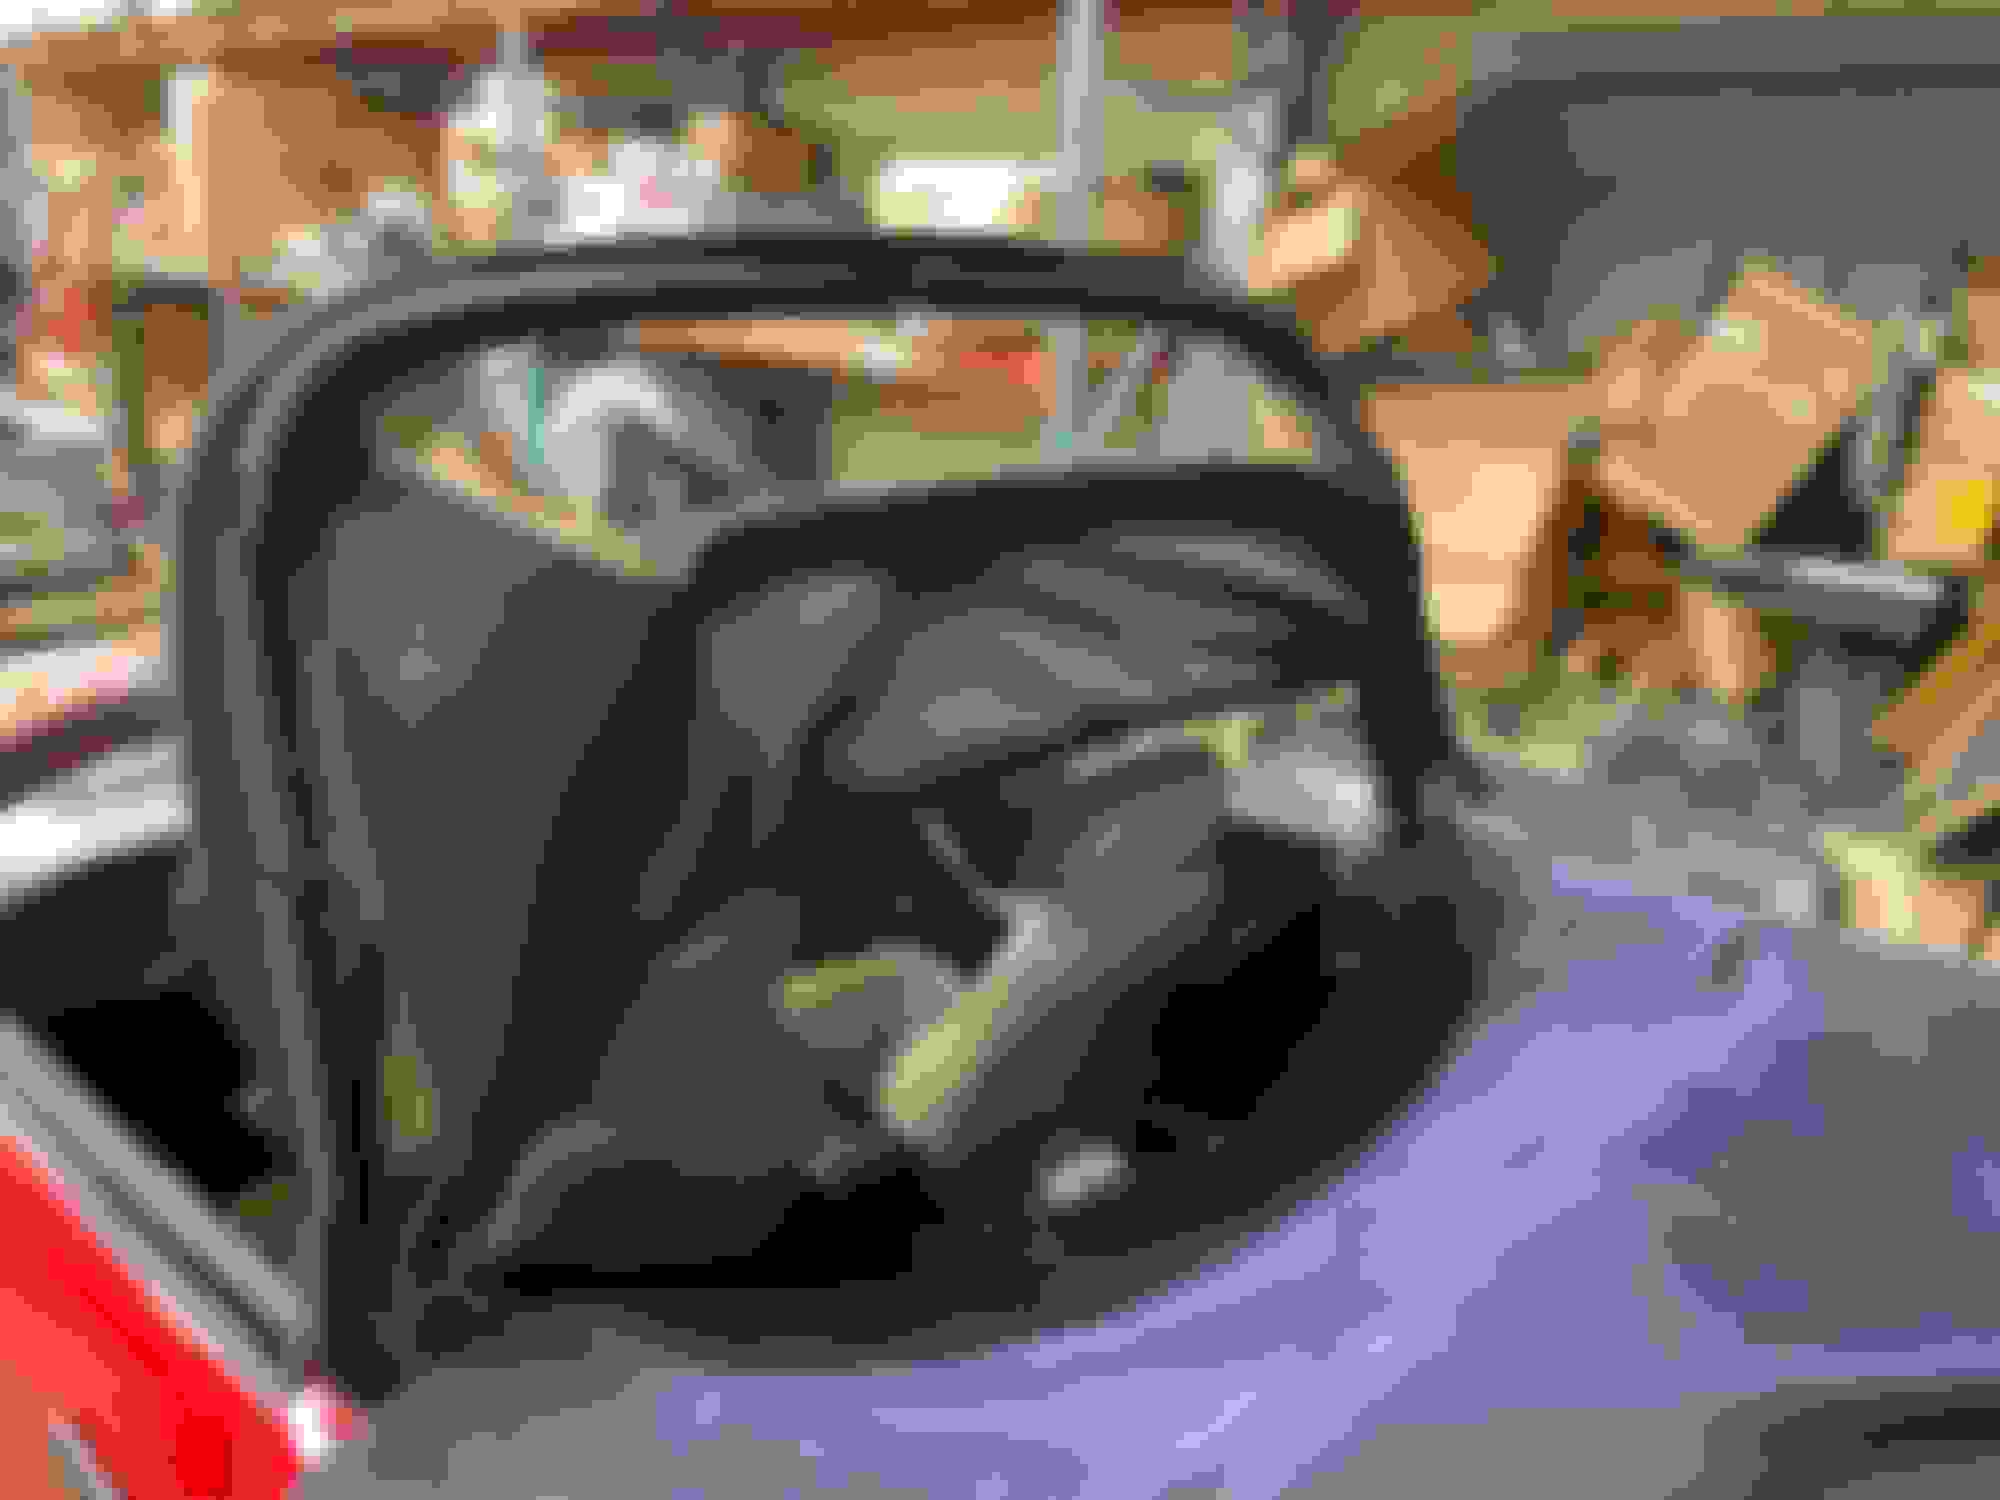
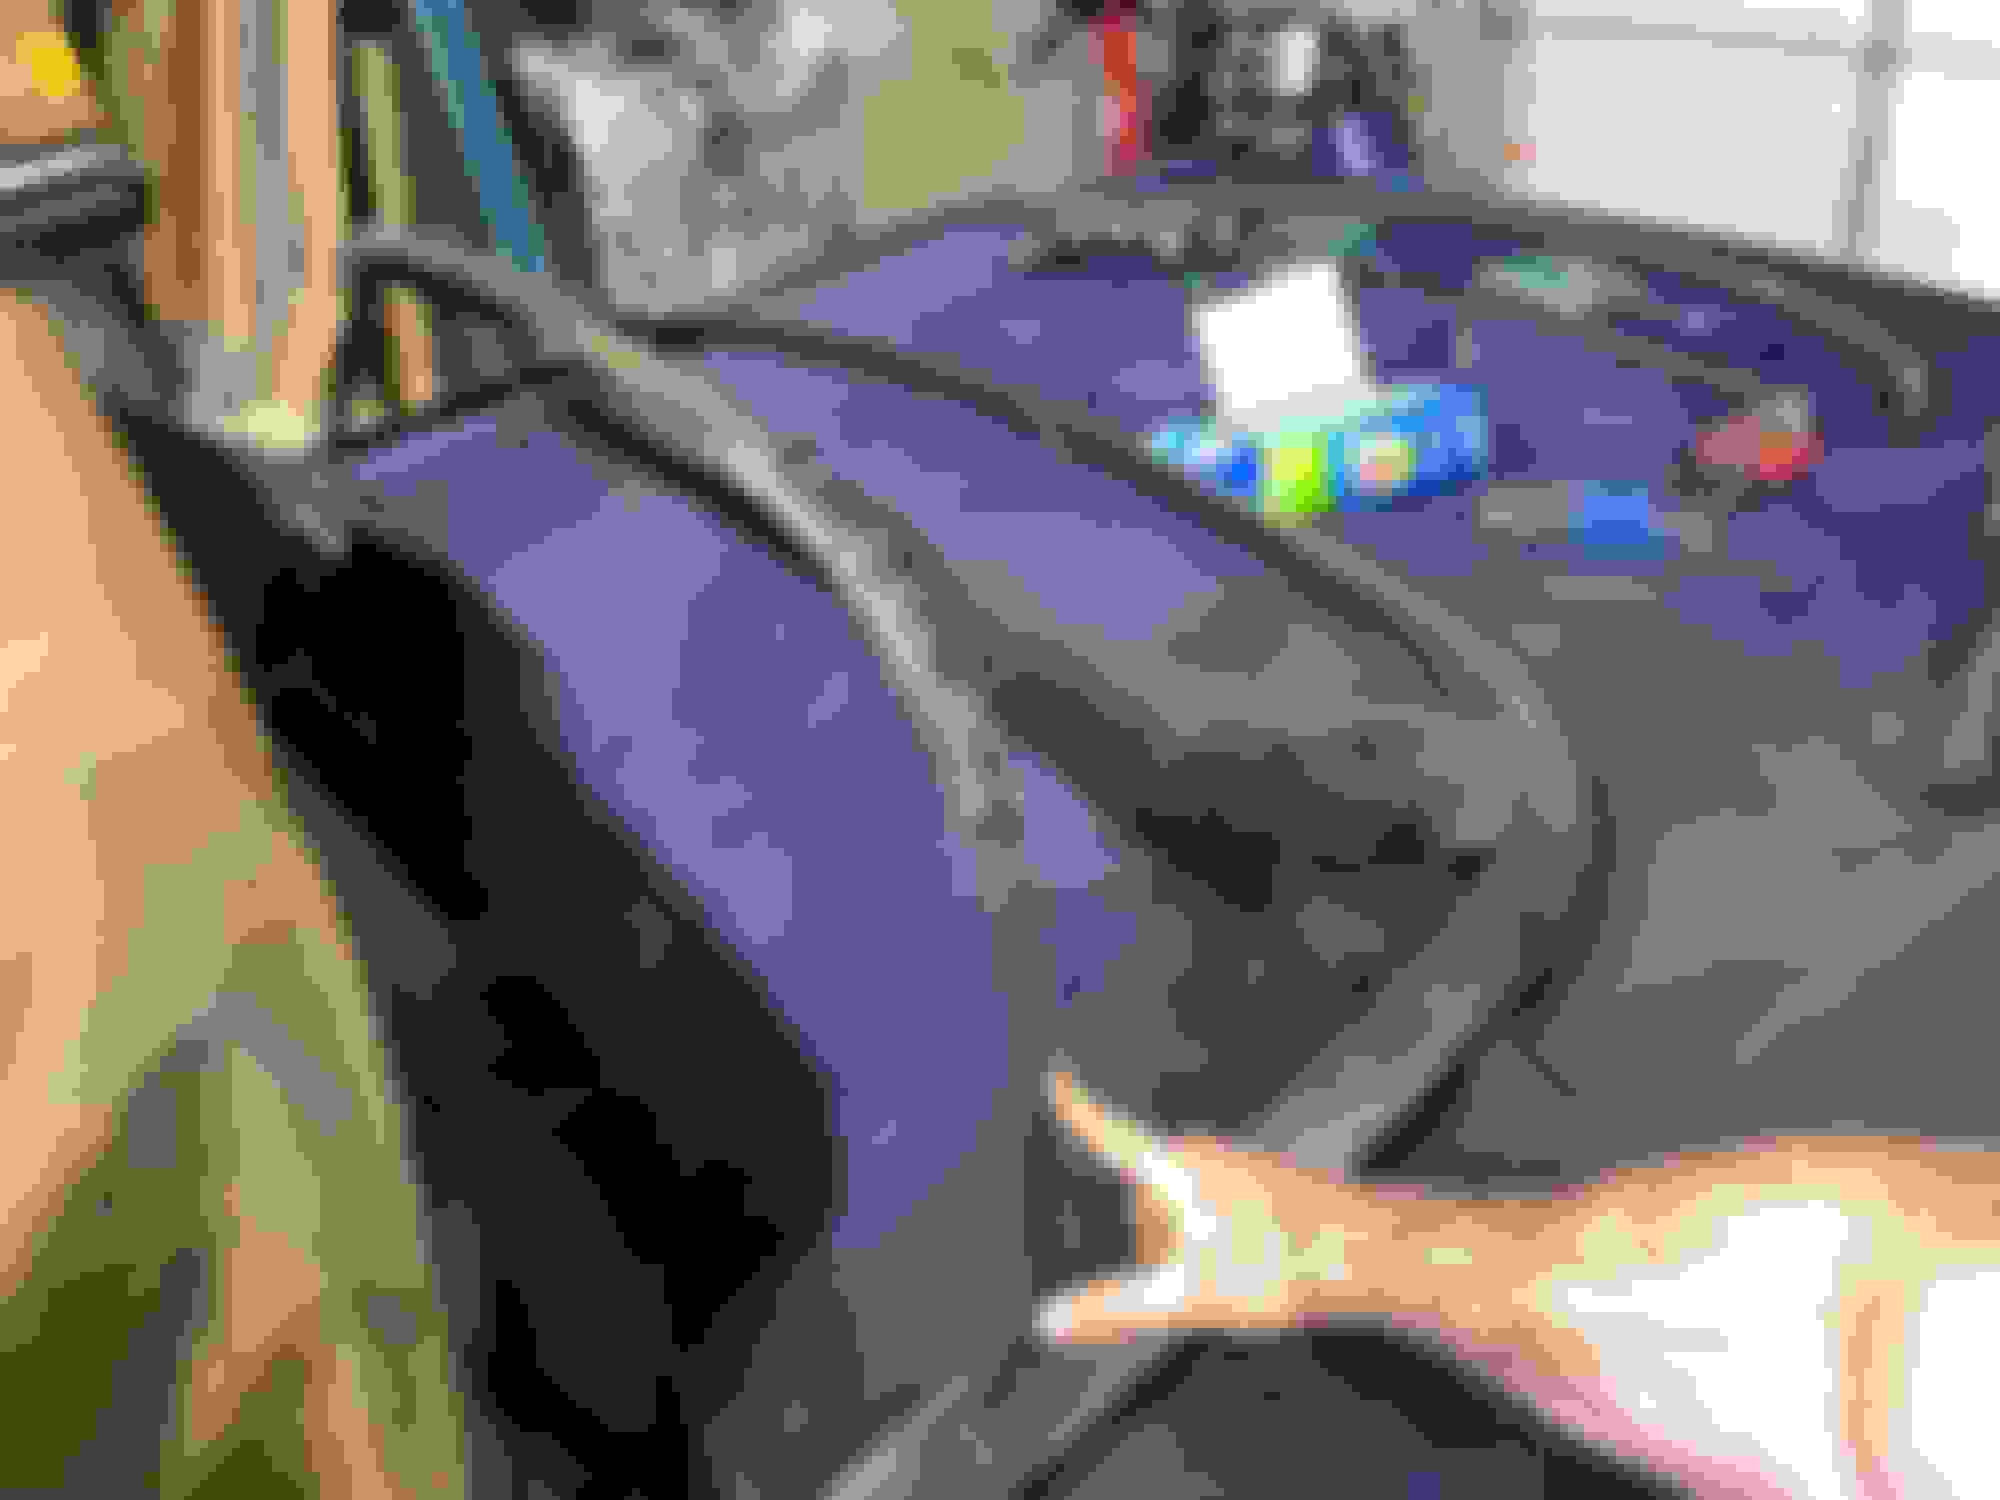
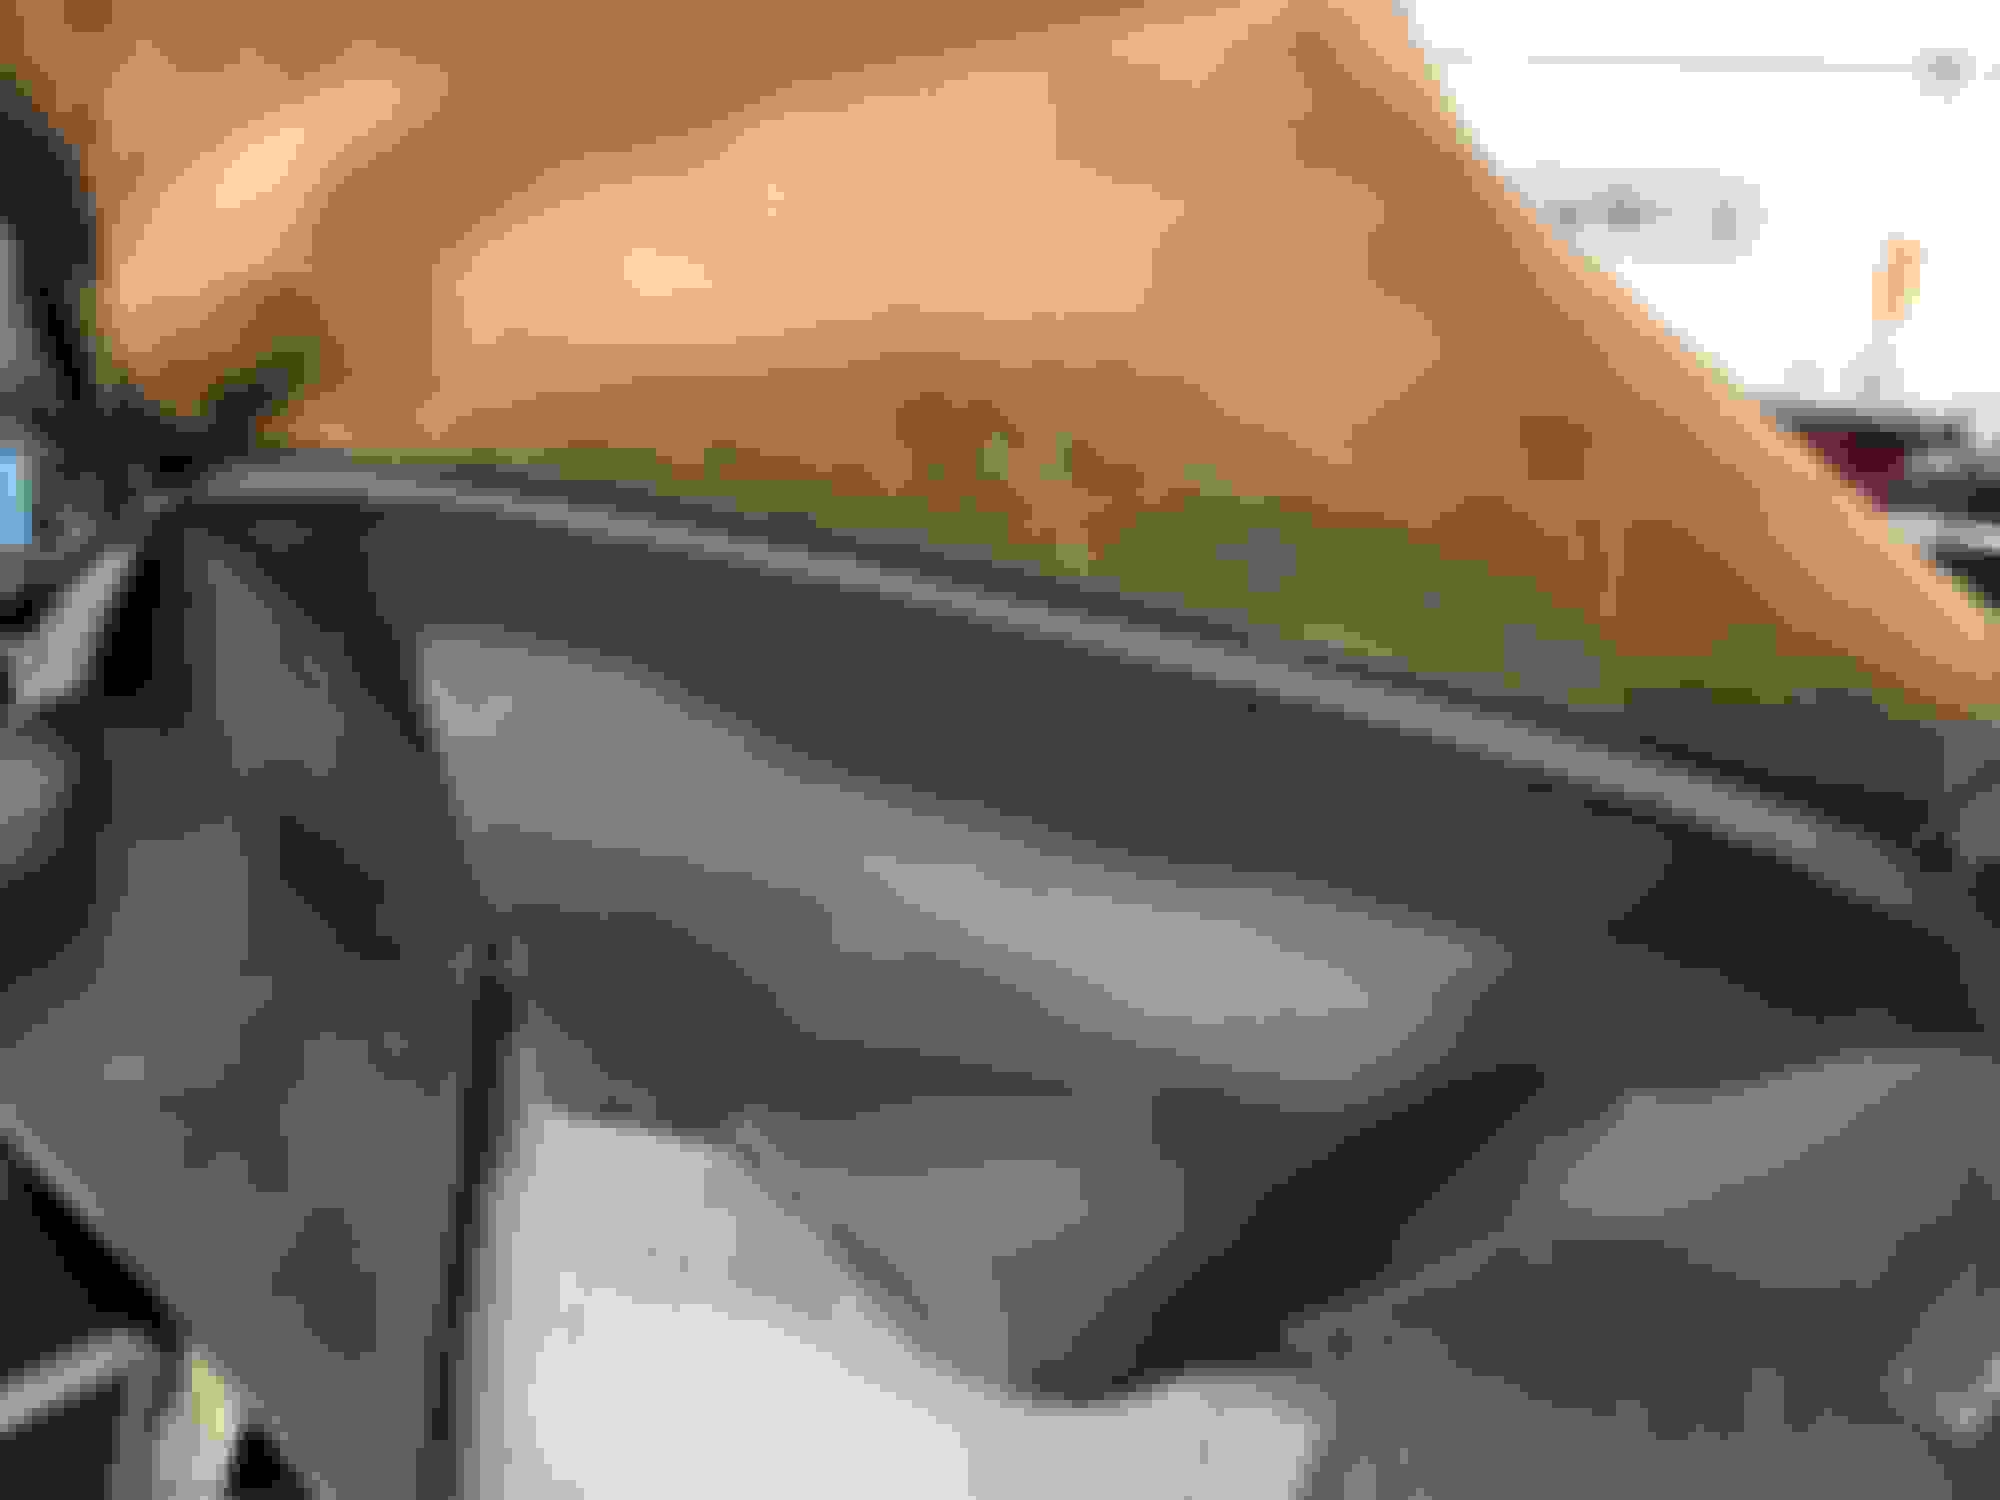
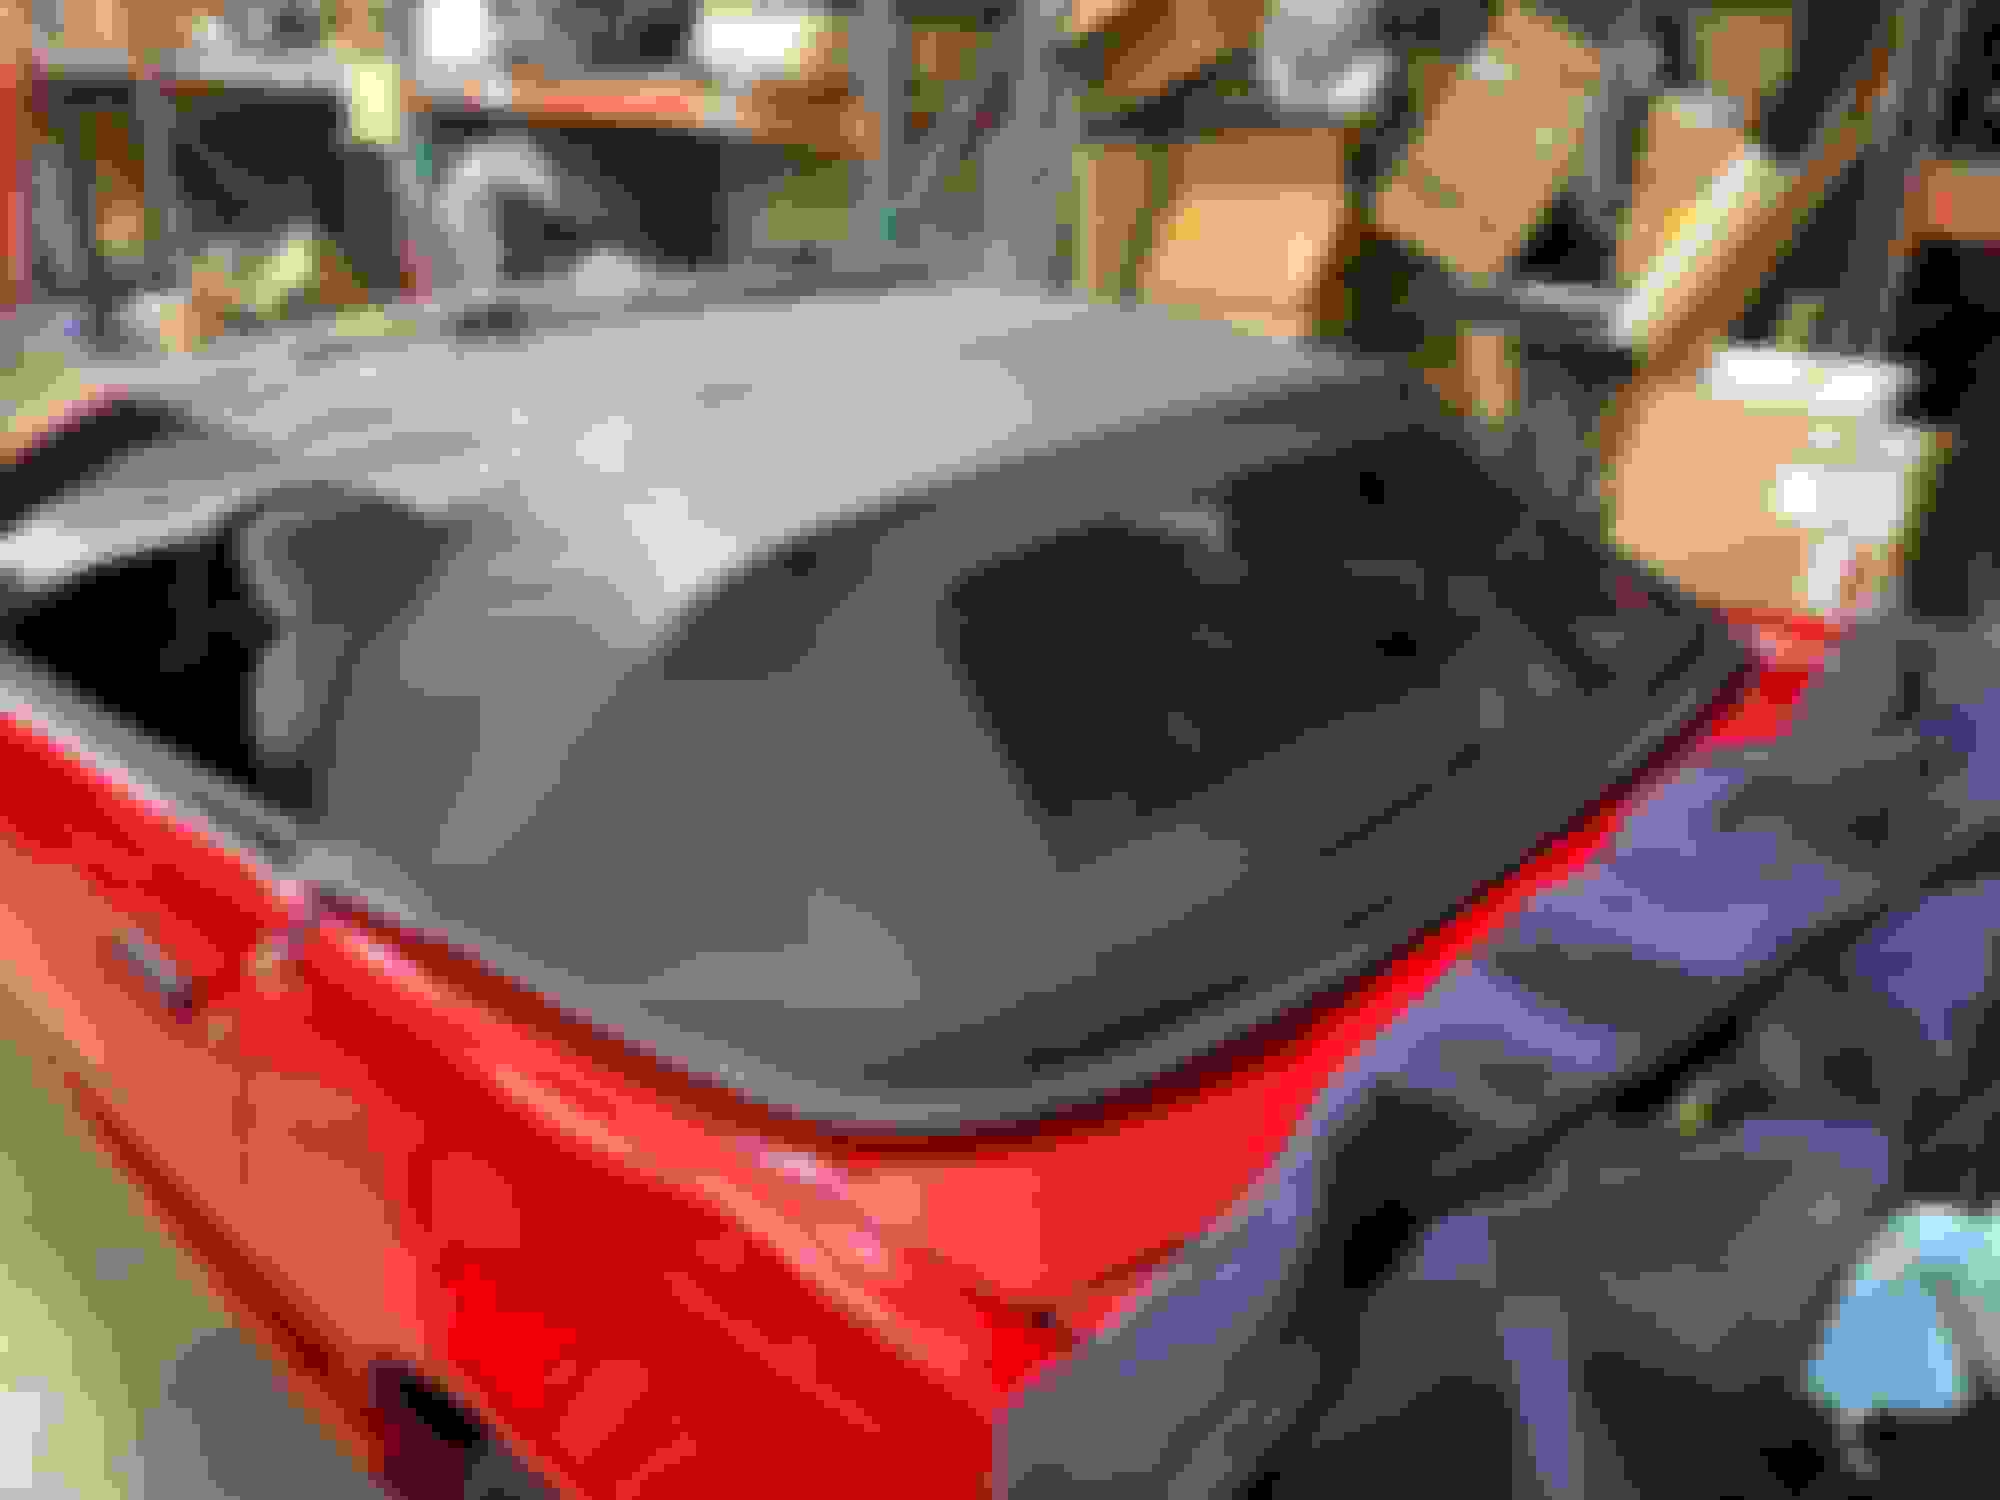
Anyways, starting off, this top works fine, but the back window stitching fell apart. Noone will fix just that aspect (for good reason) so it needs a new top
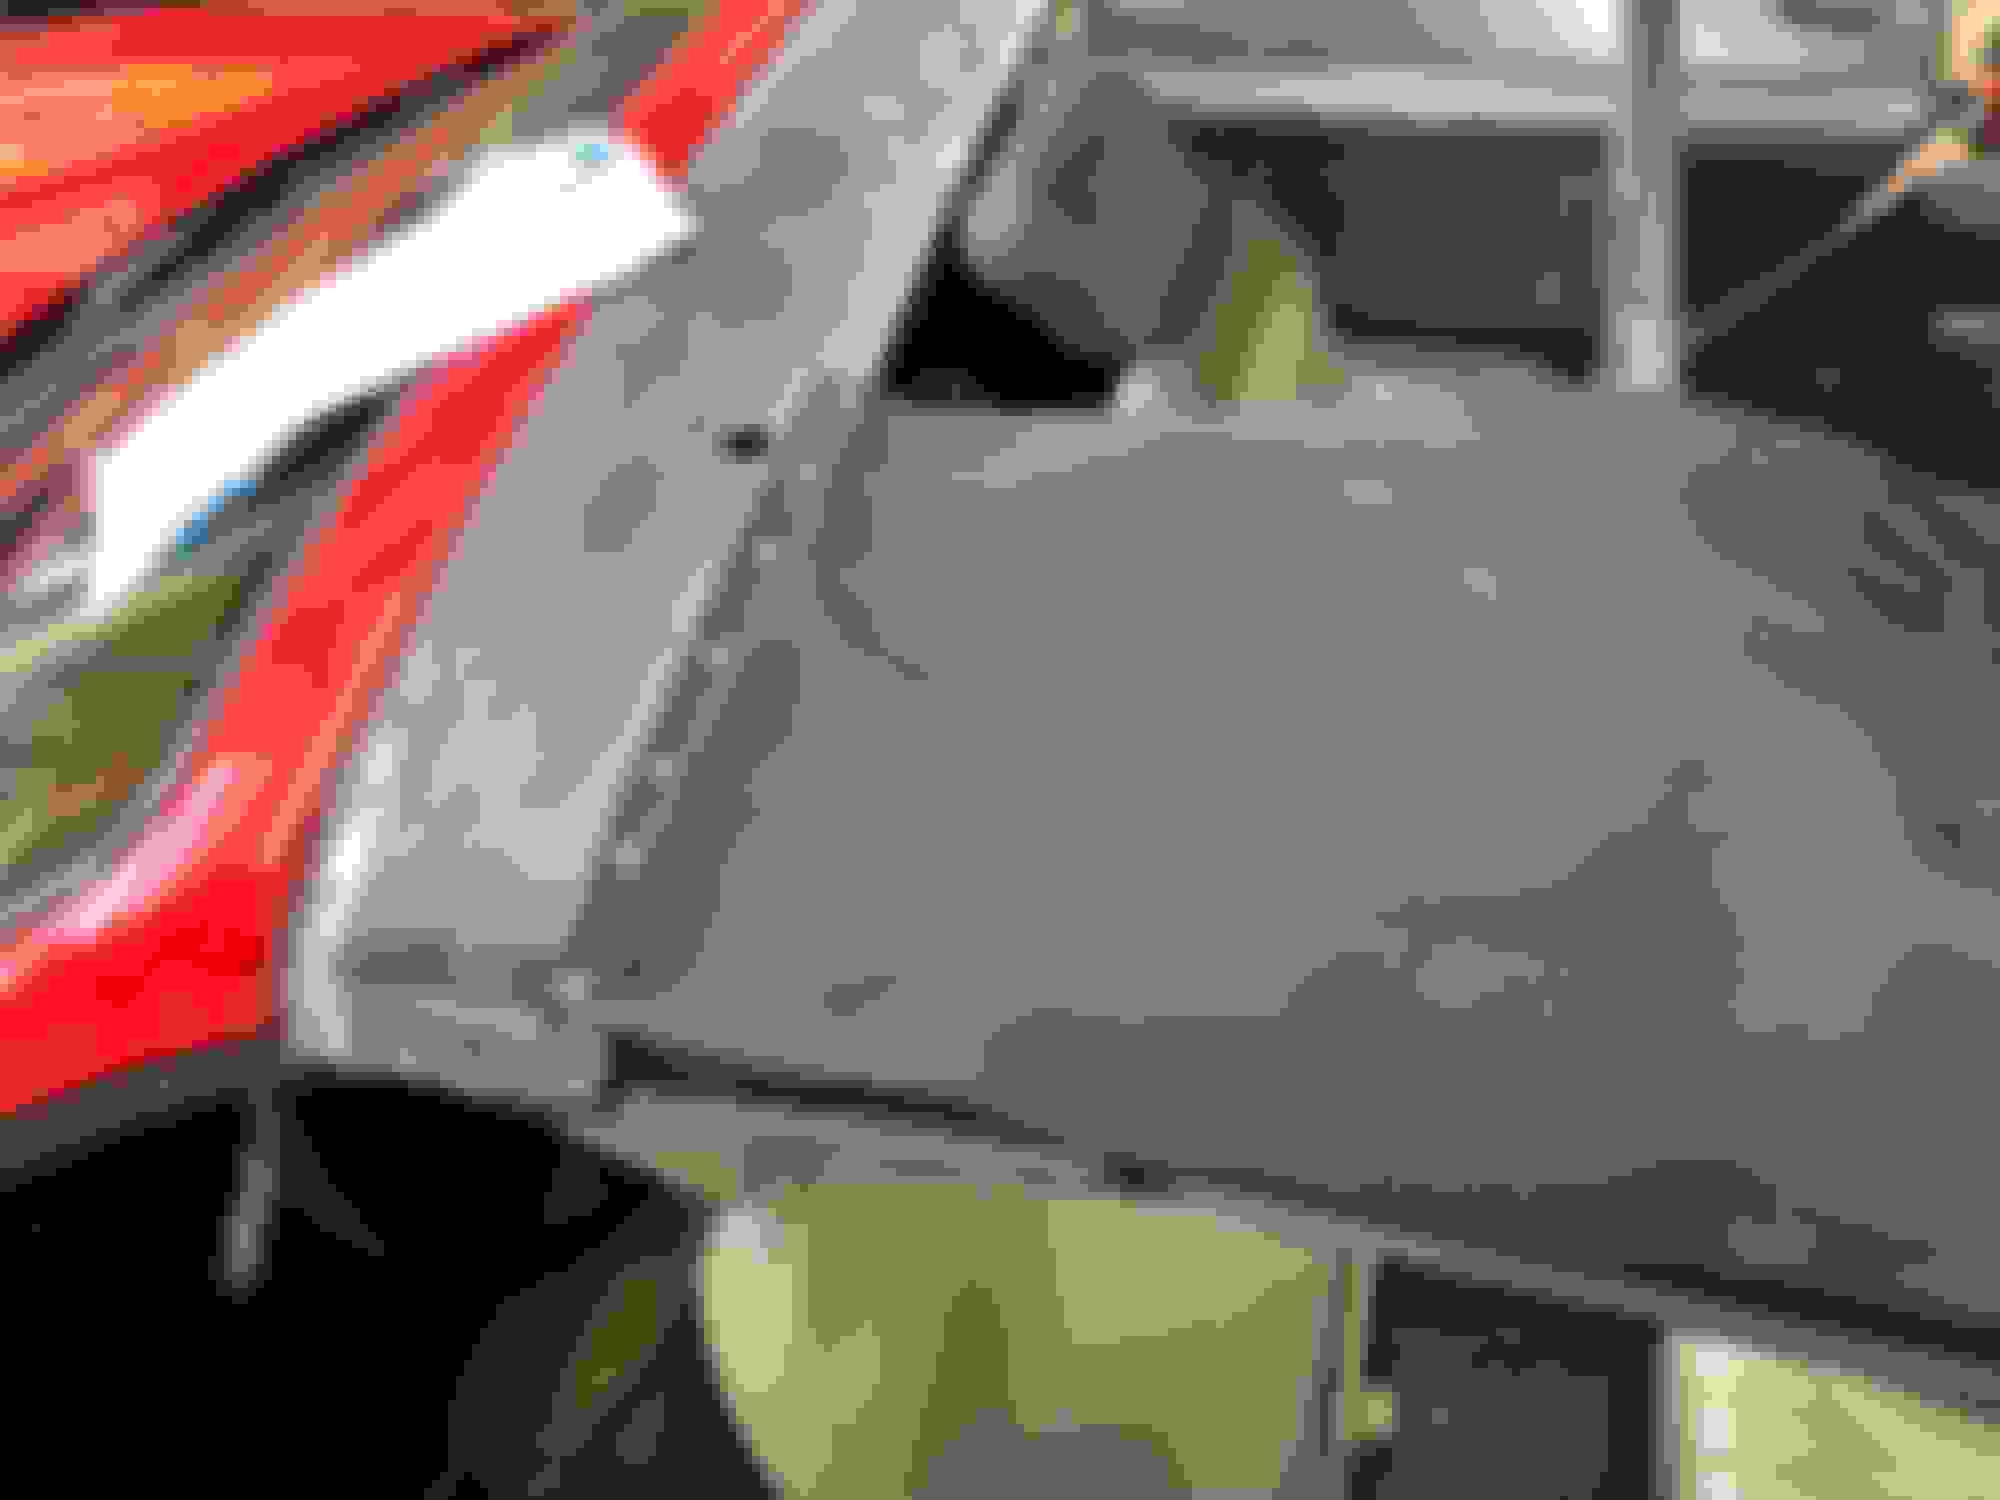
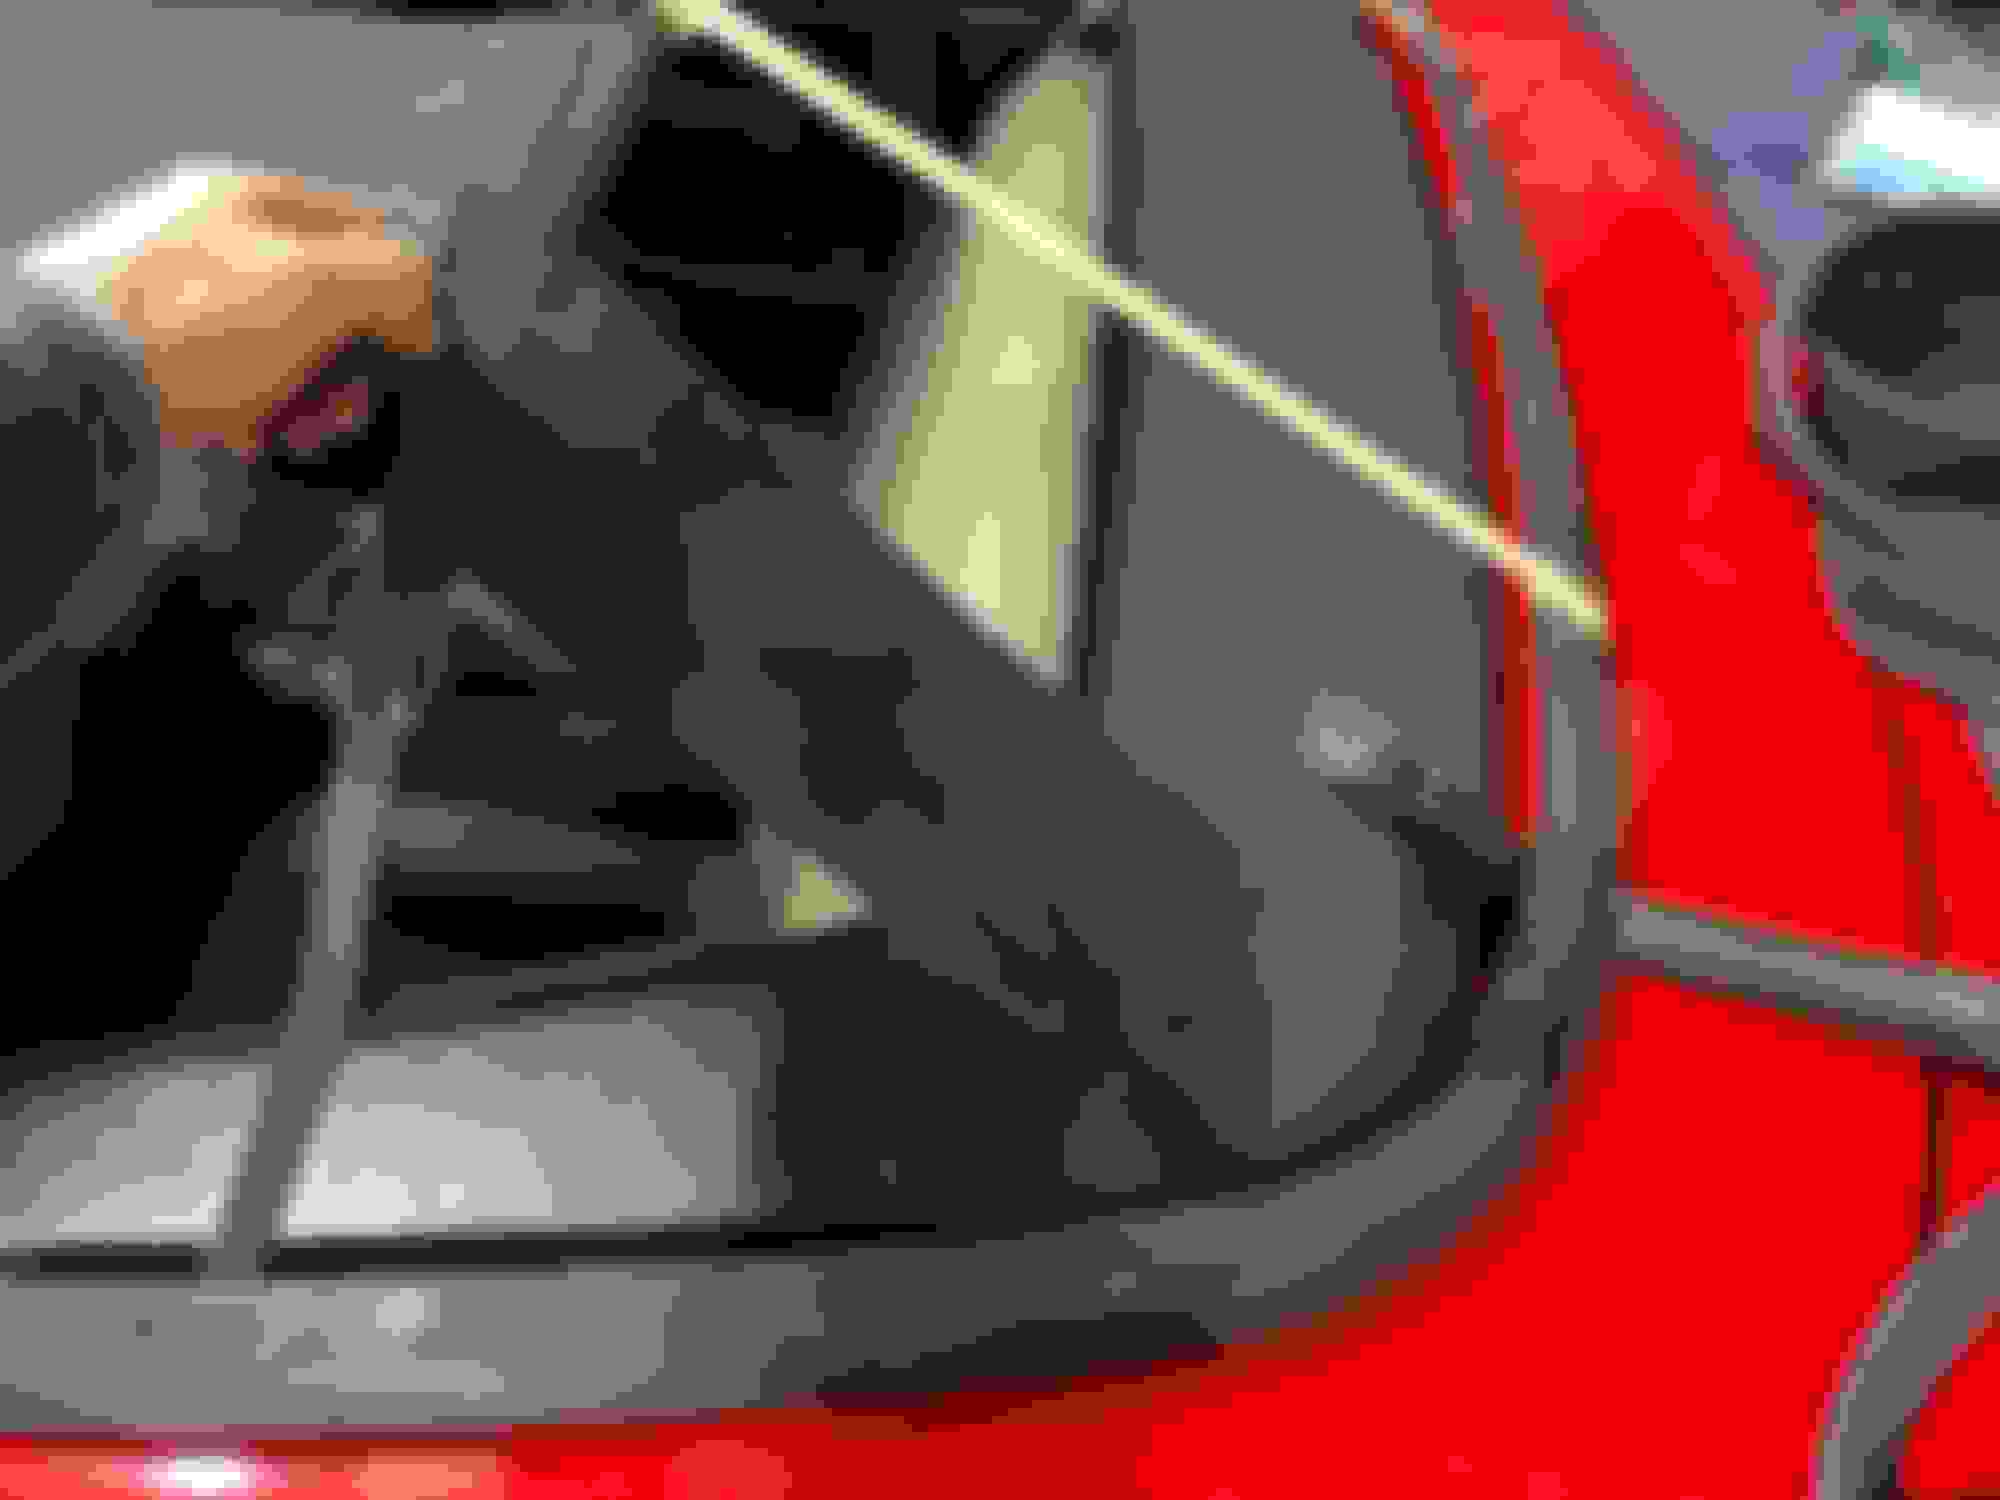
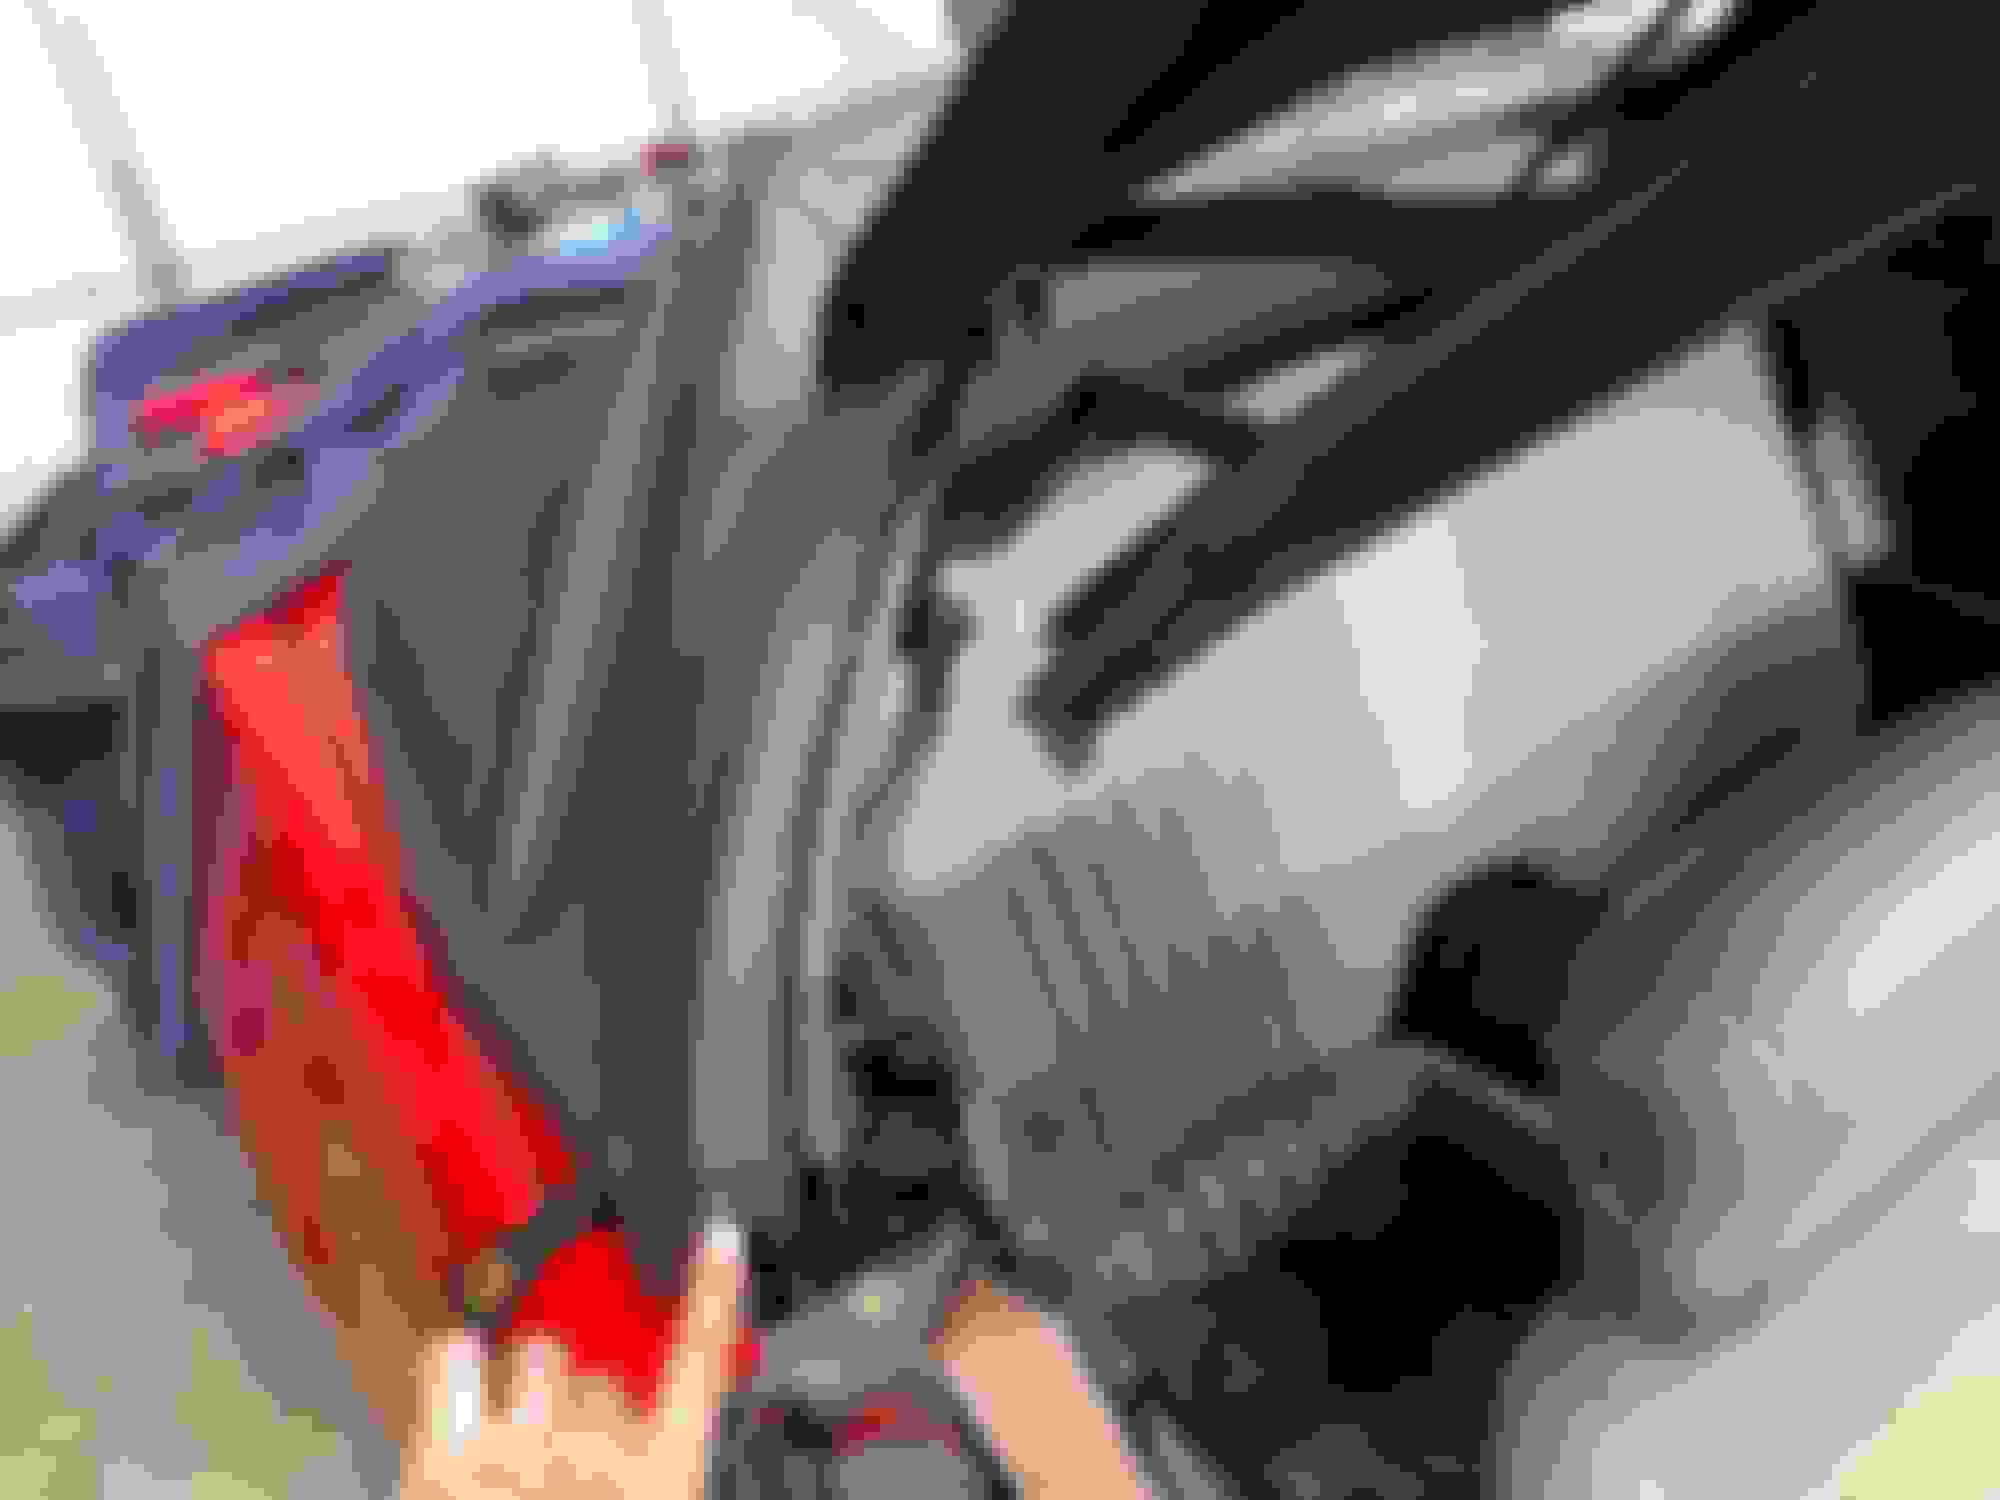
Start off by popping out the rear bow seal. This one was worse than expected so it needed to be replaced (HD1515). I used a small flathead to pop it out of it's channel
Remove the headliner corners from the #5 bow. 3mm button head screws (2). Tag and bag them for later
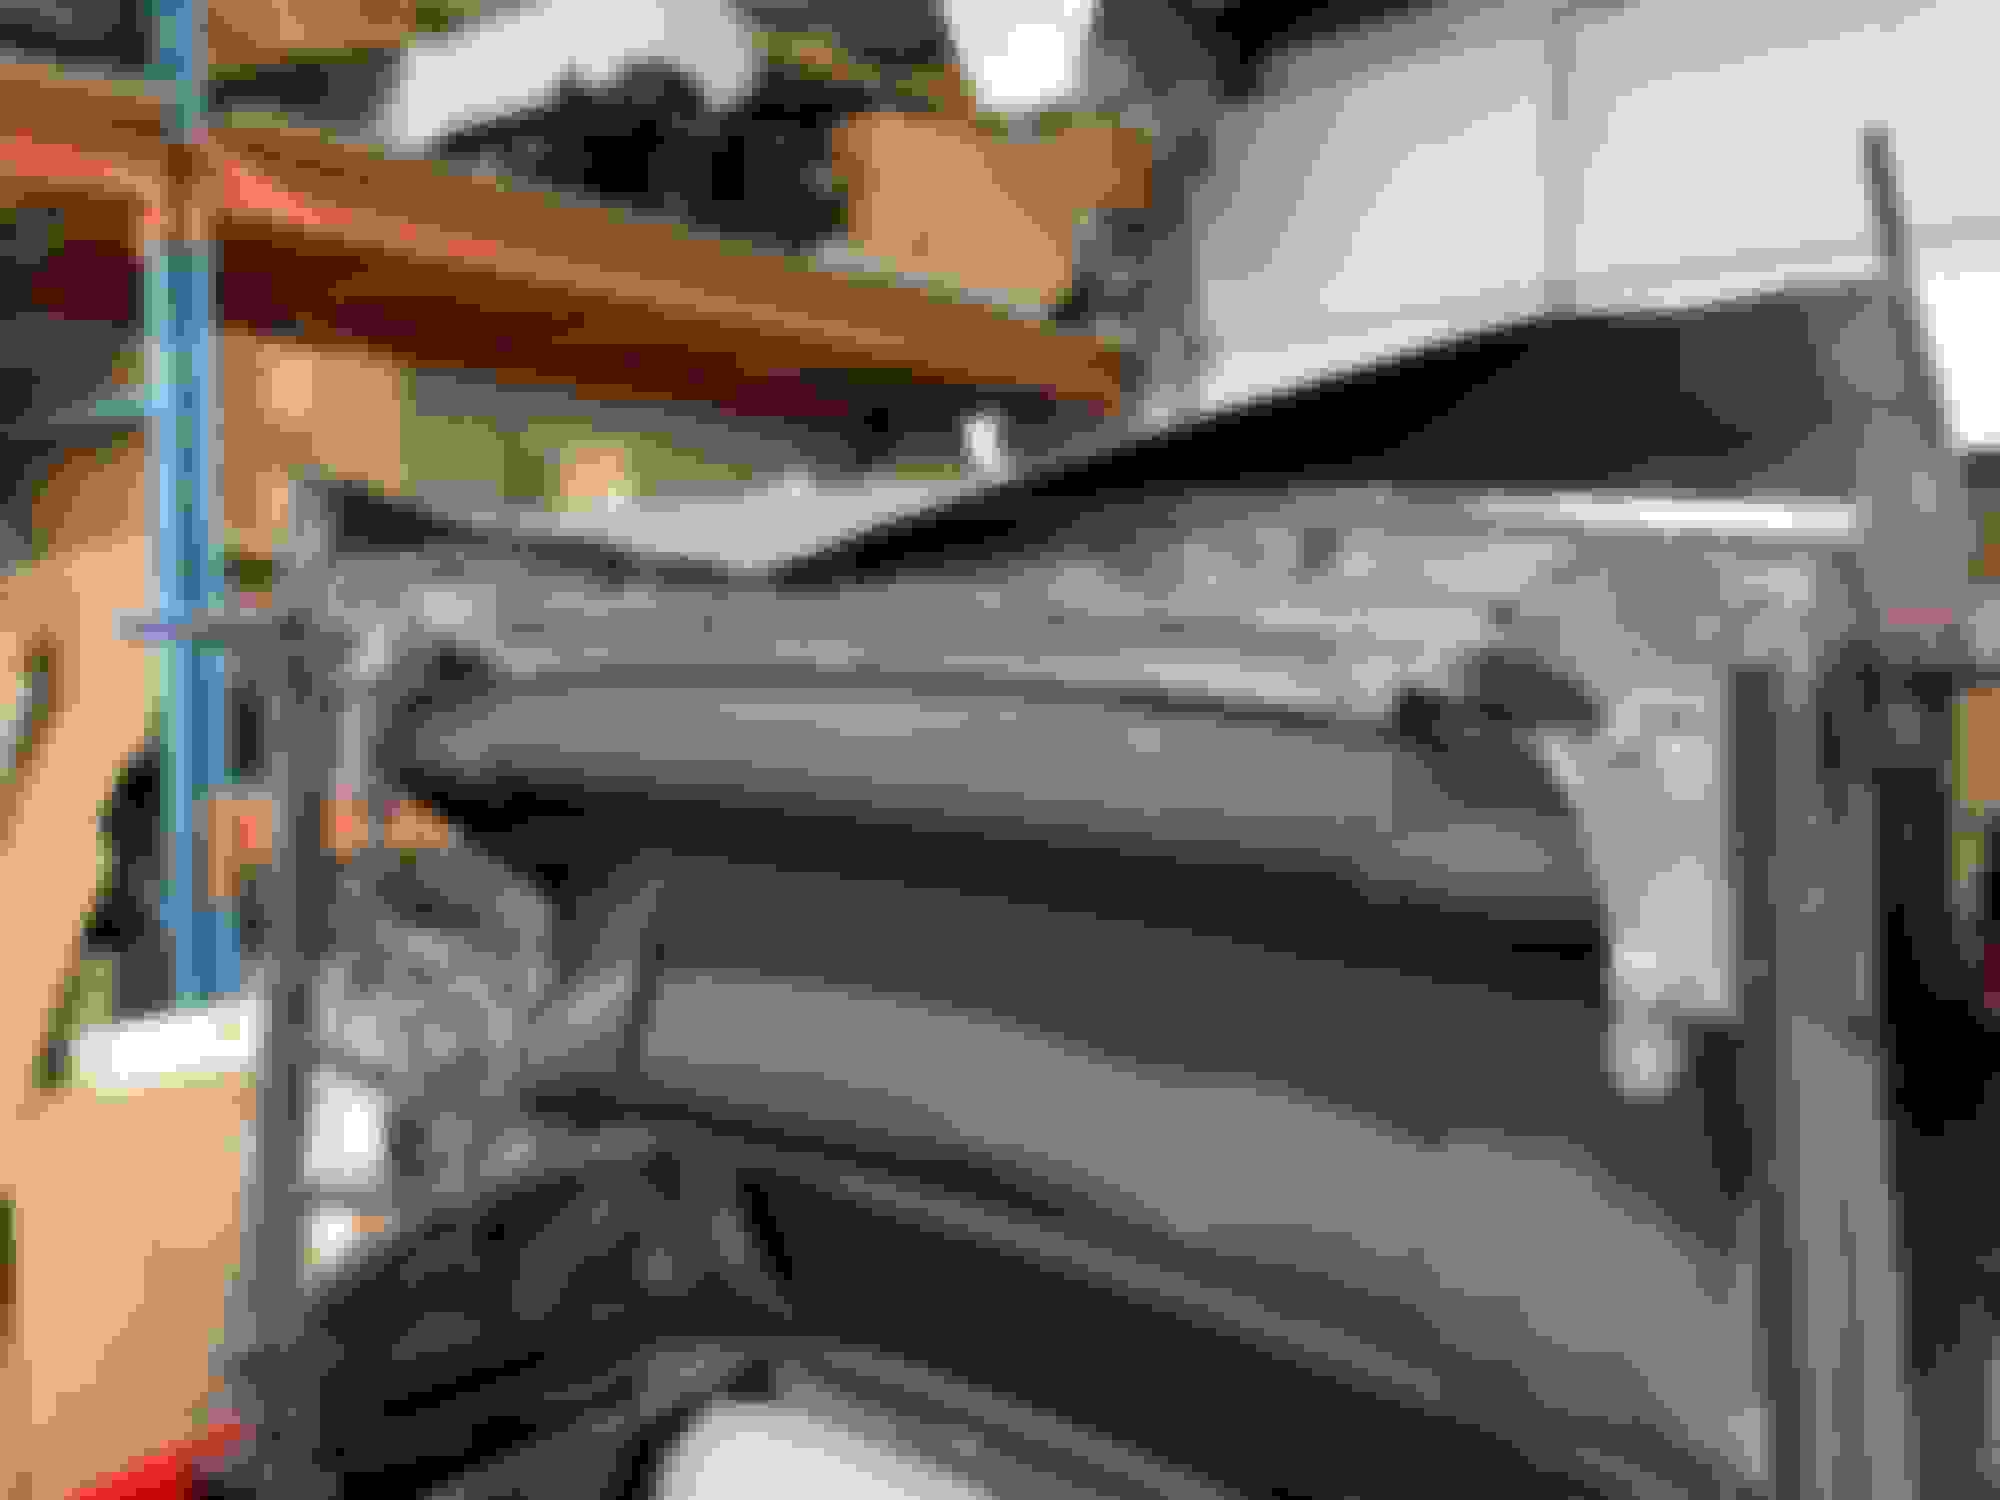
Remove the metal retainer strip on the #4 bow holding the headliner in
Drill out the two rivets securing the top to the bottom of the rear bow
Peel the top off the rear bow. It comes off easier than you'd think
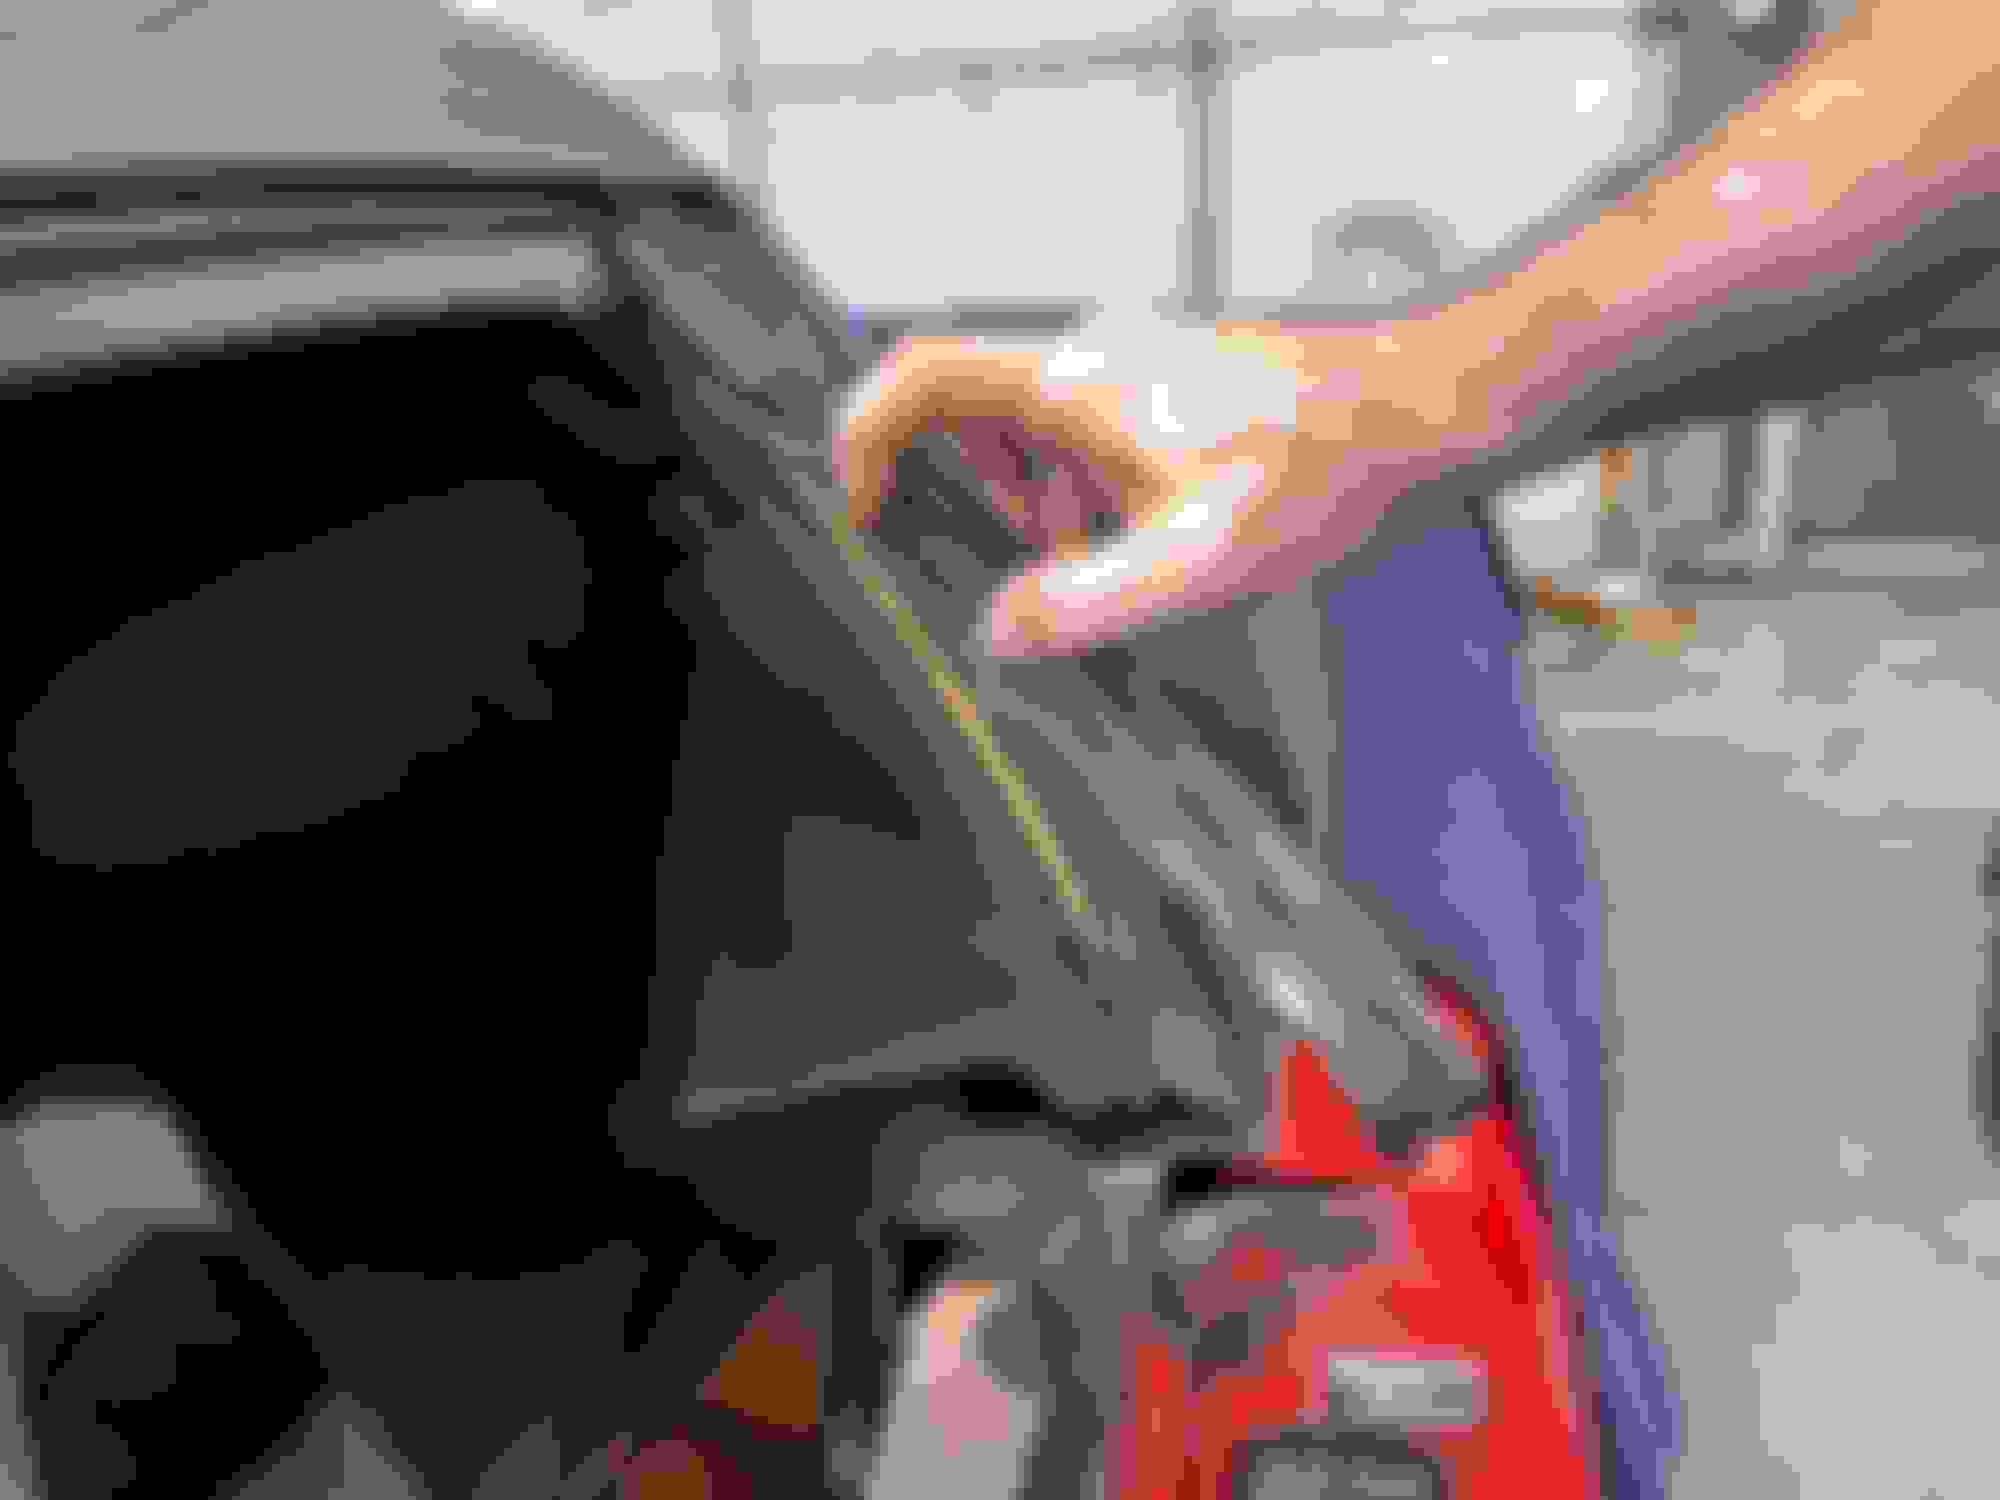
The #4 and #5 bows should be free. The stay pads on this top had disintegrated
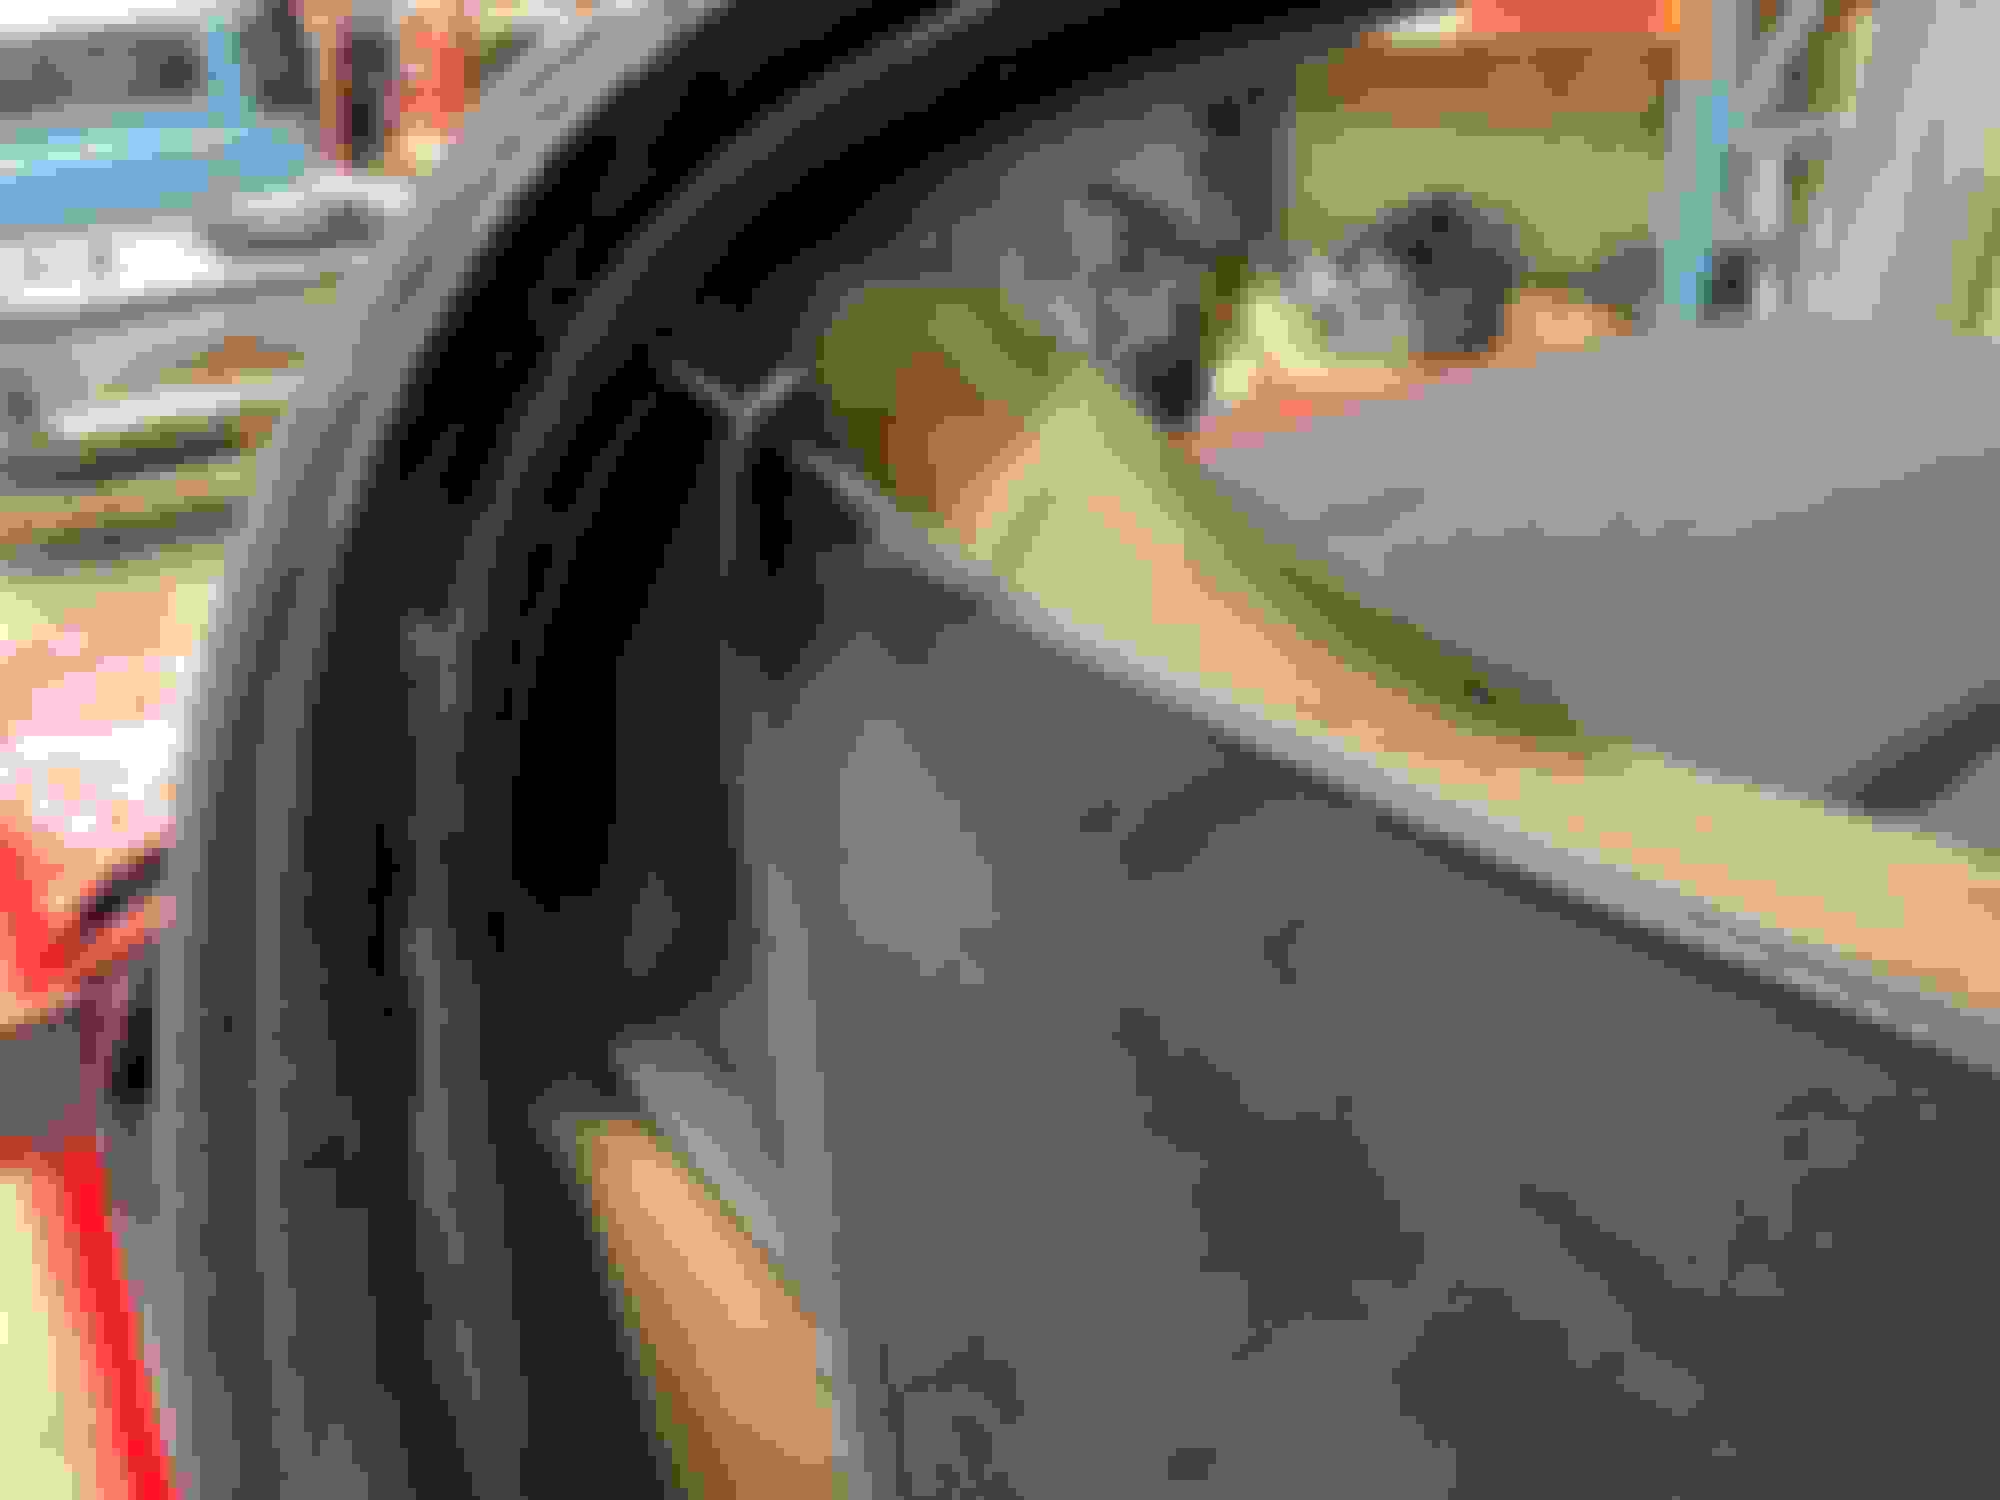
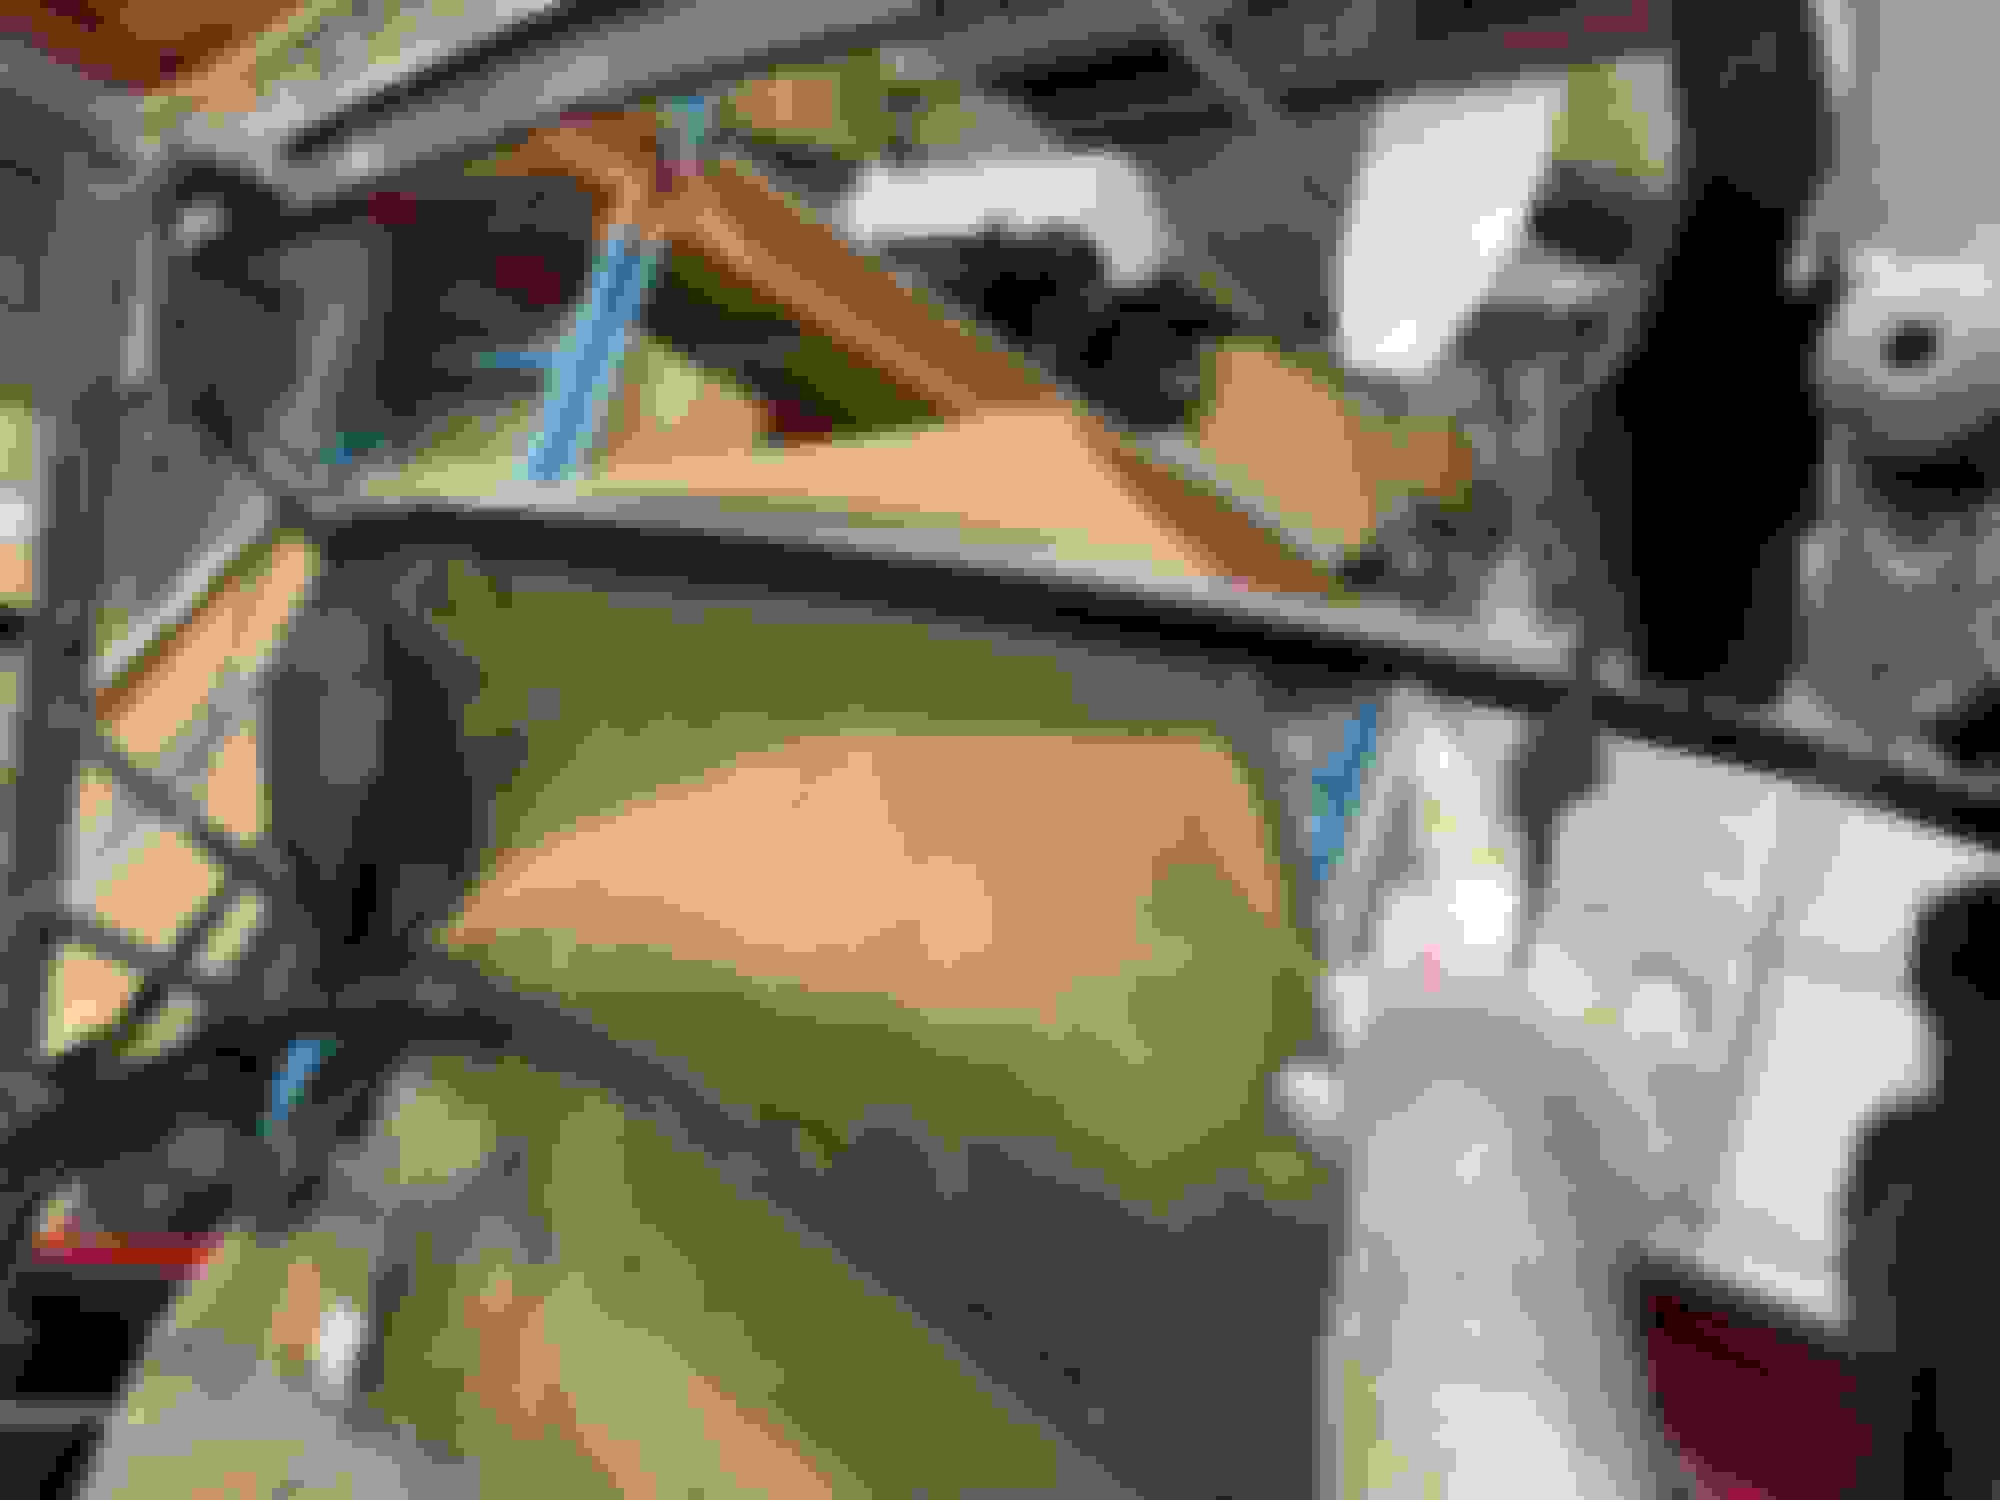
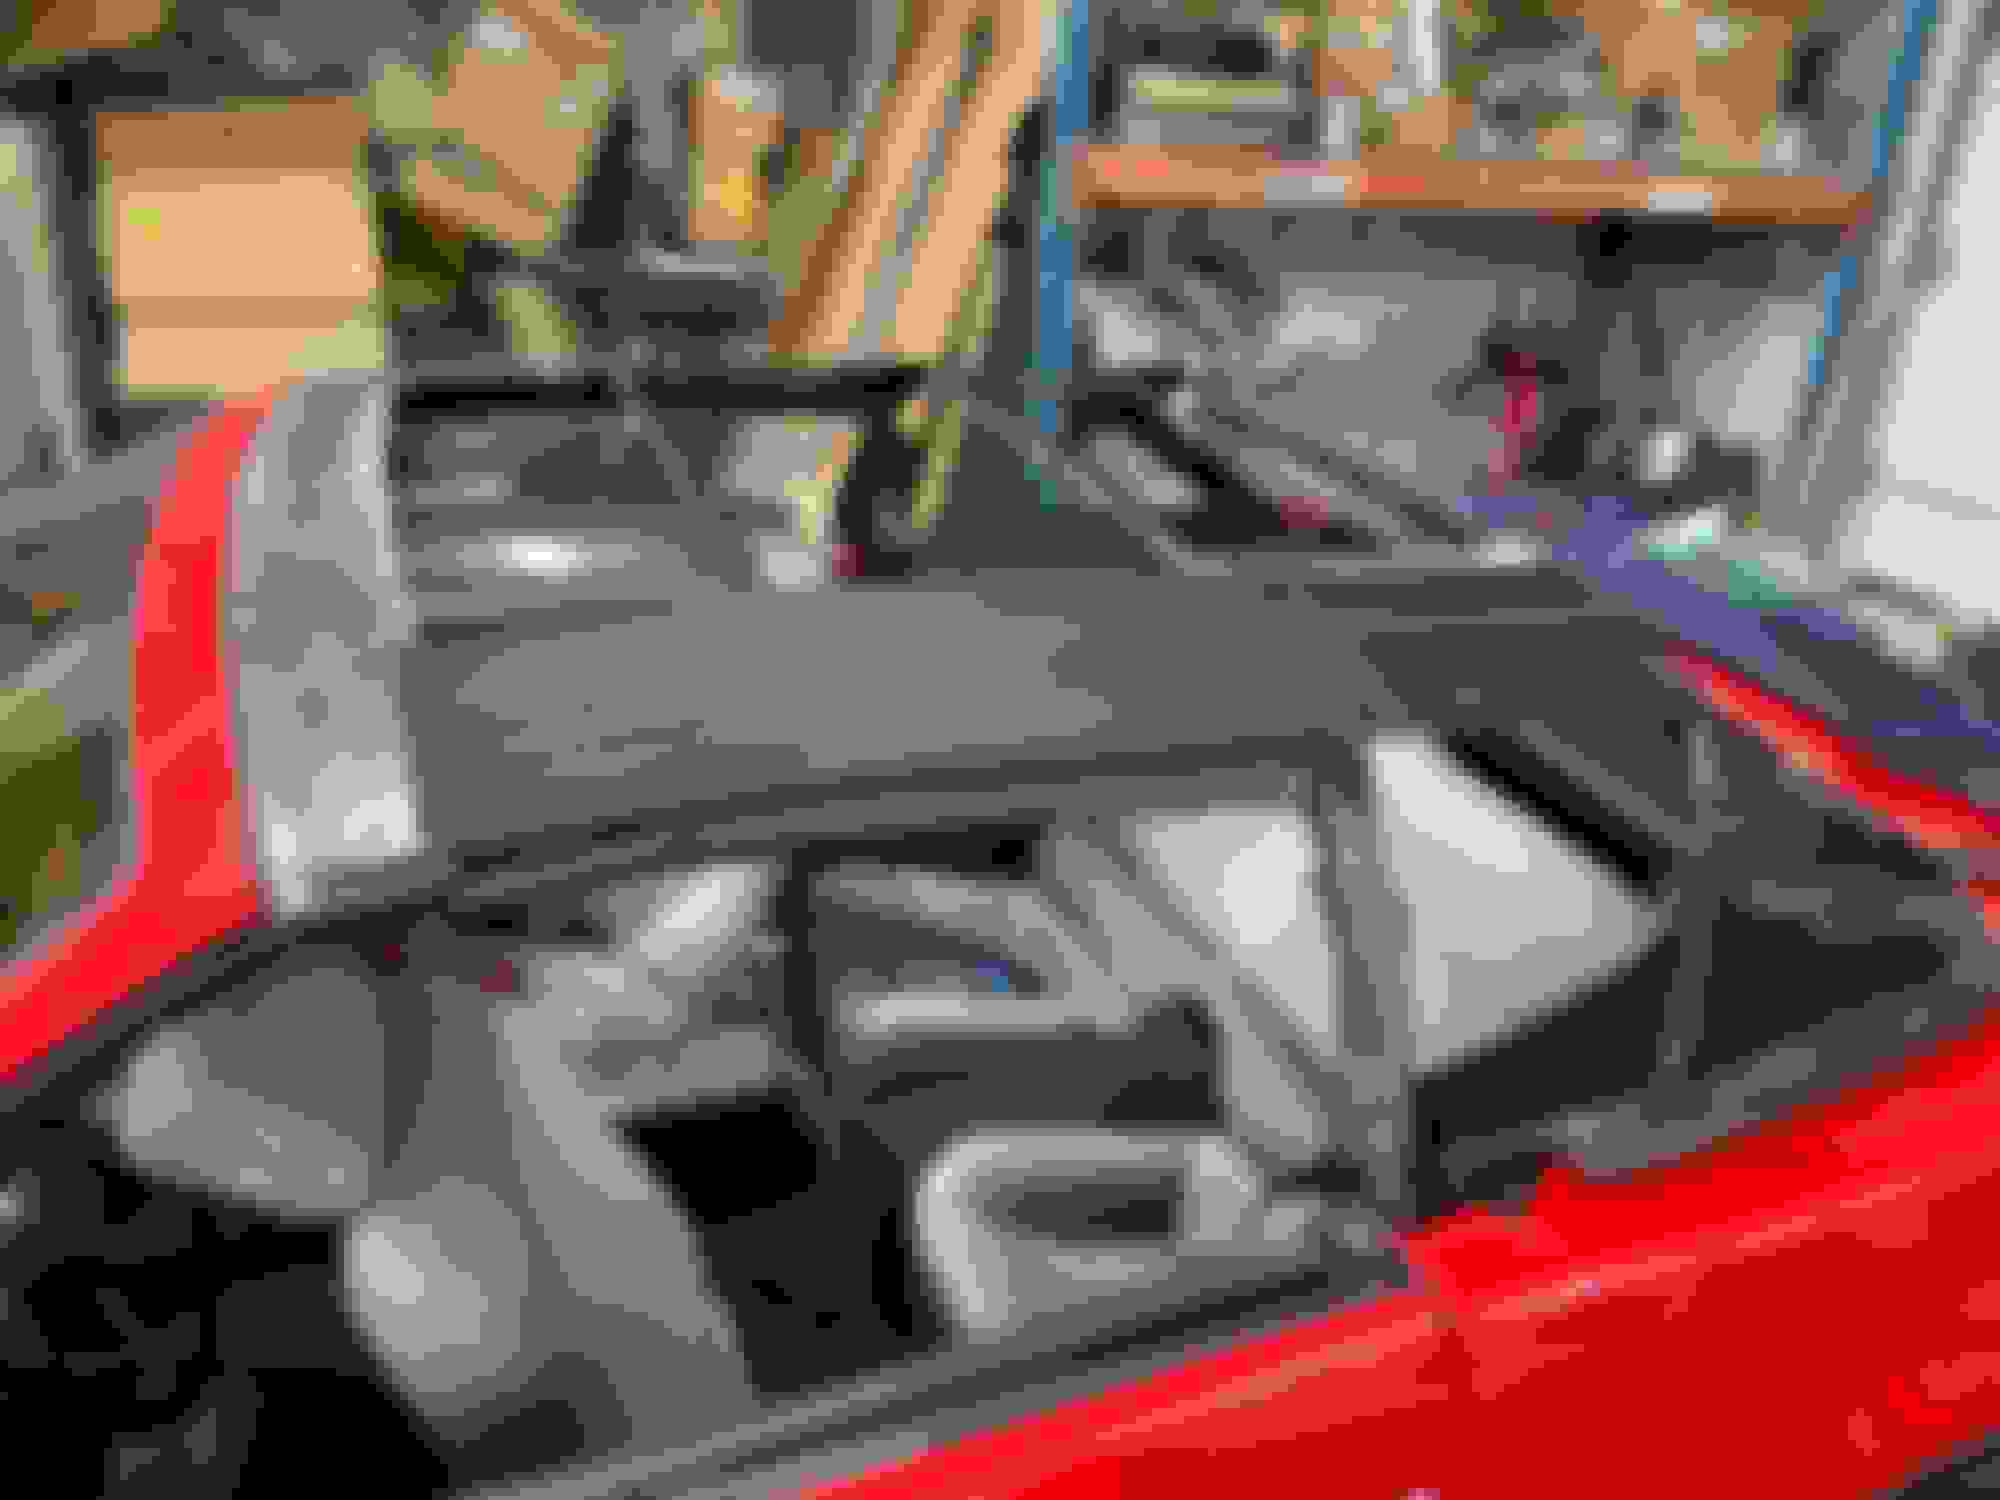
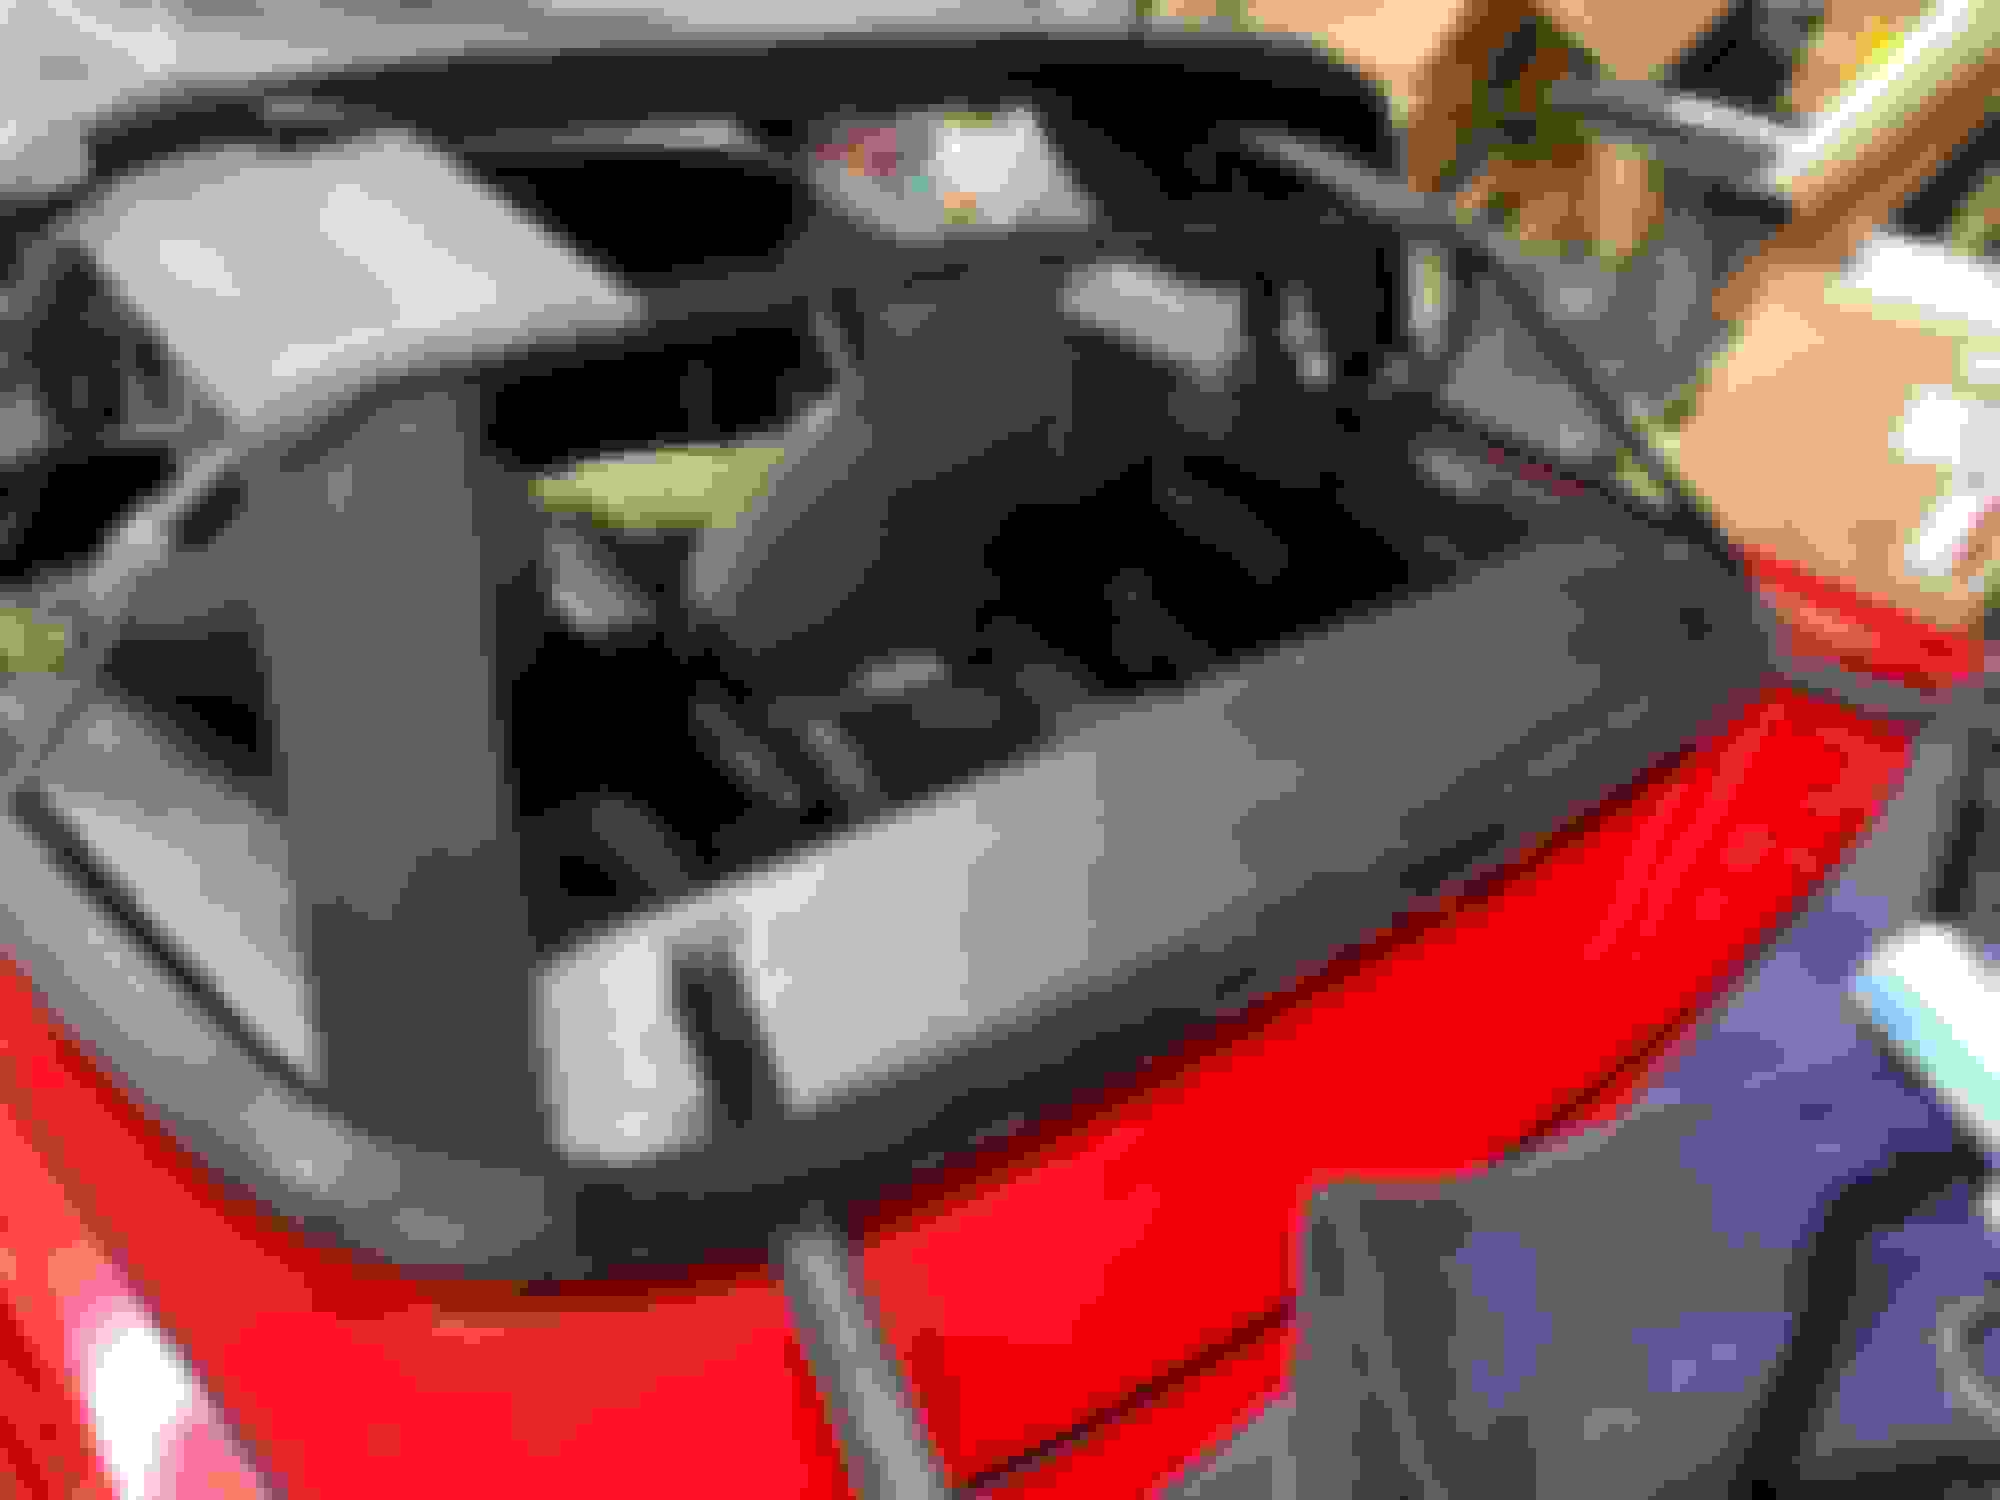
The vertical seals on the window are next. The rear QTR seals don't have to come off, but removing them gives more room to work. Mine had turned to dust
ALP11C are replacements
The rest of my window seals were in good shape and reused. Good thing because I can't find the individual replacement part, just the $750 convertible top complete seal kit
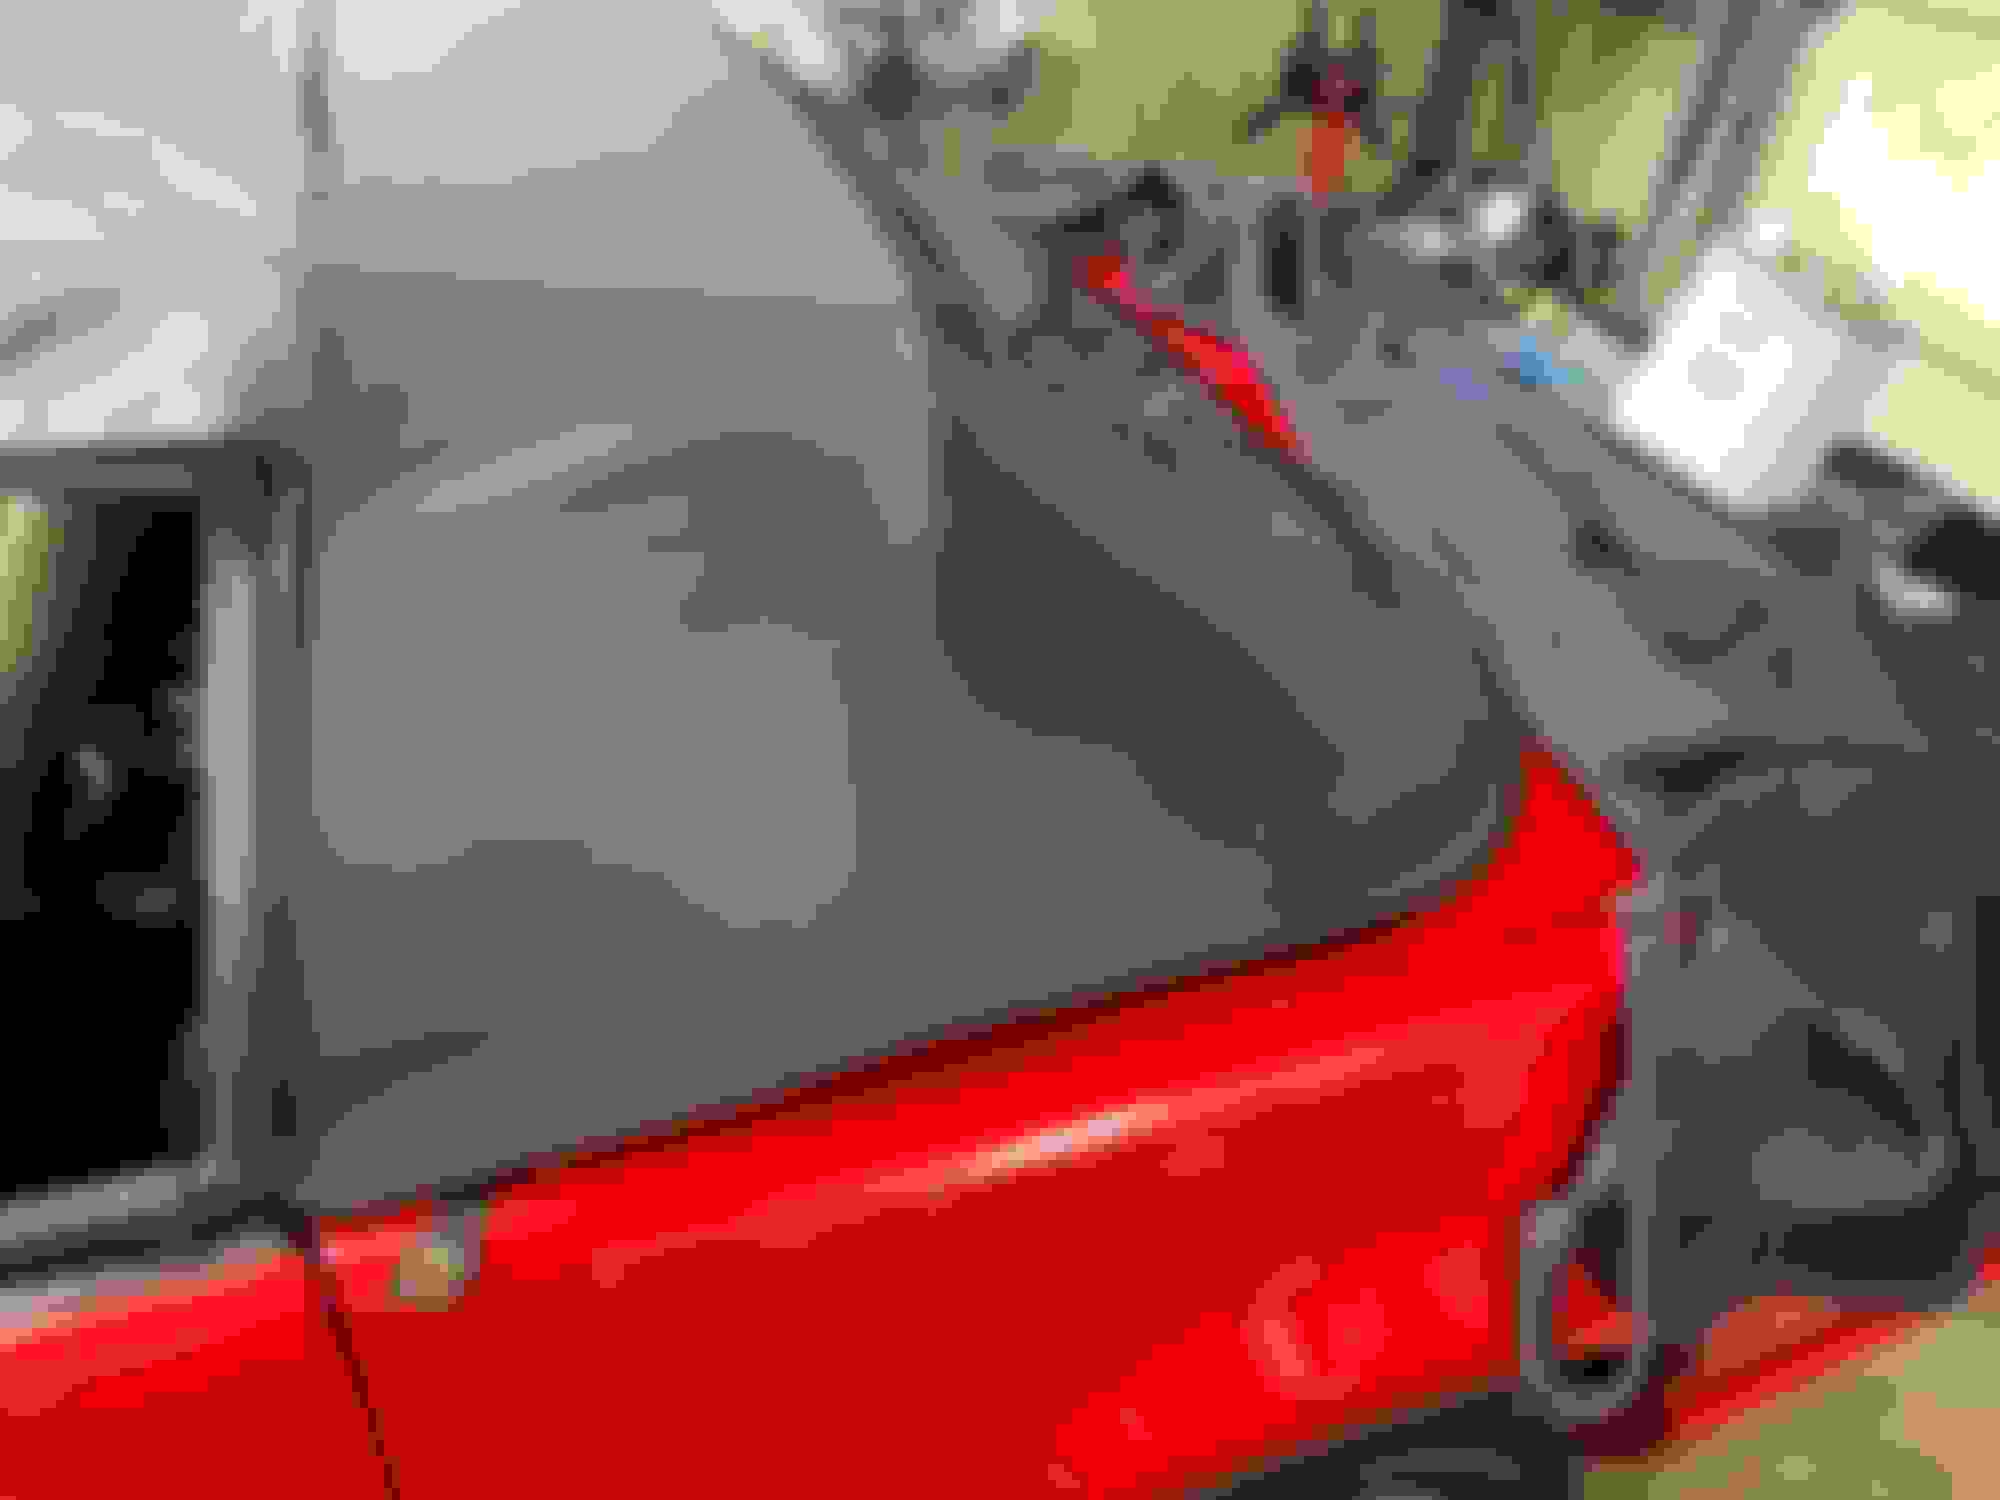
The headliner side flaps are glued under this seal channel as well
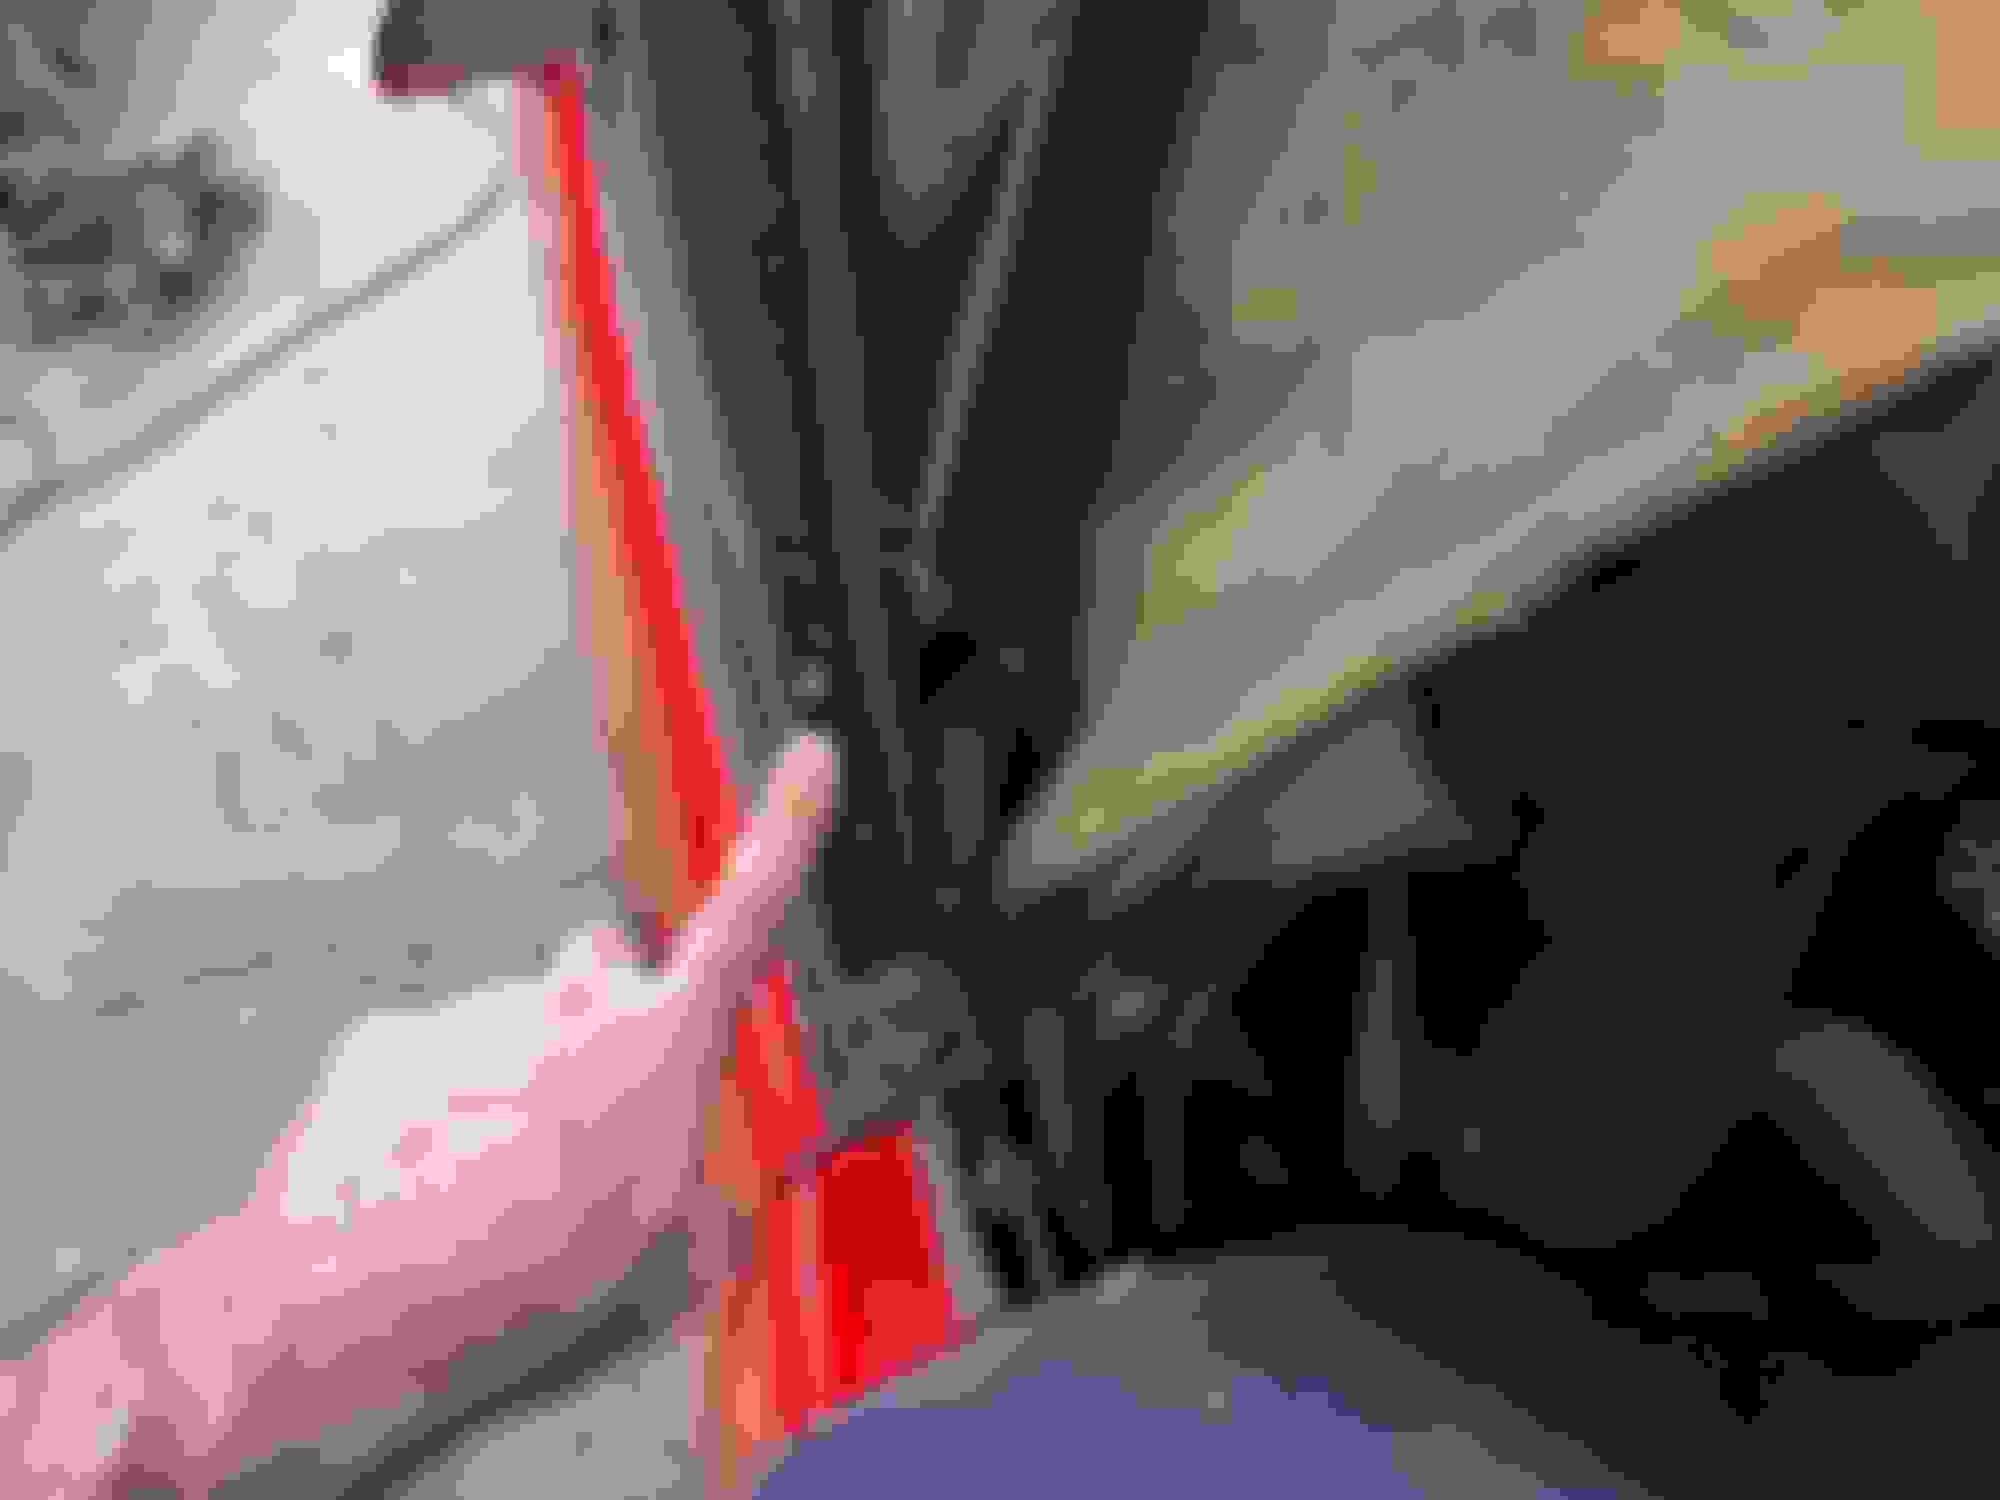
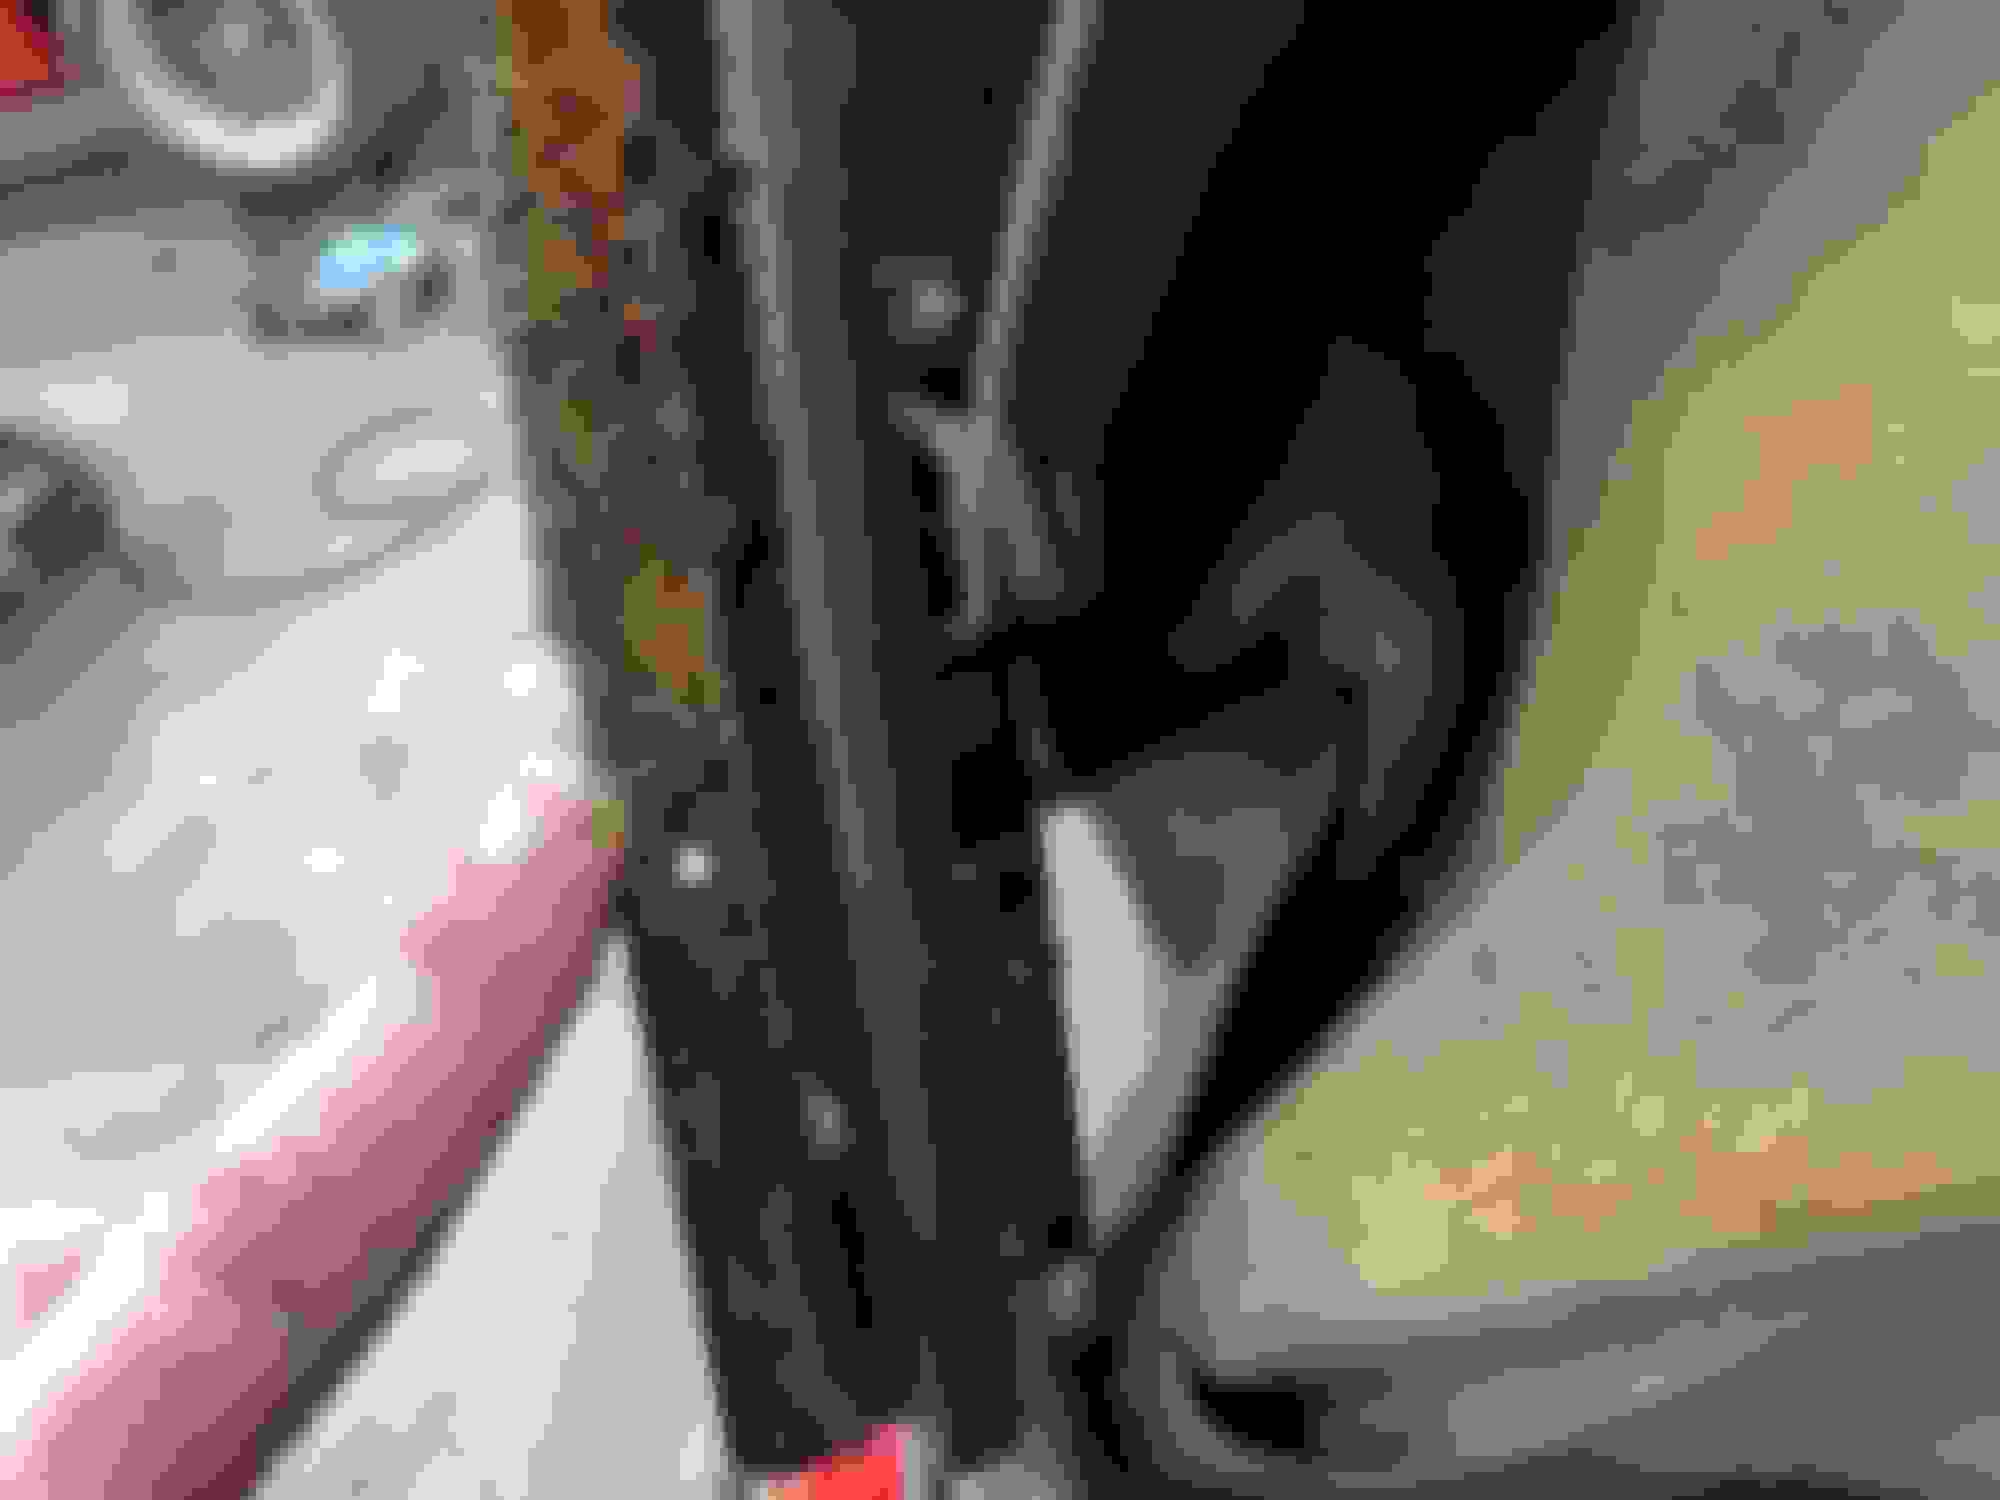
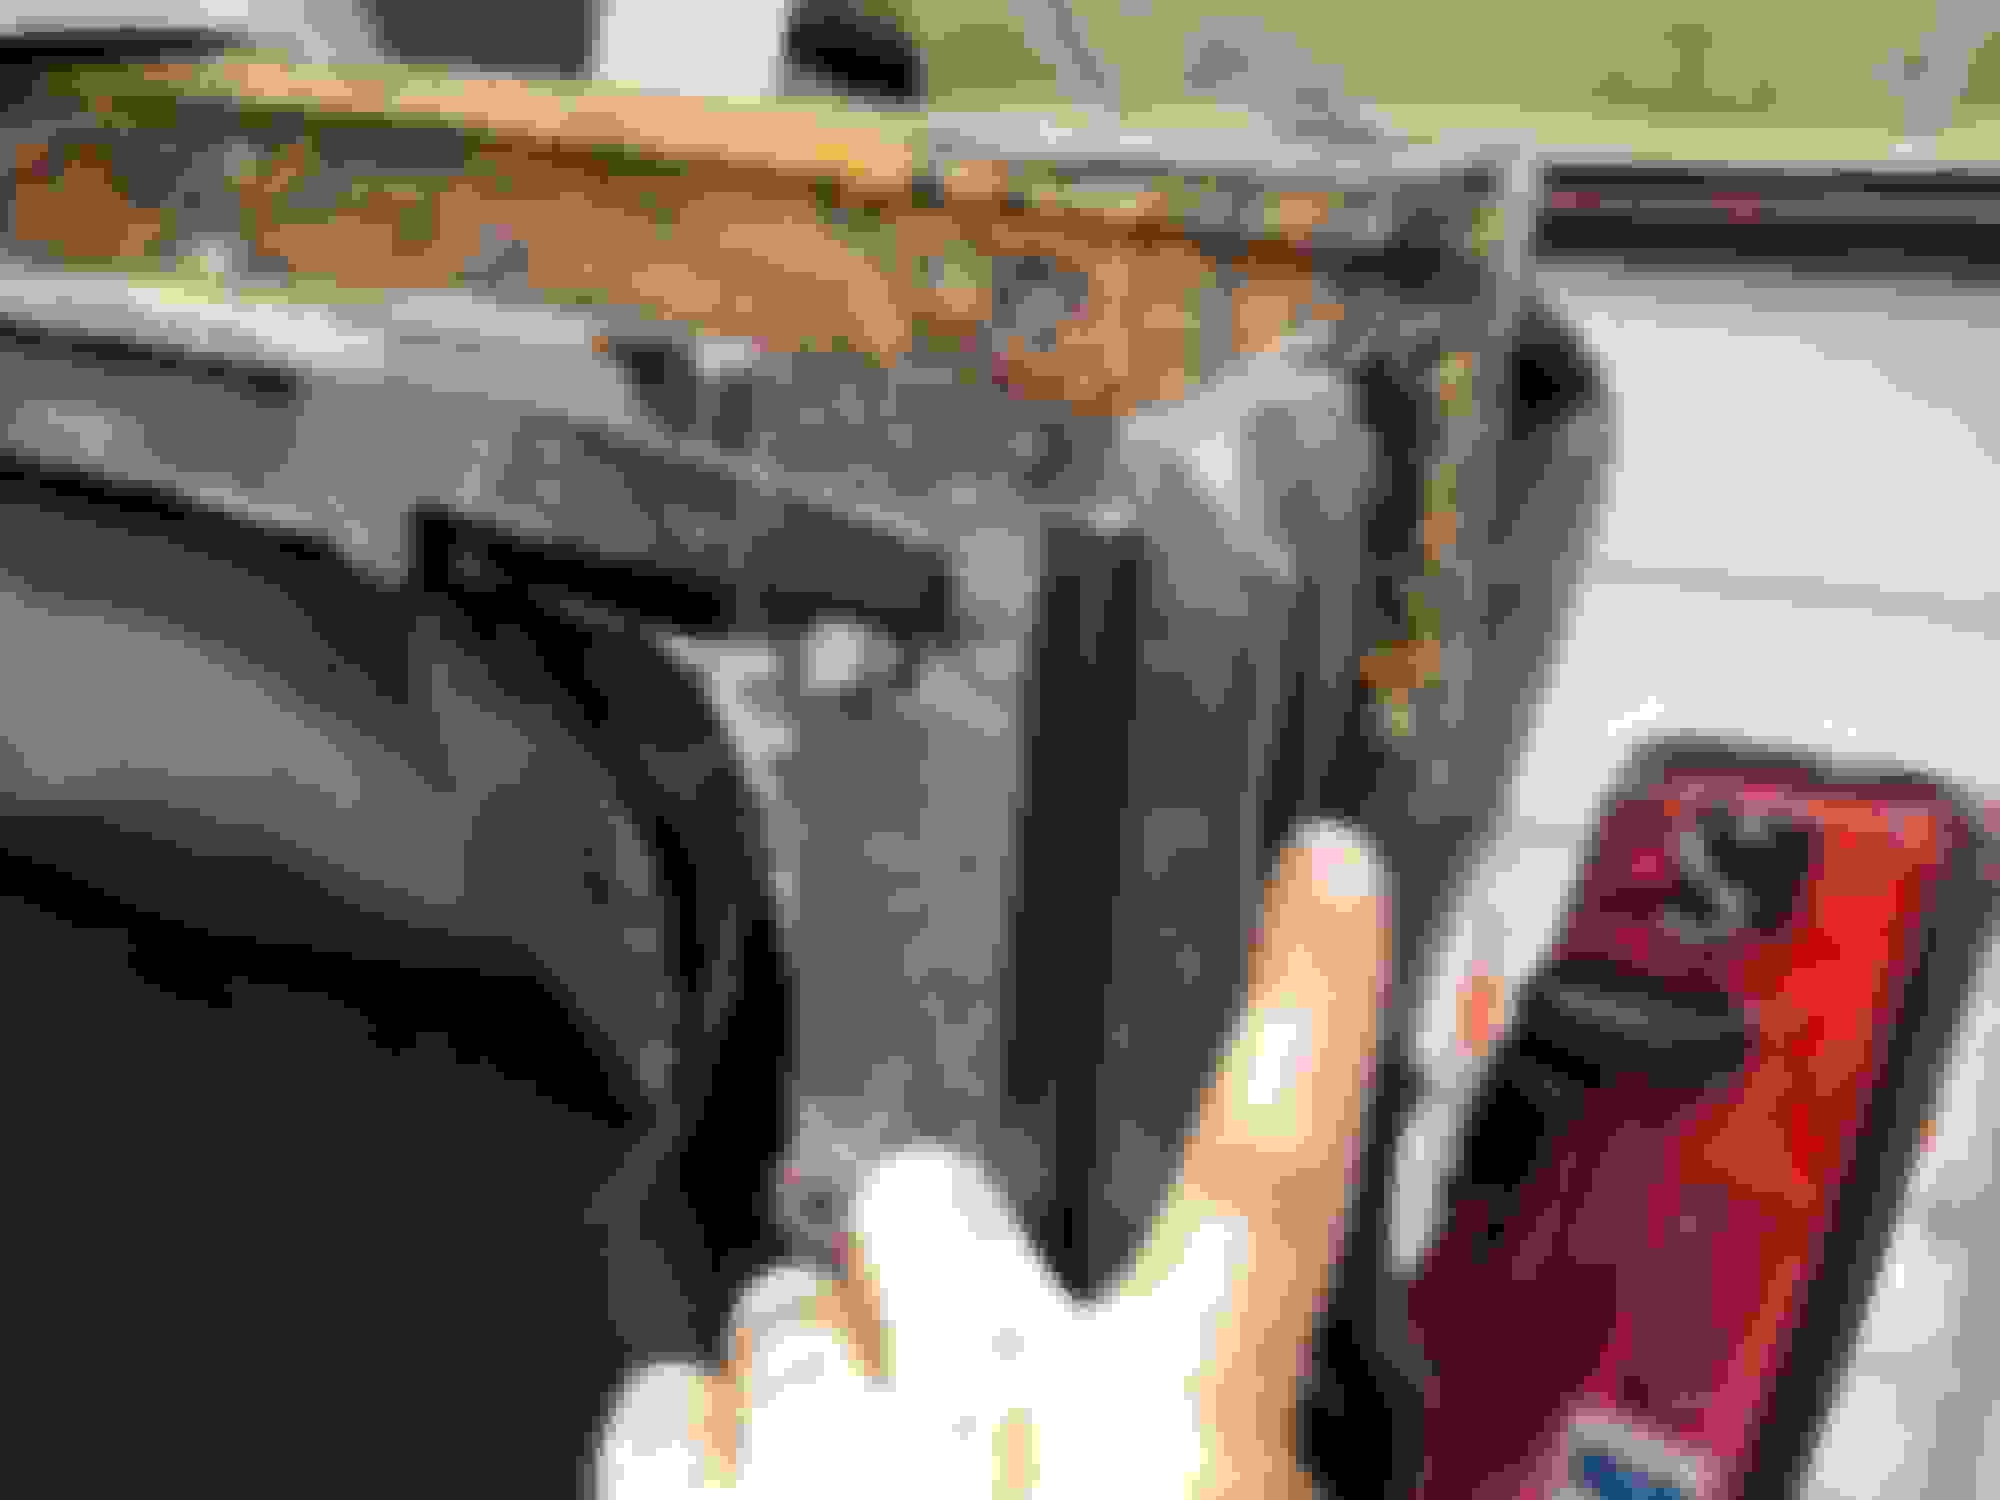
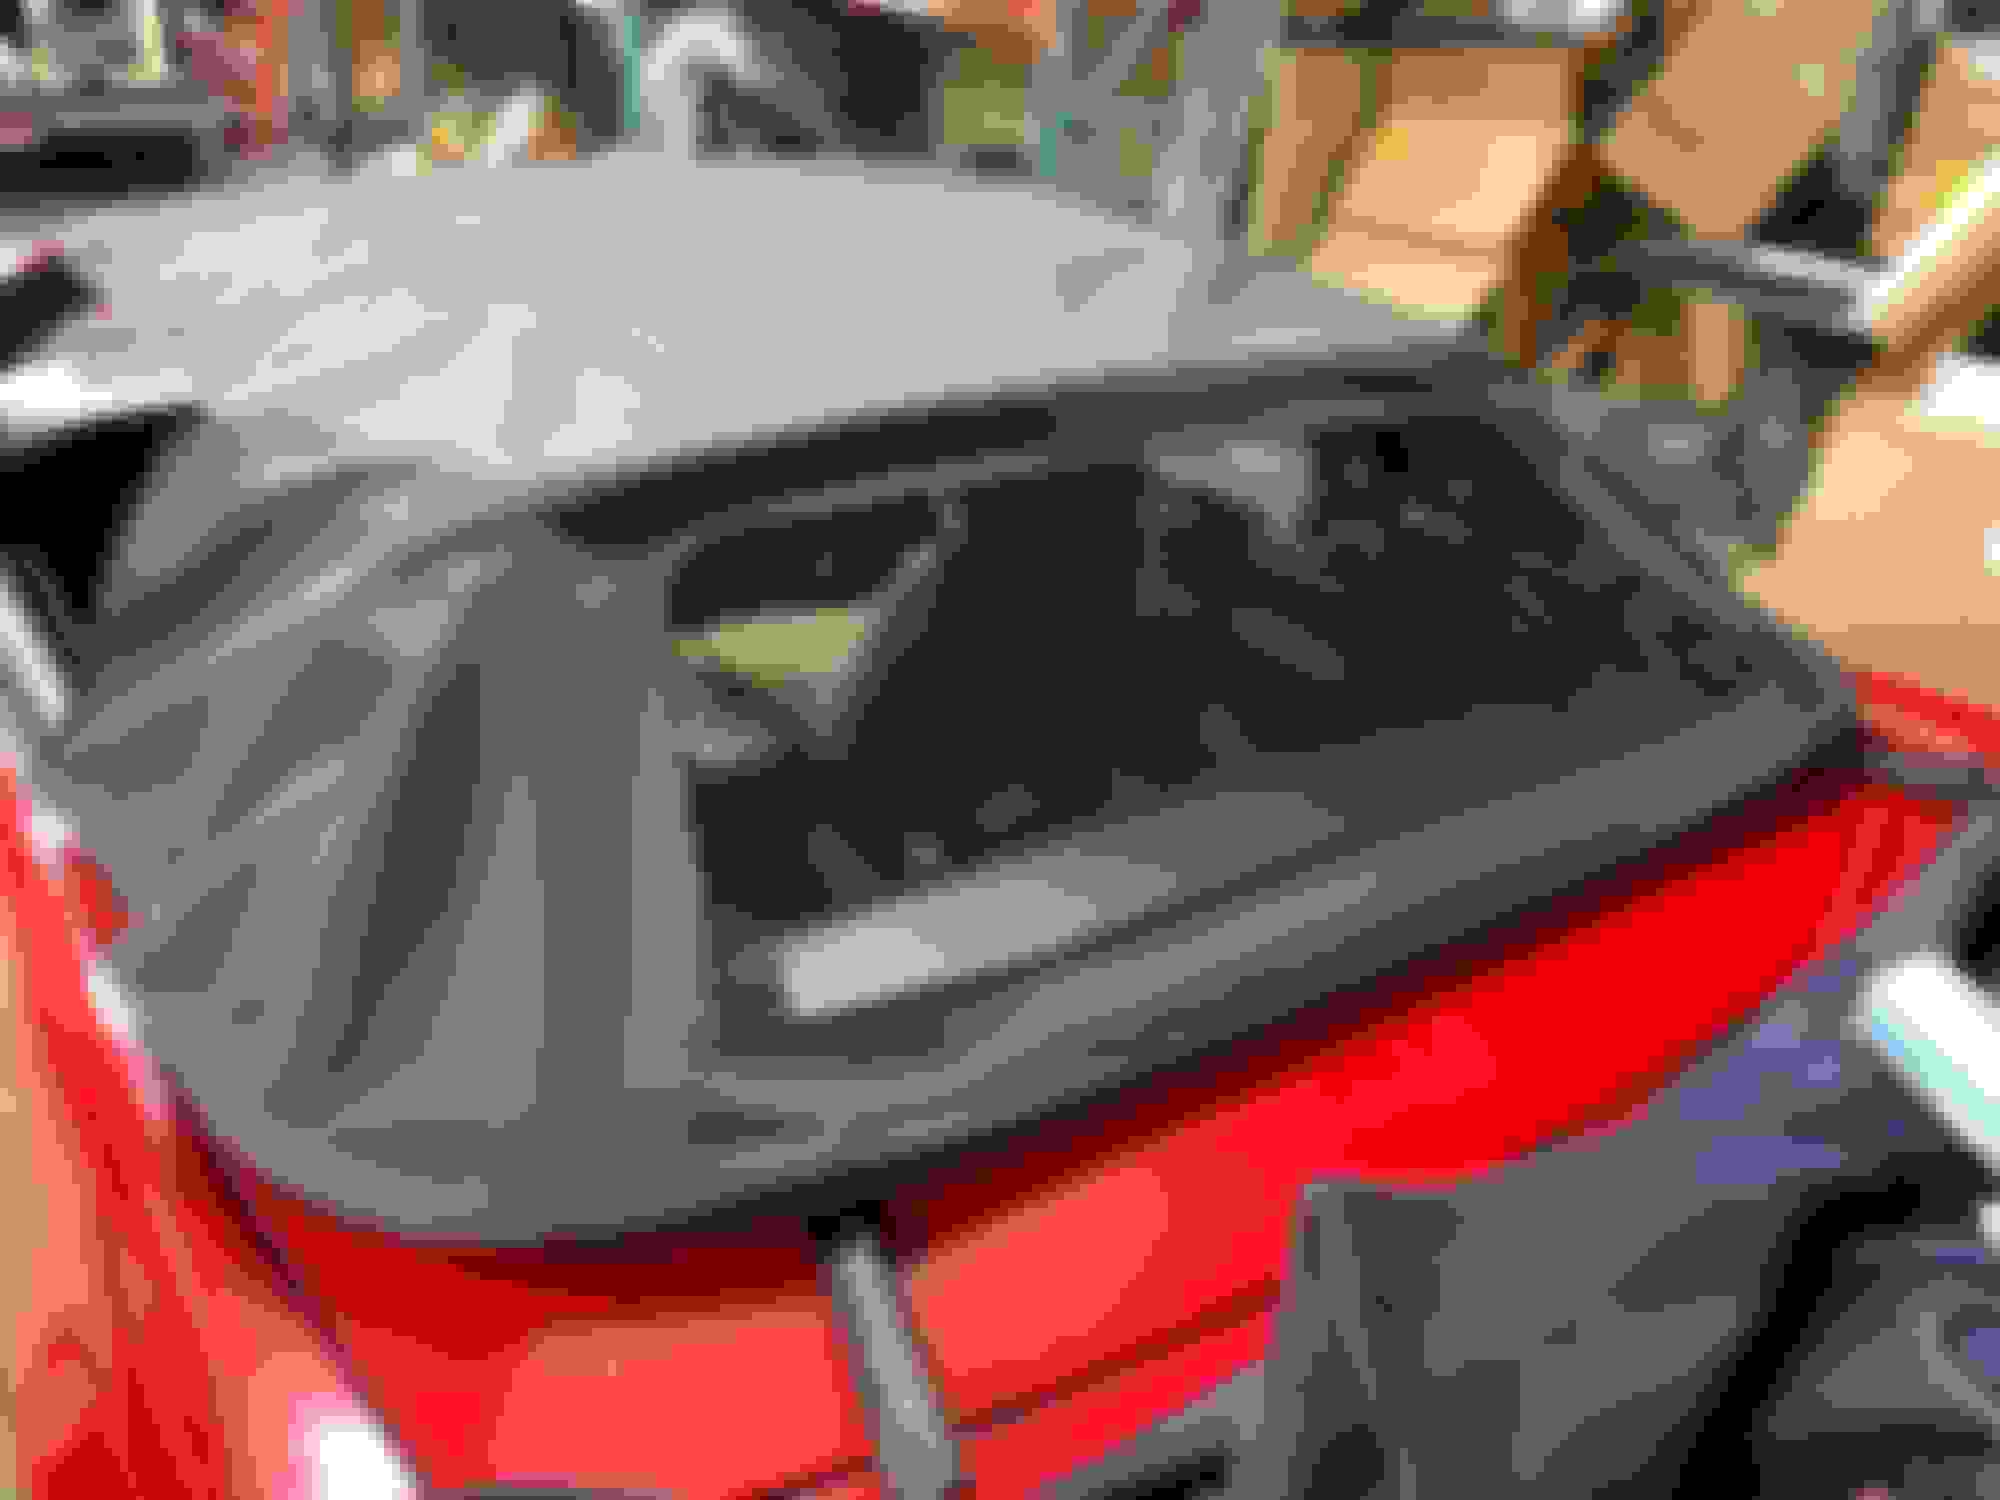
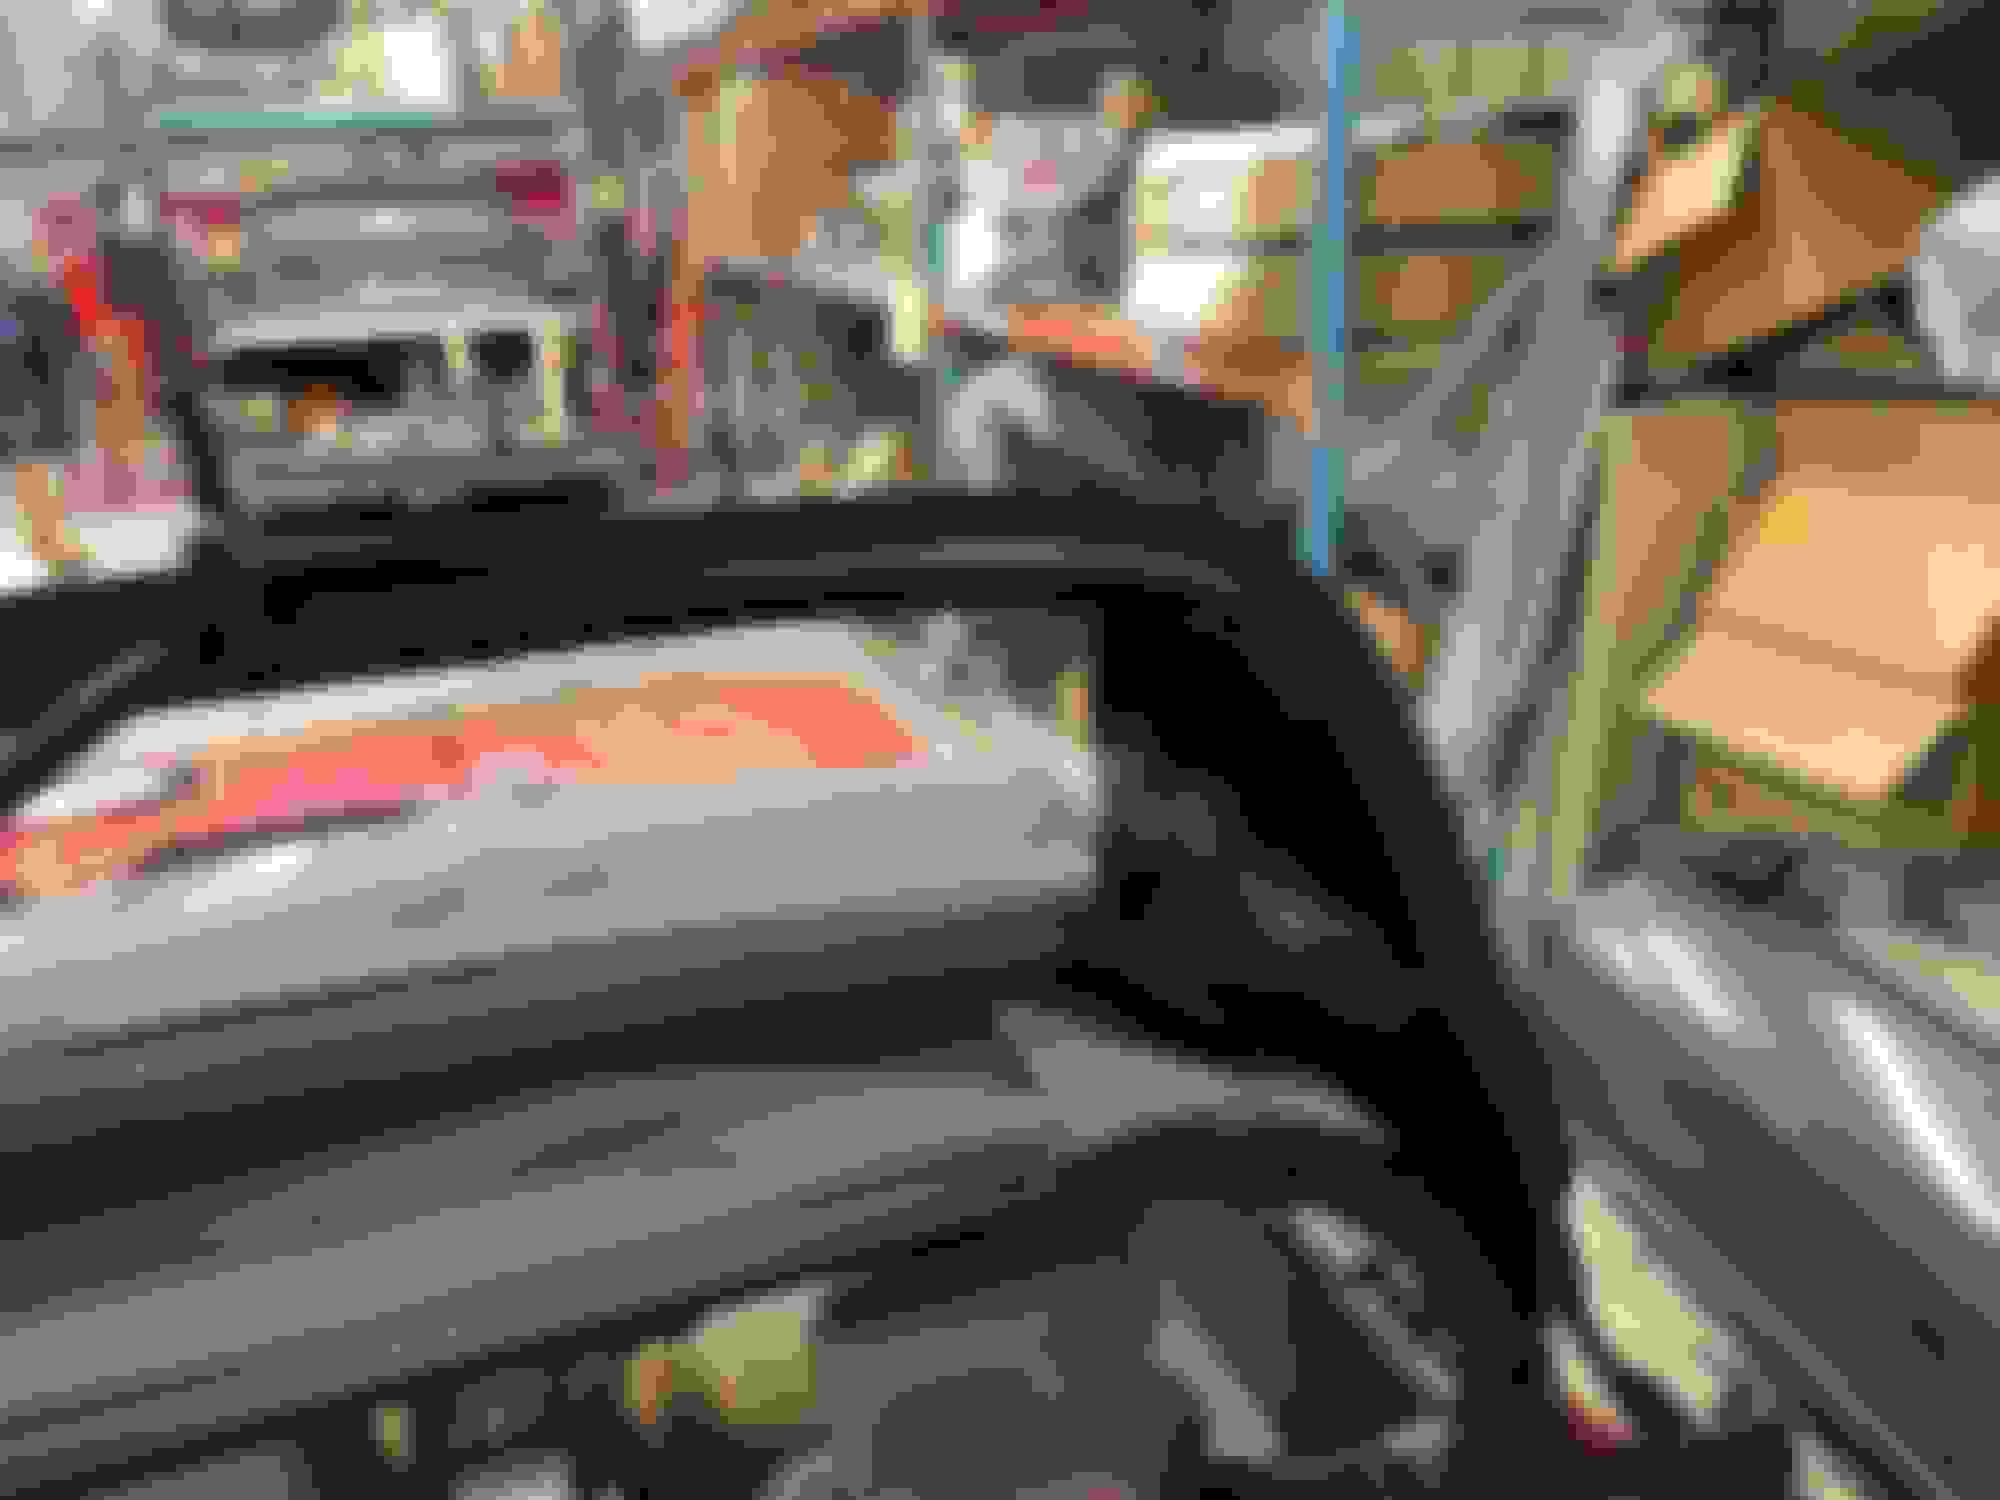
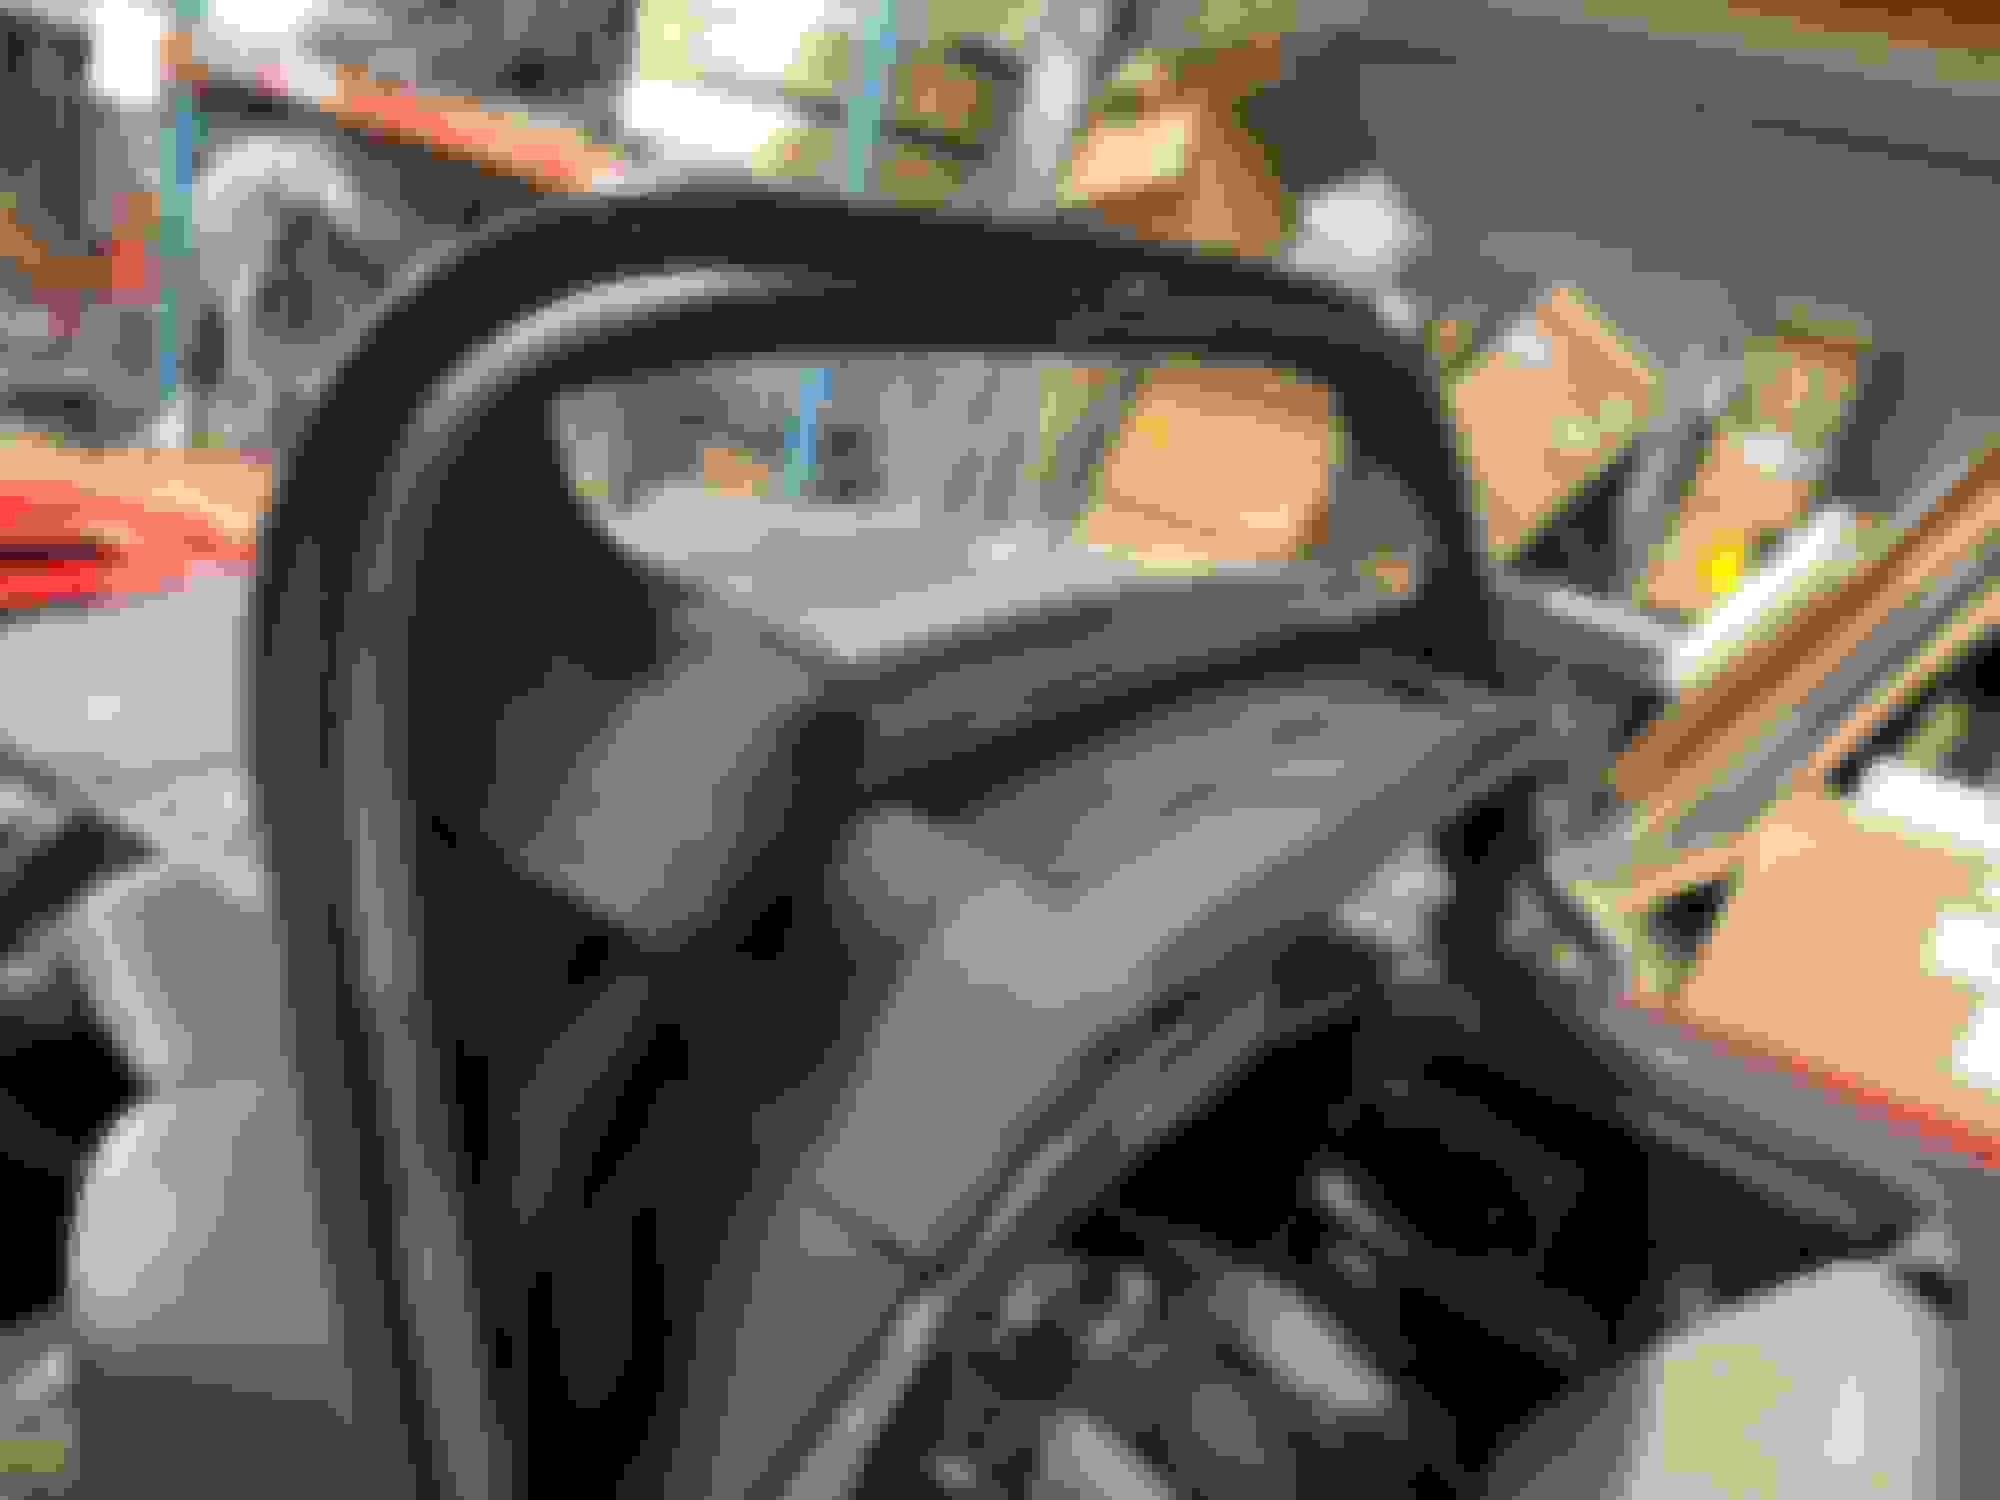
Remove the header trim piece and retainer strip. Peel the top back and remove the cable mounting screws (2). Take care with them because they are a very specific height
OK....I'm going to tell you before you even finish your "overload," that you're a fool for doing it yourself. YouTube, Instagram and the Internet in general are not installation authorities. This is a job that is best left to the experts. When you consider your time and the cost of the top, you're not ahead, you're behind.....and we still do not know if you'll achieve perfection, as in will the top be wrinkle free? Will it have the correct amount of taughtness and tension? Will it leak? Did the top supplier send you the best materials available, for example "Haartz Stayfast Cloth? (Your material looks kinda shiny in the picture.)
The tops on both my Verts, (pictured,) were done within the last two years or so by Auto Upholstery Shops that have been in the business since the 1950's and 1960's. They are perfect. With both installations I dropped off the car one morning, and picked up the car the following evening. My only instructions and advice when picking up the cars was that the tops would be difficult to latch for a while.... The 91s top was $1350 out the door, the 94s top was $1650 out the door.
Sorry to rain on your parade.......I do give you an A for effort......
Where do the 3/8" Stainless Steel staples get used? My 1989 IROC Z Vert, which does not have a headliner, does not seem to use staples. Also, looking on Amazon, I see SS T50 staples 3/8" Crown, 1/2" Legs. Is that what you used?
Over 40 years ago, I installed a top on a 67 Mercury Comet Caliente, IT used staples, to attach the fabric to the front Bow, as I recall.
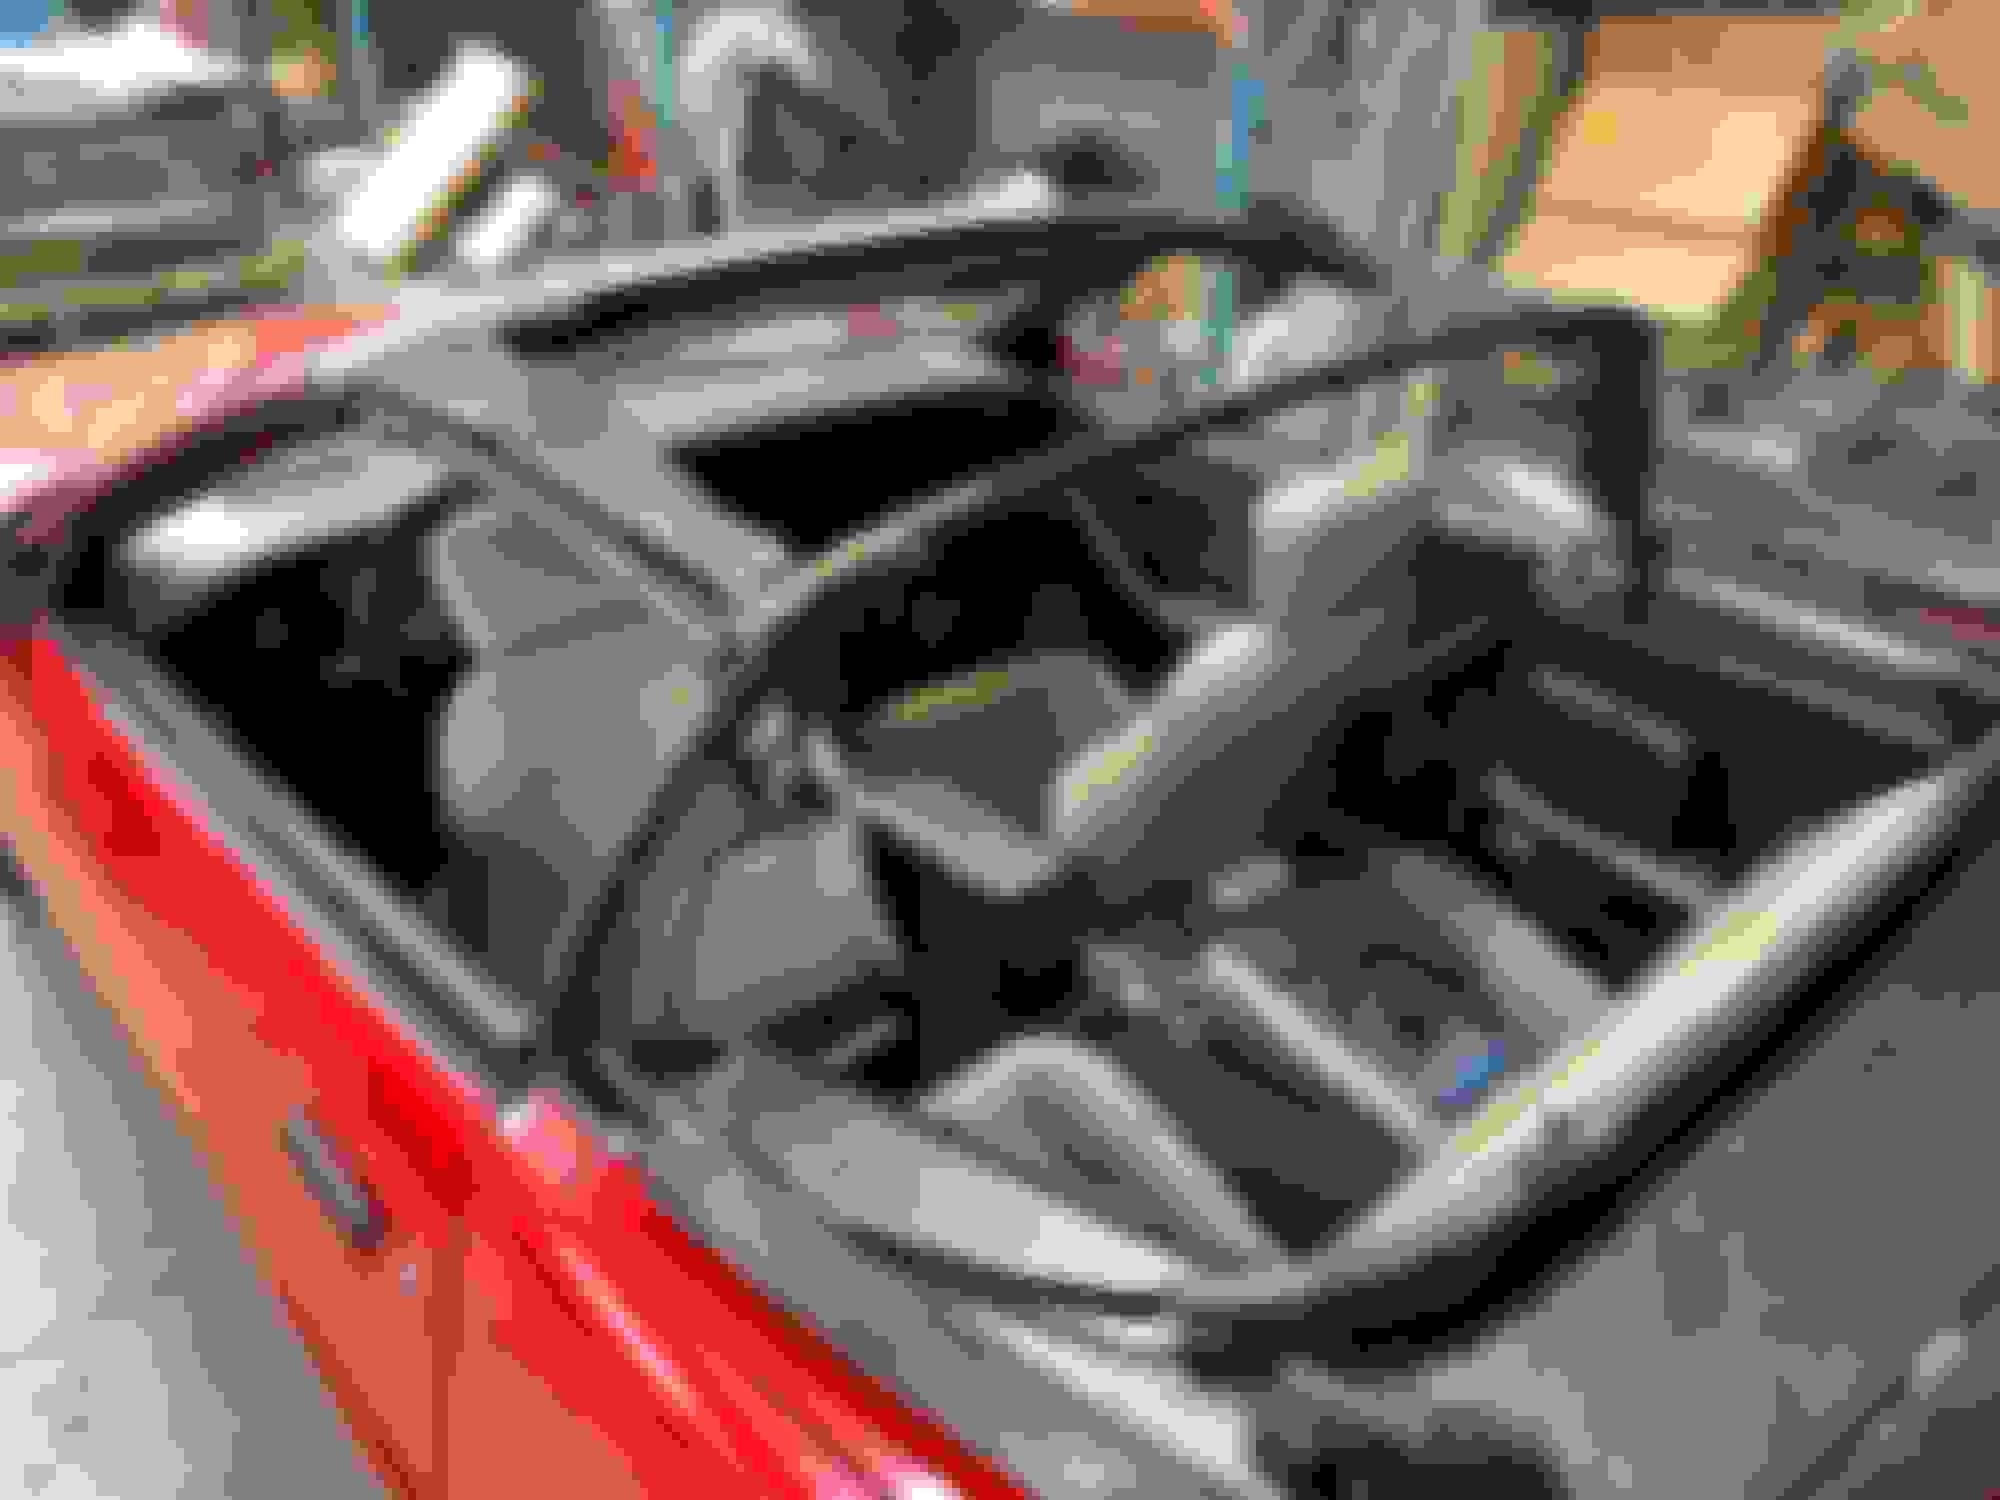
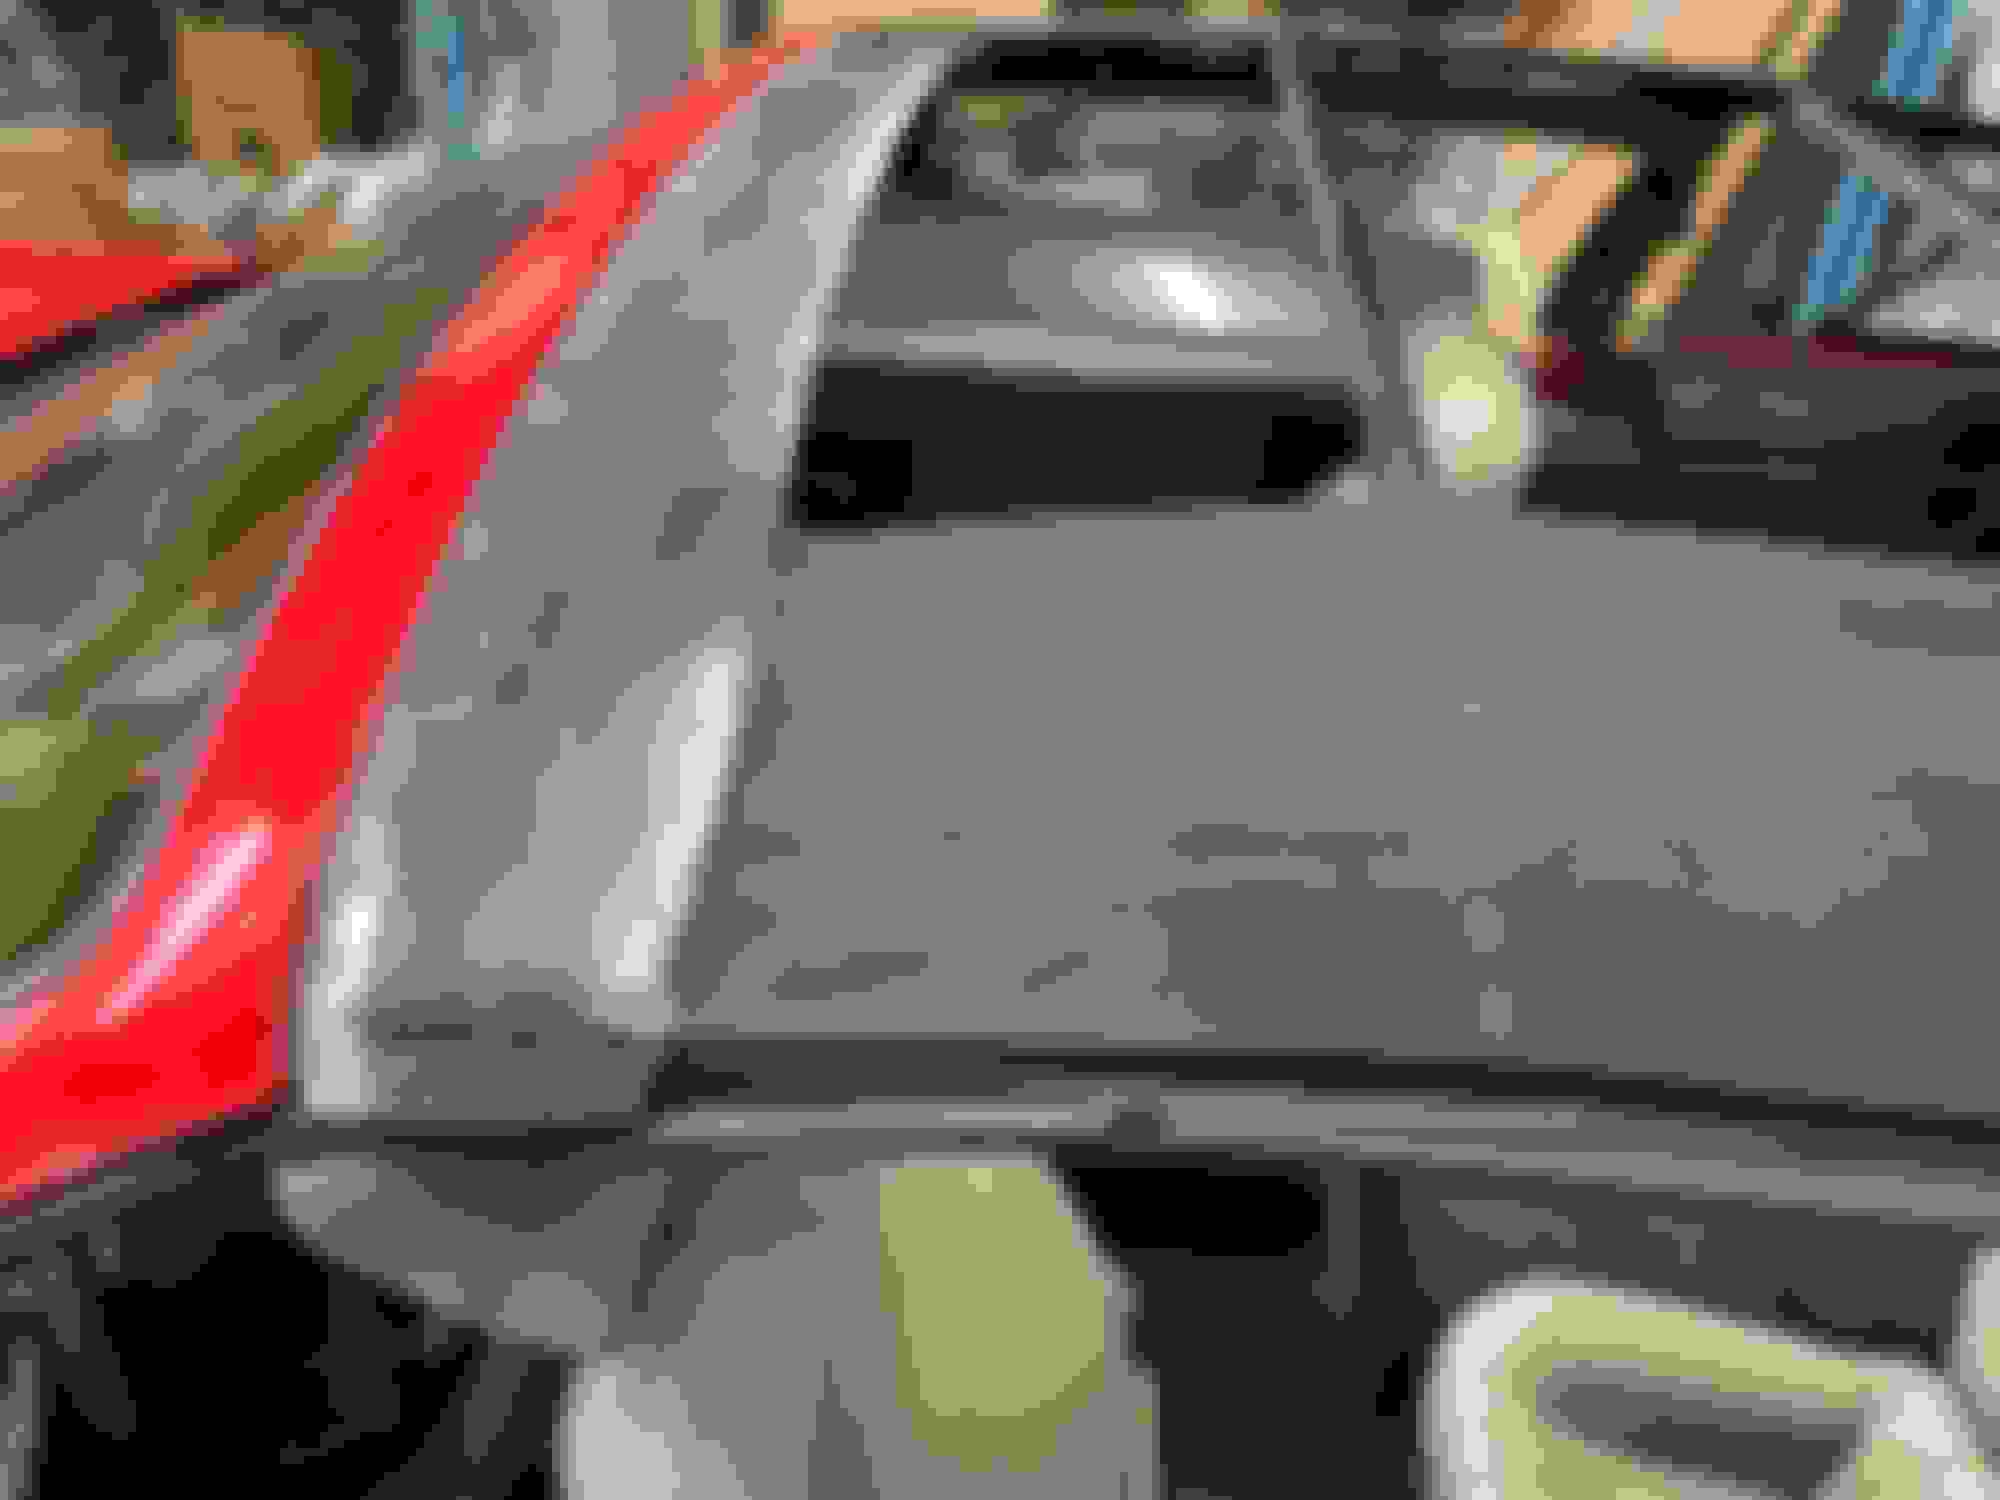
Headliner needs to come out next. Start with the seam at the #3 bow. It's a tight slip fit
Pop the rear half off the headliner off the #3 bow. It's a plastic snap channel
Remove the retainer strip and peel the rear section of headliner off. That's it for the headliner
Remove the screws along the inside of the #2/3 bows. These screws are different, so tag/bag them accordingly
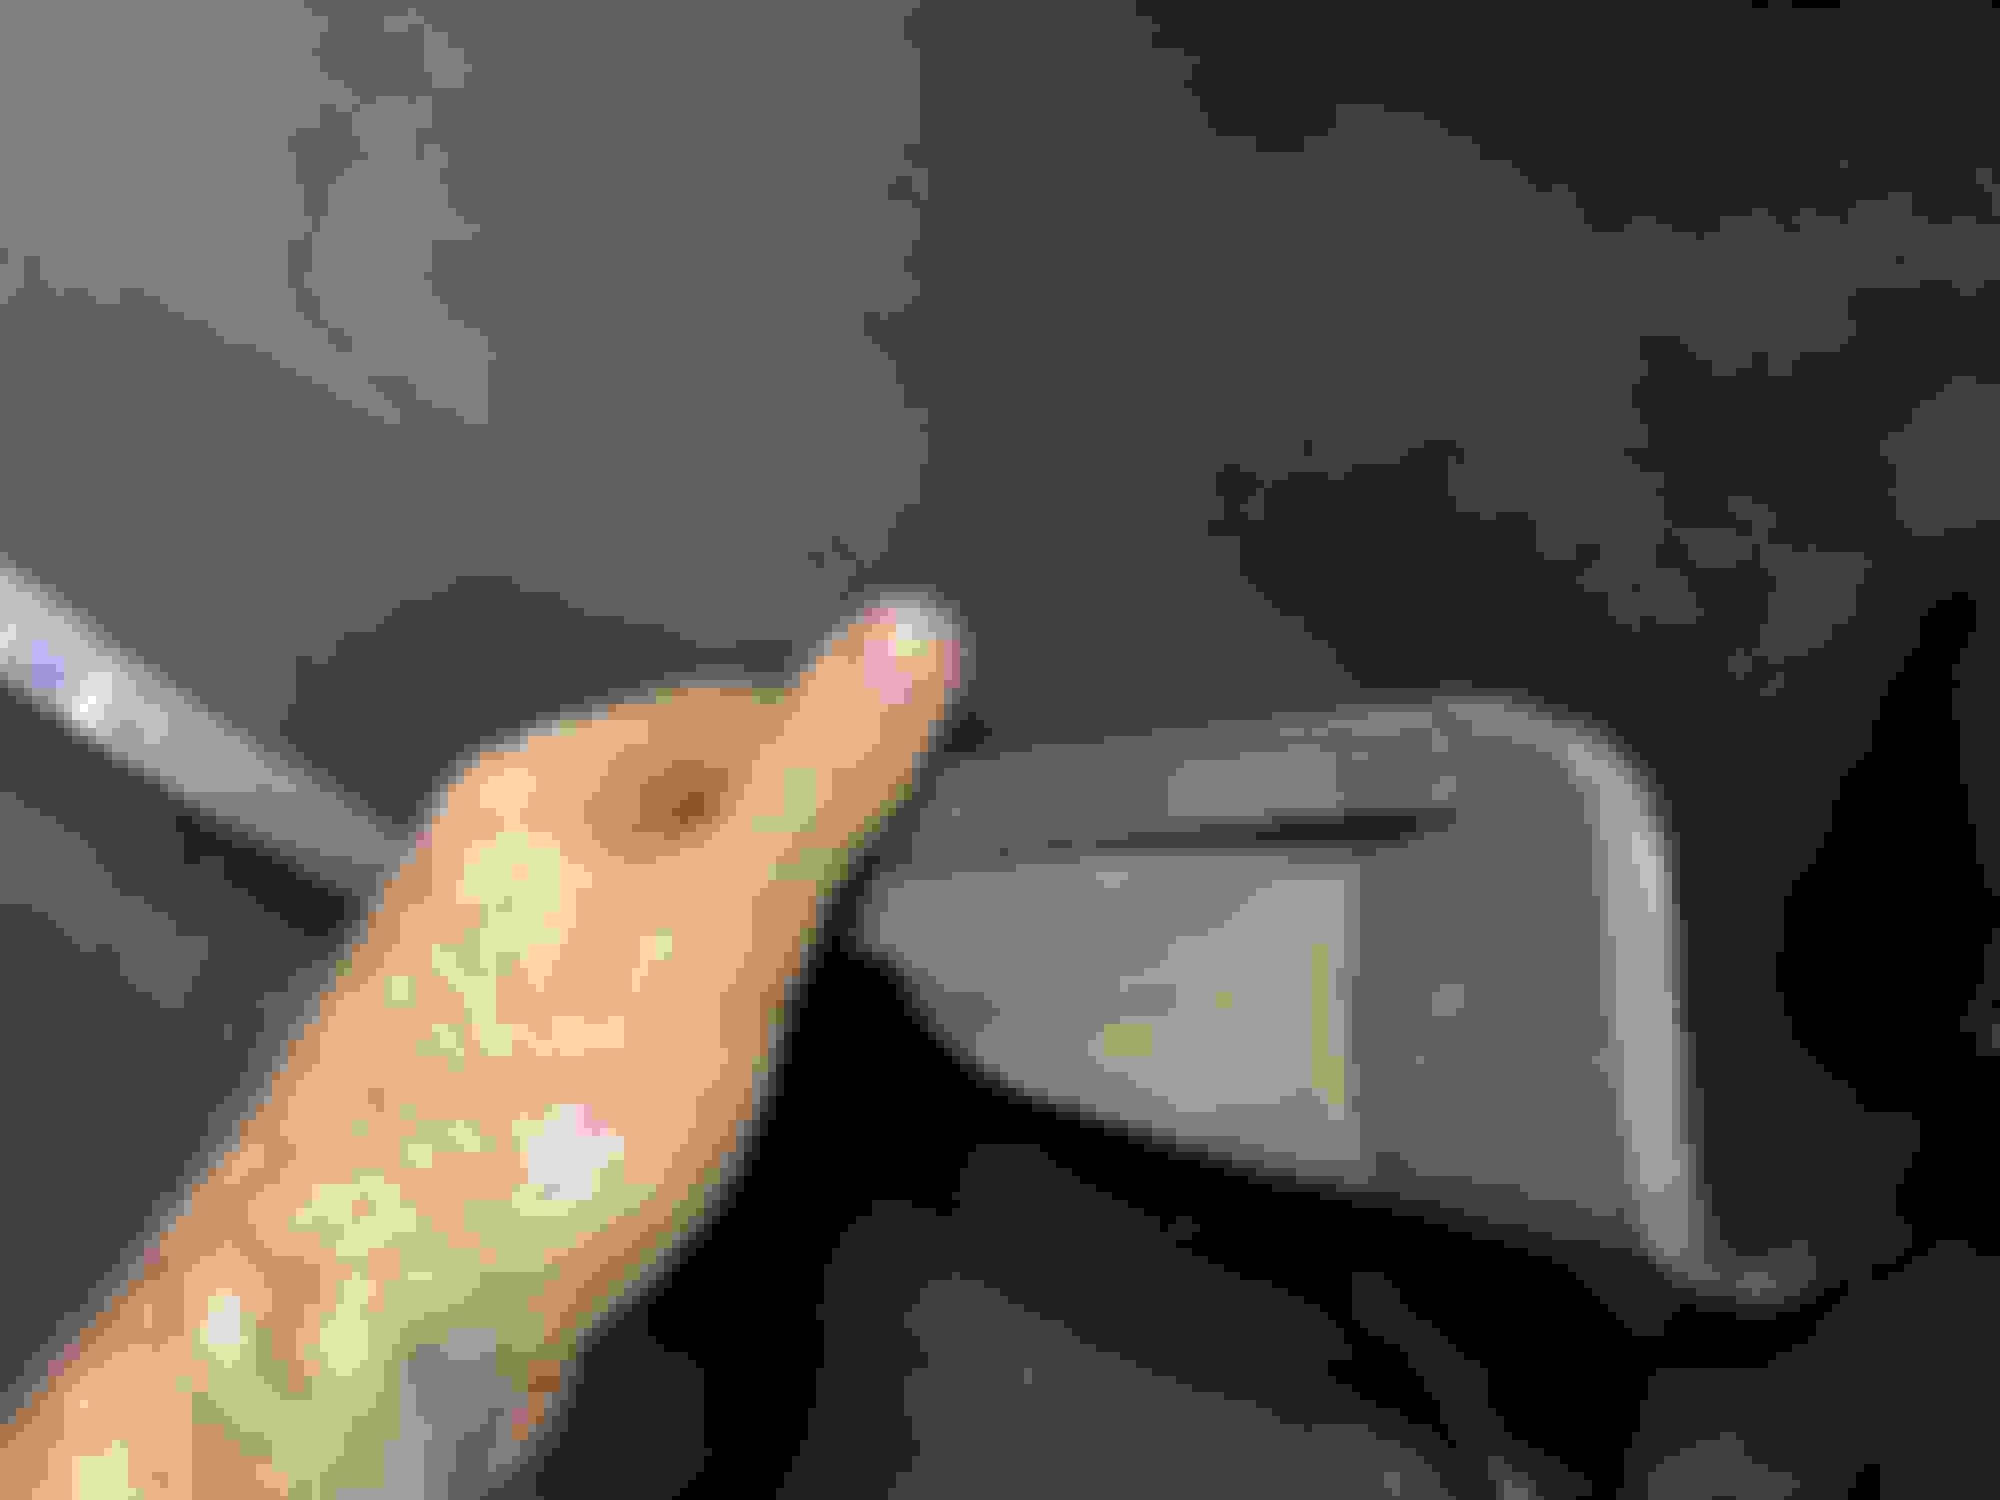
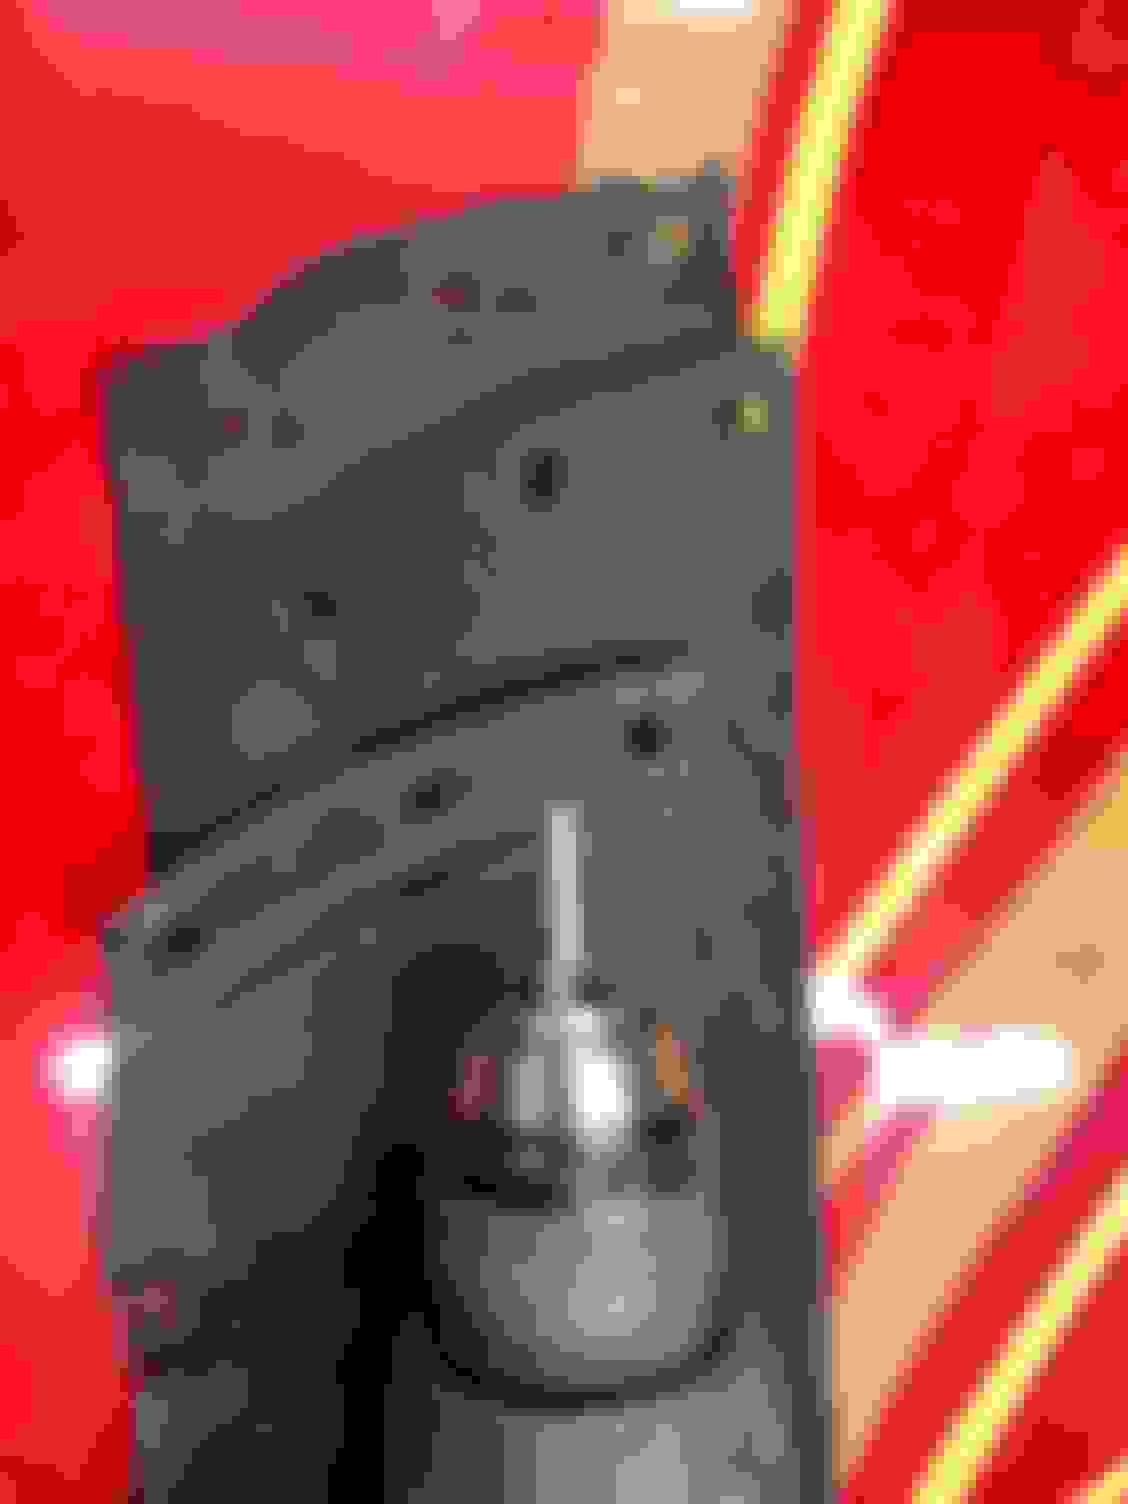
Last thing for the top is the rear cable attachments. The loop clip will not come with the replacement cables, so hang on to those (2)
With that, the top should come off completely. Be sure to grab the cable loops and #2/3 bow retainer strips from their pockets
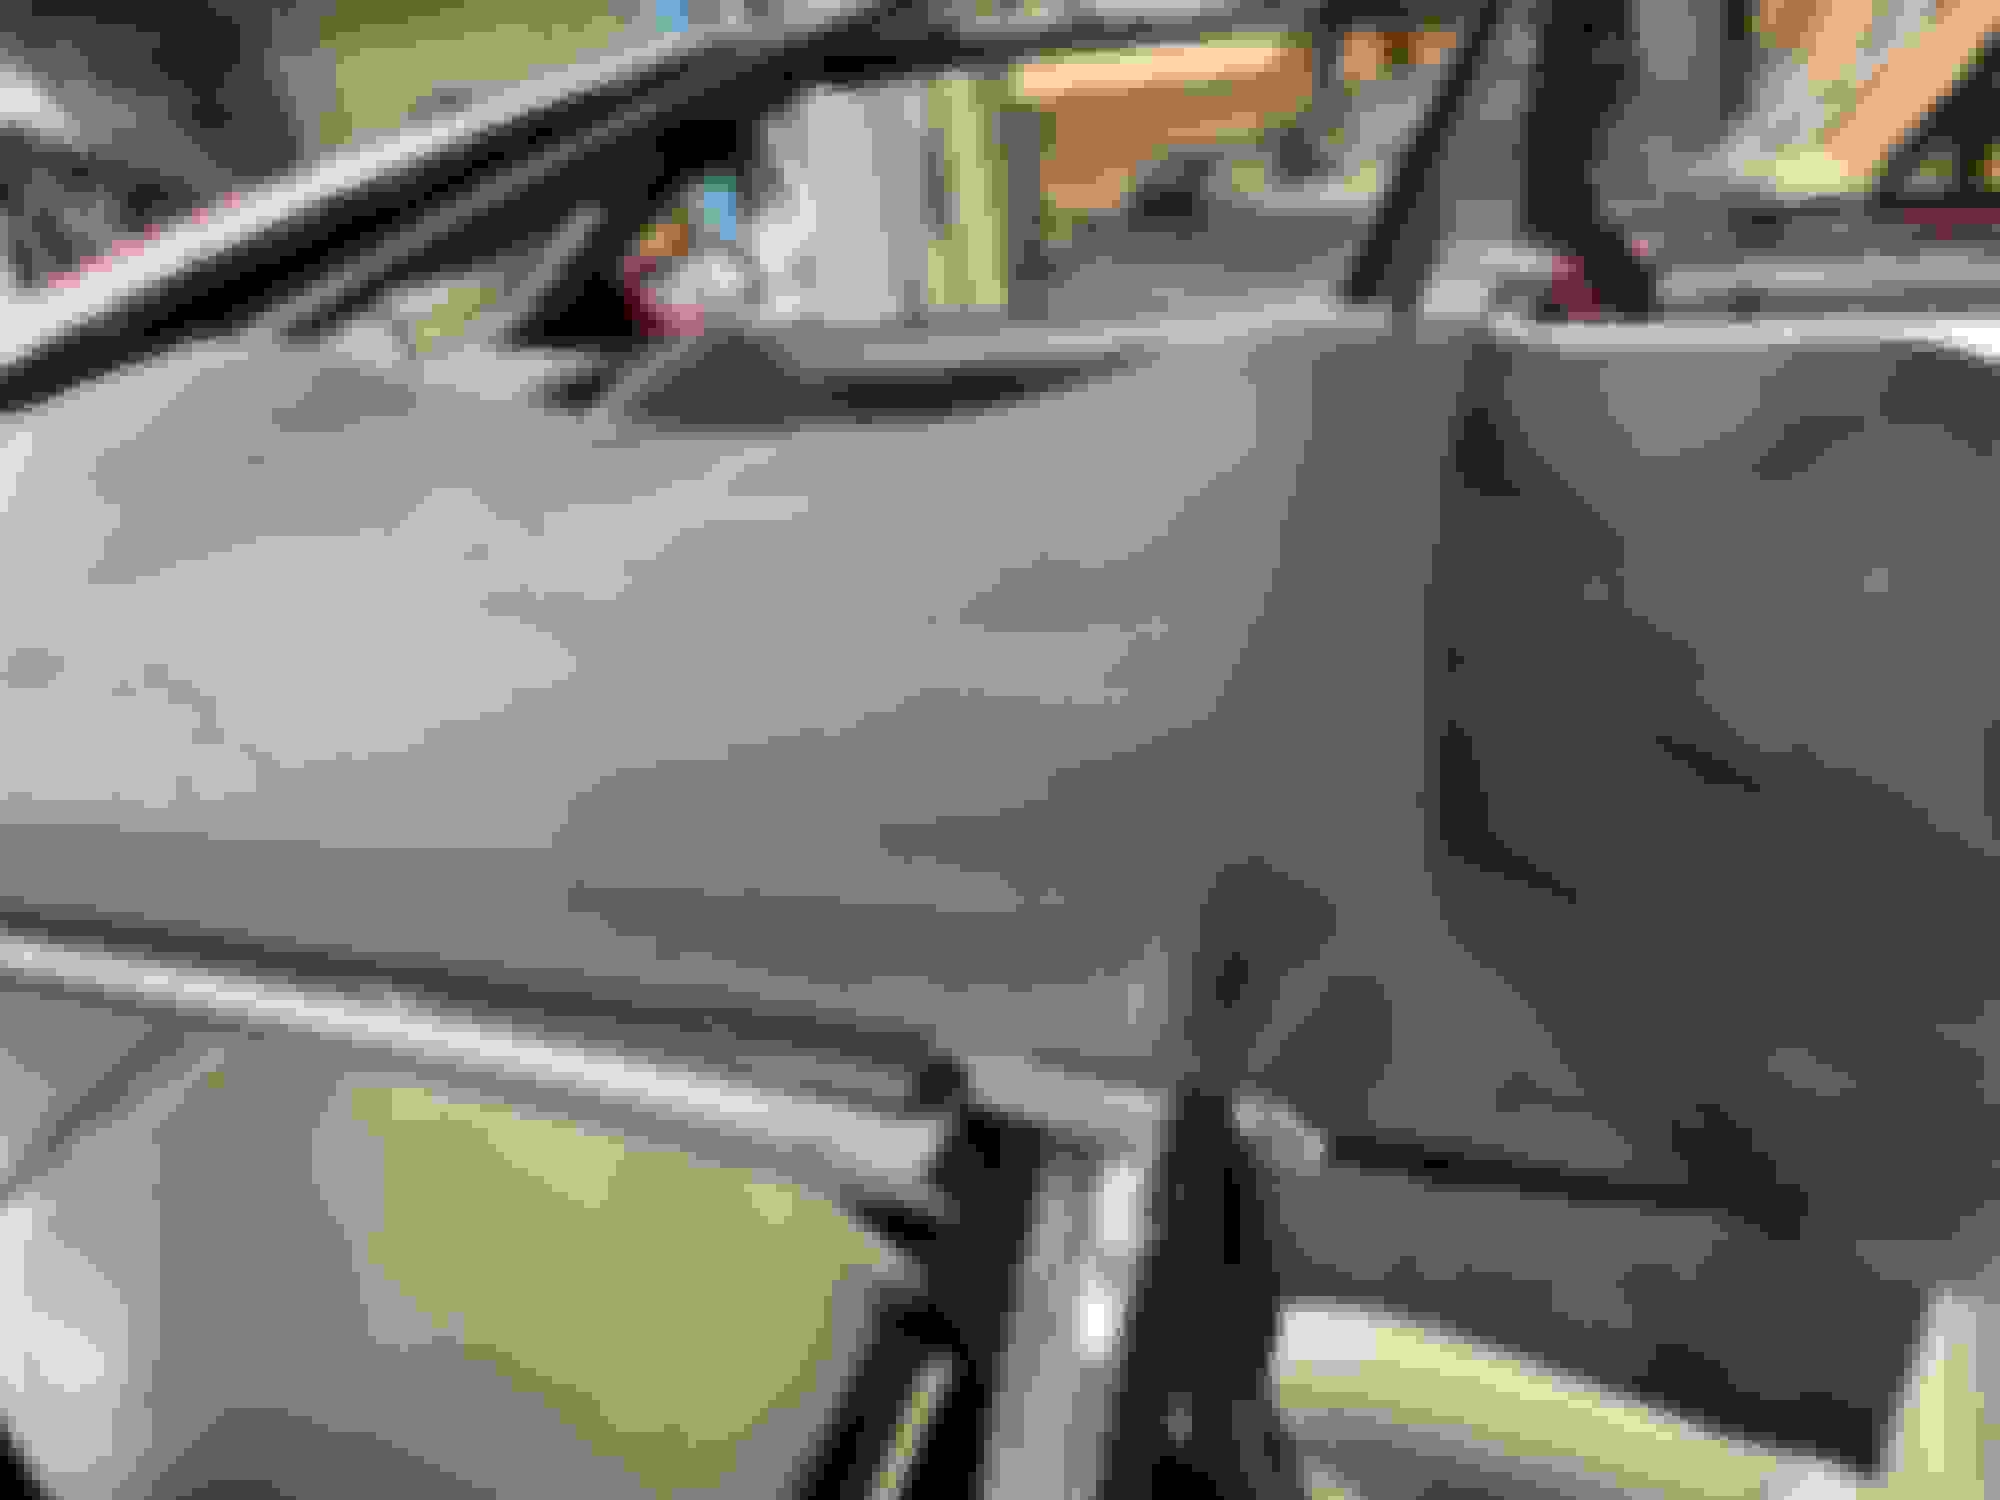
Stay pads
Bow position is critical for proper top folding. The stay pads ensure they stay in the proper orientation. ASC tops make this relatively simple as the #1/2/3 bows are fixed even without stay pads. #4 is the real variable. The PS rear pad was mostly intact, so I used masking tape to hold its position while the pads were attached. I ended up adding more masking tape between #4/5 as the pads were replaced
Starting with the pads. Ensure the front has a good square cut and the ends burned to prevent frays. Instructions state to use a drill to punch holes, but that just seemed to wad up the material. I used a pick to piece and wallow out the hole. Then the rivet gun can be used to push the rivet home. The pick was good at finding the old rivet holes, so nothing new needed to be drilled
Keep the pads even with the edges of bows #2/3 and put one staple in each through the tack strip. The install kit comes with new strips if yours are not usable
The upholstery shop I've used in the past said the stay pad tension needs to be "like tight jeans on a hot girl's butt"
Basically, pull them tight. They don't have to be drum tight. Start with a few staples and ensure the pads don't slack when tension is removed. Staples aren't hard to pull out if it's too slack
Don't fully staple the #4 bow until the rear stay pad is installed
Trim with a knife and burn the edge to prevent frays. I left 1/2" extra in case I goofed on the #4 bow position. It will be covered by the headliner
Gorilla tape over the rivets to keep them from chaffing the vinyl
This kit was missing the rear stays, so this is as far as I can take it until they show up
All top adjustments on the top start in the rear and work forward, so no further progress can be made
For most tops, the pad material is the same for the long front section and the short rears. 3rd gens have a narrow pad that loops around the #4 bow
OK....I'm going to tell you before you even finish your "overload," that you're a fool for doing it yourself. YouTube, Instagram and the Internet in general are not installation authorities. This is a job that is best left to the experts. When you consider your time and the cost of the top, you're not ahead, you're behind.....and we still do not know if you'll achieve perfection, as in will the top be wrinkle free? Will it have the correct amount of taughtness and tension? Will it leak? Did the top supplier send you the best materials available, for example "Haartz Stayfast Cloth? (Your material looks kinda shiny in the picture.)
The tops on both my Verts, (pictured,) were done within the last two years or so by Auto Upholstery Shops that have been in the business since the 1950's and 1960's. They are perfect. With both installations I dropped off the car one morning, and picked up the car the following evening. My only instructions and advice when picking up the cars was that the tops would be difficult to latch for a while.... The 91s top was $1350 out the door, the 94s top was $1650 out the door.
Sorry to rain on your parade.......I do give you an A for effort......
It's possible that this will be a total failure, but no one ever learned anything without doing
Even if it does flop, I'll know how not to do it
Where do the 3/8" Stainless Steel staples get used? My 1989 IROC Z Vert, which does not have a headliner, does not seem to use staples. Also, looking on Amazon, I see SS T50 staples 3/8" Crown, 1/2" Legs. Is that what you used?
Over 40 years ago, I installed a top on a 67 Mercury Comet Caliente, IT used staples, to attach the fabric to the front Bow, as I recall.
I'm gonna install, my own top, on the IROC Z.
Thanks.
Stay pads to #2/3/4 bows
Staple width isn't important. I bought a 3/8 and 1/2 combo kit and found the 1/2" staples could bottom out in the #2/3 bows leaving the top protruding to damage the vinyl
The top itself is not stapled anywhere
Pocket, thank you for your post! I reactivated my original account on here to update my sticky about top replacement from 2006 but haven't had the time. Much of it was lost when photobucket stopping hosting pictures.
I watched a Third gen Camaro top install, on youtube. Said Camaro did not have a headliner and staples were never used. Are the staples only on Verts with a headliner?
My 89 has them. You can see the staples at 5:48 in the vid above. They're used to hold the stay pads in place. I dont think having/not having a headliner matters.
I watched a Third gen Camaro top install, on youtube. Said Camaro did not have a headliner and staples were never used. Are the staples only on Verts with a headliner?
9:24-9:45
Staples are only used on the stay pads. You can see staples in the old pads. He skips over the new pad installation and covers the staples with fuzzy strips to prevent chaffing
In my car, staples are only in the #2/3/4 bows. #1 bow is riveted, #5 has a sandwich plate
The top itself has no staples
My 89 has them. You can see the staples at 5:48 in the vid above. They're used to hold the stay pads in place. I dont think having/not having a headliner matters.
Originally Posted by Pocket
9:24-9:45
Staples are only used on the stay pads. You can see staples in the old pads. He skips over the new pad installation and covers the staples with fuzzy strips to prevent chaffing
In my car, staples are only in the #2/3/4 bows. #1 bow is riveted, #5 has a sandwich plate
The top itself has no staples
I have watched that video many times and did not see him use a stapler. With you pointing it out, I see the staples at 05;48 in the video. I guess I will be ordering the staples, from Amazon. Thanks!
After nearly a week, the stays came in from the mfr. Anddddd.... they're the fronts again
Whatever, I split some material long ways and burnt the edge. Then used the better looking old rear stay as a template to copy the shape
To punch holes, I tried two different methods. First, I sharpened some brake line in a drill/grinder to make a punch. Then I hammered it onto some wood and burnt the frays. It was serviceable, but not pretty
Round two, I tried just spinning the tubing into the material directly. The results were much better. I'll have to remember that for punching holes into nylon cloth
Start with the sandwich plate and pull the bows tight. I ended up popping out the staples from the front to #4 first, then stapling the section back down in the end. In hindsight, I wish I would have ran extra pad material all the way across the #4 bow
Lay the new top over the structure and connect the side cables
Next, you're supposed to measure center and work from side to side. I couldn't find any clear reference points to establish exactly center, so I guessed based on flap to bolt heads. Estimate and even distance on both sides and use the latch as CL. It ended up being much closer to center than expected
Starting the glue process. This is not easy. I found that the HH-66 I used takes 2-3 coats before it will bond half-way decent. The first coat always goes on thick but dries in 30 seconds and looks super thin after. Subsequent coats have a longer drying time and thus more work time. It makes more sense why you never see a how-to with brush on adhesive, always sprayed from a paint gun
Anyways, glue in 12-18" sections. Keeping the top fully seated in the sew line is critical. Tightness will work itself out as you go. I used clamps to hold as the cement will set but can still be slid a few hours after
Take a break after the rear bow is glued to let the adhesive firmly setup
In hindsight, the rear window should be covered during gluing. The adhesive has a consistency of thick snot until you're working over something, then it instantly becomes as runny as water. Wheee
Next, do the vertical sections behind the windows. Compared to the rear bow, these are super simple. Don't forget the rivet down below
Now to fix wrinkles along the rear bow. For this install, only the DR side was wrinkled. I peeled it off up to the window, let the material relax and re-glued
Let the rear bow dry for atleast a few hours before doing the rear seal. The top must be trimmed before the seal can go on. I found that running my the backside of my knife along the channel would seat the top material best and make the cut line easier to spot
Next, fold the seal in half and mark center
Dab some weatherstrip adhesive in the middle and mount the seal. Beware, the seal can be installed backwards. Pay attention to the end flaps that go near the windows and orientation should become obvious
Redo with hindisght
First, screw the retainer tabs to the #3 blow behind the window
The seal has a channel flange molded in that matches the channel on the rear bow. Where the channel flange ends on the seal, glue that into the end of the channel on the bow. Work your way back squishing material back on itself
Thankfully, the weatherstrip adhesive was thick enough that it was still moveable
Last major hurdle, front bow
Directions, say to slide the front open about 1/2". Pull the material tight and glue. The top mechanism will pull the top even tighter which will relax form fitting to the car by sitting in the sun for a few days
Next, the directions say to mark the front line with chalk and use that as a glue line
I don't have any chalk
So I tried masking tape with a sharpie mark. Fail, tape doesn't stick at all to the top material
I ended up gluing a thin strip along the front on top of the bow. The adhesive isn't super strong and will pull off, but it held long enough for me to wrap the bottom of the bow
Brushing the large area of the front bow is why most shops spray their adhesive. It was a race to get adequate coverage and not let both surfaces dry before folding the material over. Thankfully there is a sandwich plate to secure the area
Not bad for a first time
Now for the extensive clean-up
Better adhesive. Brush on HH-66 is good adhesive, but only for small areas. The front bow area is about 3 sqft. No way you're getting that all in one shot. Industry standard is Weldwood Landau adhesive, but is comes in minimum 1gal cans. It may just be the way it works throwing away 3/4. Maybe try Lite-Bond 2065 as it comes in quarts and is supposedly equivalent
Pad the #4 bow entirely. I can clearly see all the features along #4 through the top. I'll try fishing some velcro soft pads in there after, but it would be much nicer to have them on from the start
Don't do this on a deadline. This car sitting for so long in my shop setback my schedule significantly. I was guilty of rushing through areas and the product showed in the end. A mechanically capable person can absolutely do this job in a weekend, but expect to dedicate the WHOLE weekend to it
Looks EXCELLENT ! Thanks for posting? Did you view the video, I posted? For ME, it is easier to understand, than photos and text. HOWEVER, the video Skips over the part about stapling the pads to the frame!
there was a very good write up on the top replacement for thirdgens on another site that is long gone. it was something like Southeast thirdgens or something like that. maybe someone on the board remembers it and saved it?
I have a pretty cool GM Training VHS that i converted to digital. it goes with the 91 convertible top service book we have posted on this forum. the digital file is pretty big and i think youtube is probably the only way i could share it.
Very well done. We did a fox mustang years ago in about 4hrs in the driveway, 1st step was to purchase a couple cases of adult road sodas and crack one open..
 04-18-2024, 10:32 AM