When you click on links to various merchants on this site and make a purchase, this can result in this site earning a commission. Affiliate programs and affiliations include, but are not limited to, the eBay Partner Network.
Hey Guys.....perhaps I have a problem, perhaps I don't.....but maybe you can tell me how to fix it.....because it's bothering the crap out of me. I replaced my fuel pump back in May, (the right way,) but I never noticed this until after I reassembled everything. (That being said, when I reassemble something I usually subject everything to more scrutiny, having worked on aircraft in my former life.)
Anyway, when I open the fuel filler door the door will hit the quarter panel unless I open it very carefully and gently, or stick something in-between. Is there a fix or adjustment?
Did you order from them? My '92 has the same issue and I'd like to fix it. Honestly, it looks like if you simply measure & cut some gasket material it shouldn't be too difficult to replicate.
Eldon
Last edited by blacksunshine'91; 01-08-2024 at 11:41 AM.
I never have order from the vendor; so, I can't speak to the quality of the product or if it fixes the problem. I was contemplating the same solution, but instead of gasket material, maybe double-sided tape? But since my car is in primer (for the foreseeable future) and I was going to paint the gas door separately, I haven't proceeded forward with my potential solution.
The door, escutcheon and hinge mount holes are sloted or can be for movement or can be for more, and the rubber stoper on the right can be adjusted in or out .
The neck being bent down would bother me. Remove cap, use a long pry bar (in tank neck) and gently bend it back up to center in the hole.
x2 on the slotted adjustment.. I had my fuel pump done by a shop and it hit the quarter... I had to repalce itlater myself and now its perfect after i adjusted it myself..
That fller neck being bent down would bother me more... might risk damaging the paint putting the nozzle at that angle
Had some time today, so I fixed the fuel door today. Instead of using the gasket linked above, I just used some of the make your own gasket material that I had in the cabinet. Used two layers of it to make my own. Not the prettiest, but nobody is going to ever see it. Moved the door away from the quarter panel about 1/8 inch or so. Enough so that it won't hit the car, but still stayed aligned when the door closes. Not hard at all.
For anyone doing this yourself, just remove the fuel cap while you're working on it and you should have plenty of space to get the door & hinge in and out.
Thanks!
My gasket should arrive by Saturday at the latest. At least I'll have a template to make more, if i need additional thickness.
The weather is about to turn to crap here in central Texas, and rather than playing with my cars, im doing cold weather prep, which includes moving the cars "outboard" in the garage as much as possible so my wifes plants can go down the middle between them.
Just to update this thread - there is (was) a 5,298 MILE 1986 CAMARO SPORT COUPE on Hemmings that had a good picture of the gas door and related gaskets.
Saved the picture and posting it here. In this example there are three gaskets between the gas door and black bucket.
All for future reference on this issue and how the cars were assembled when new..
Thanks, @ACebell much appreciated.
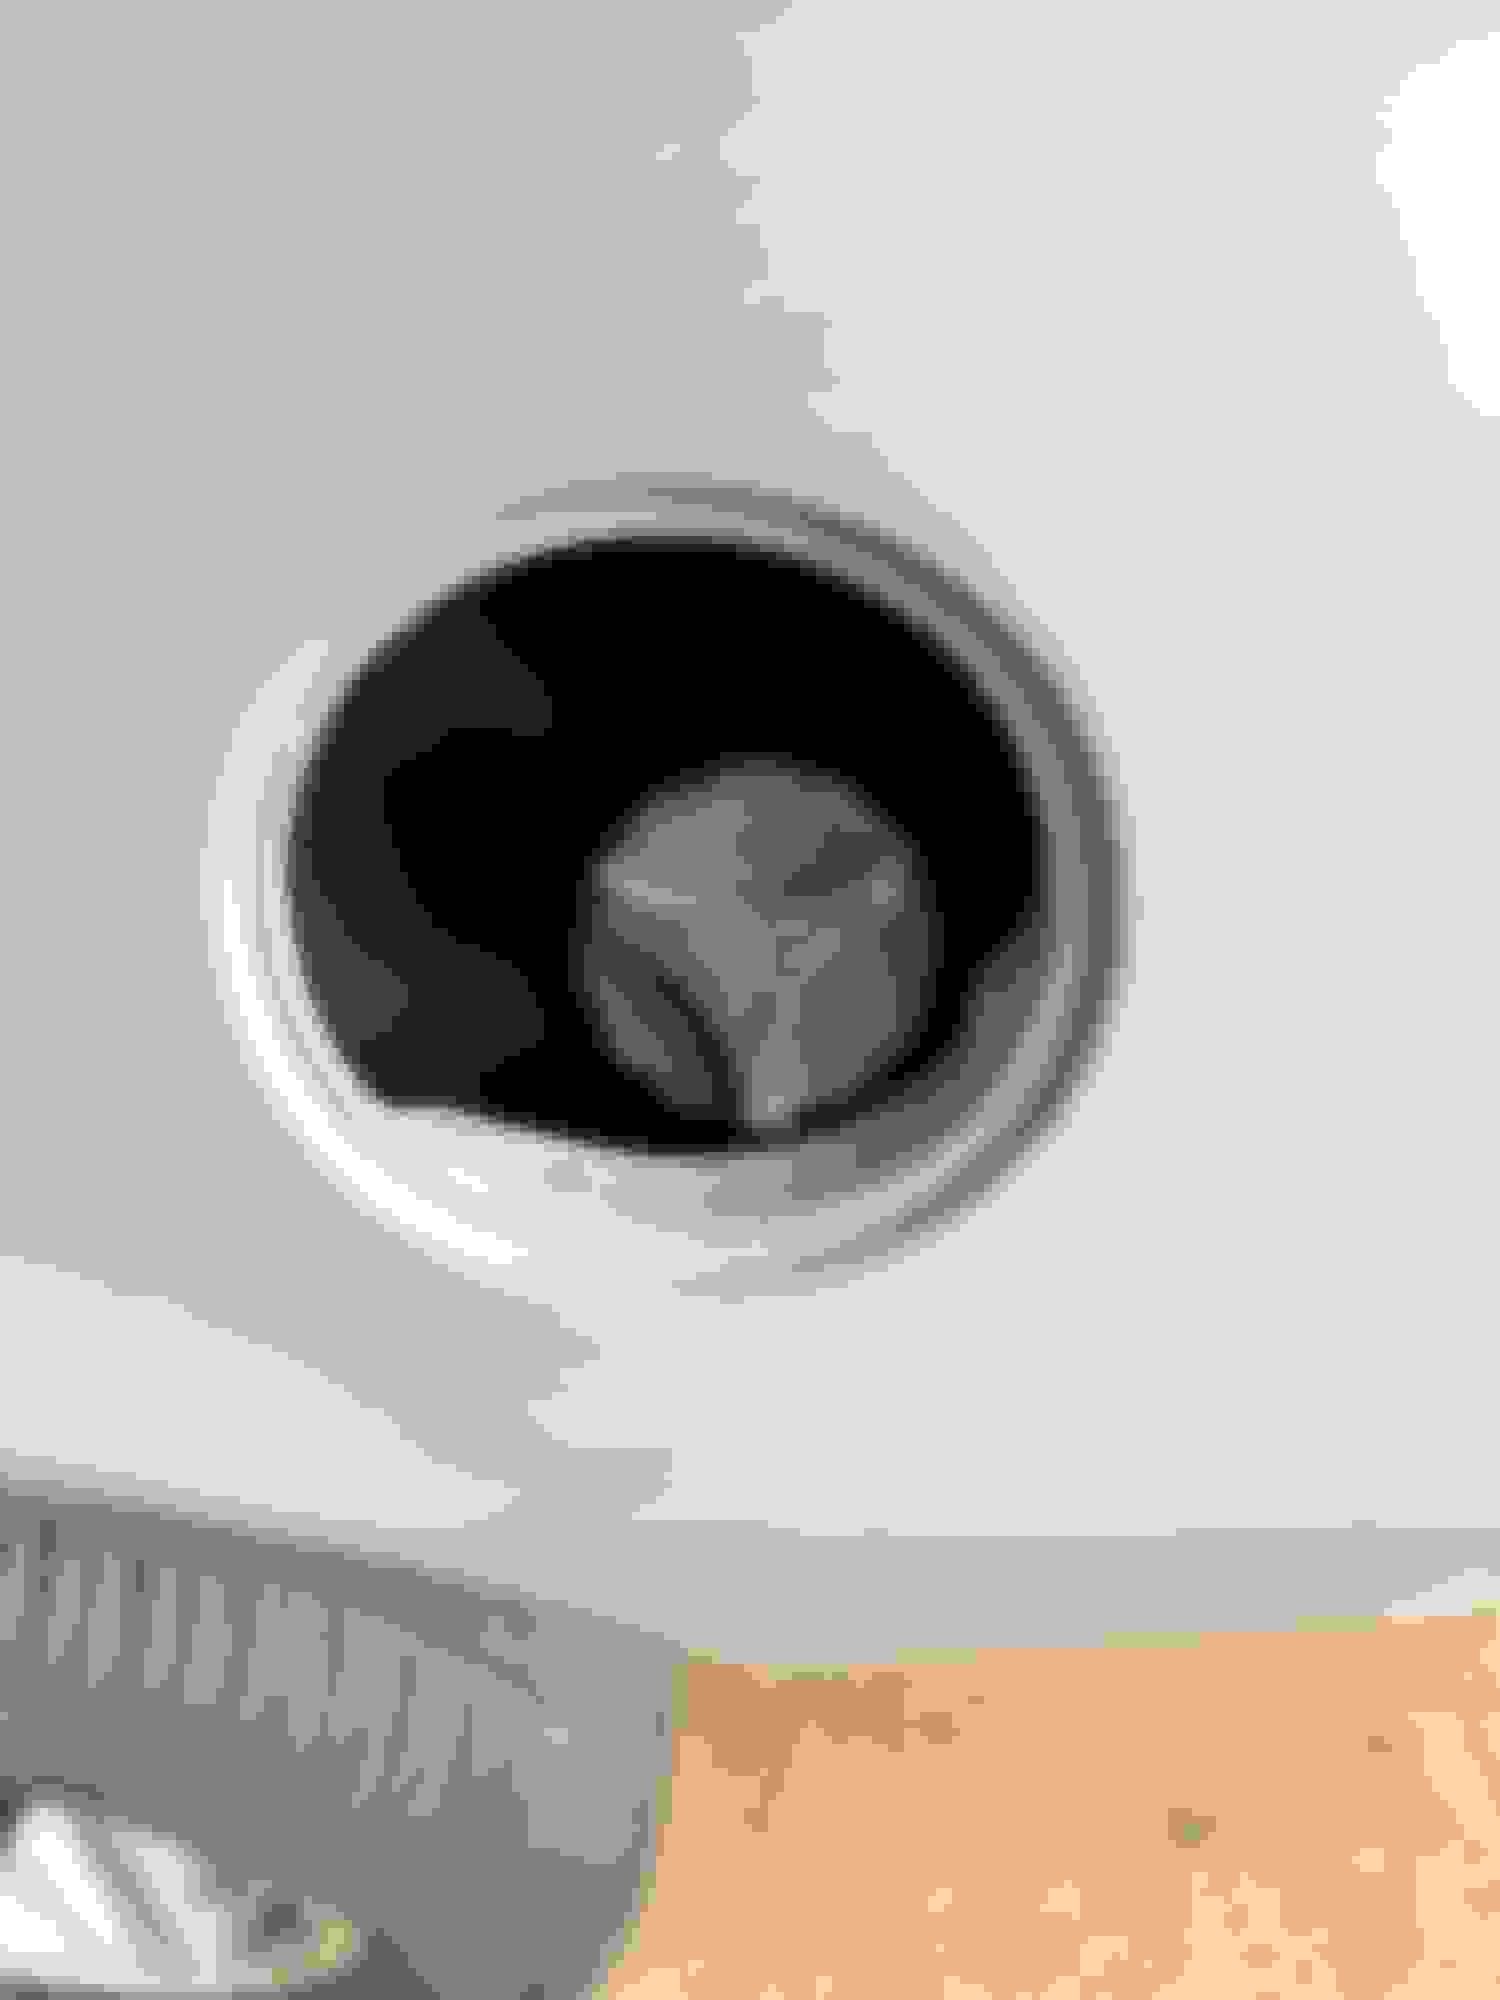
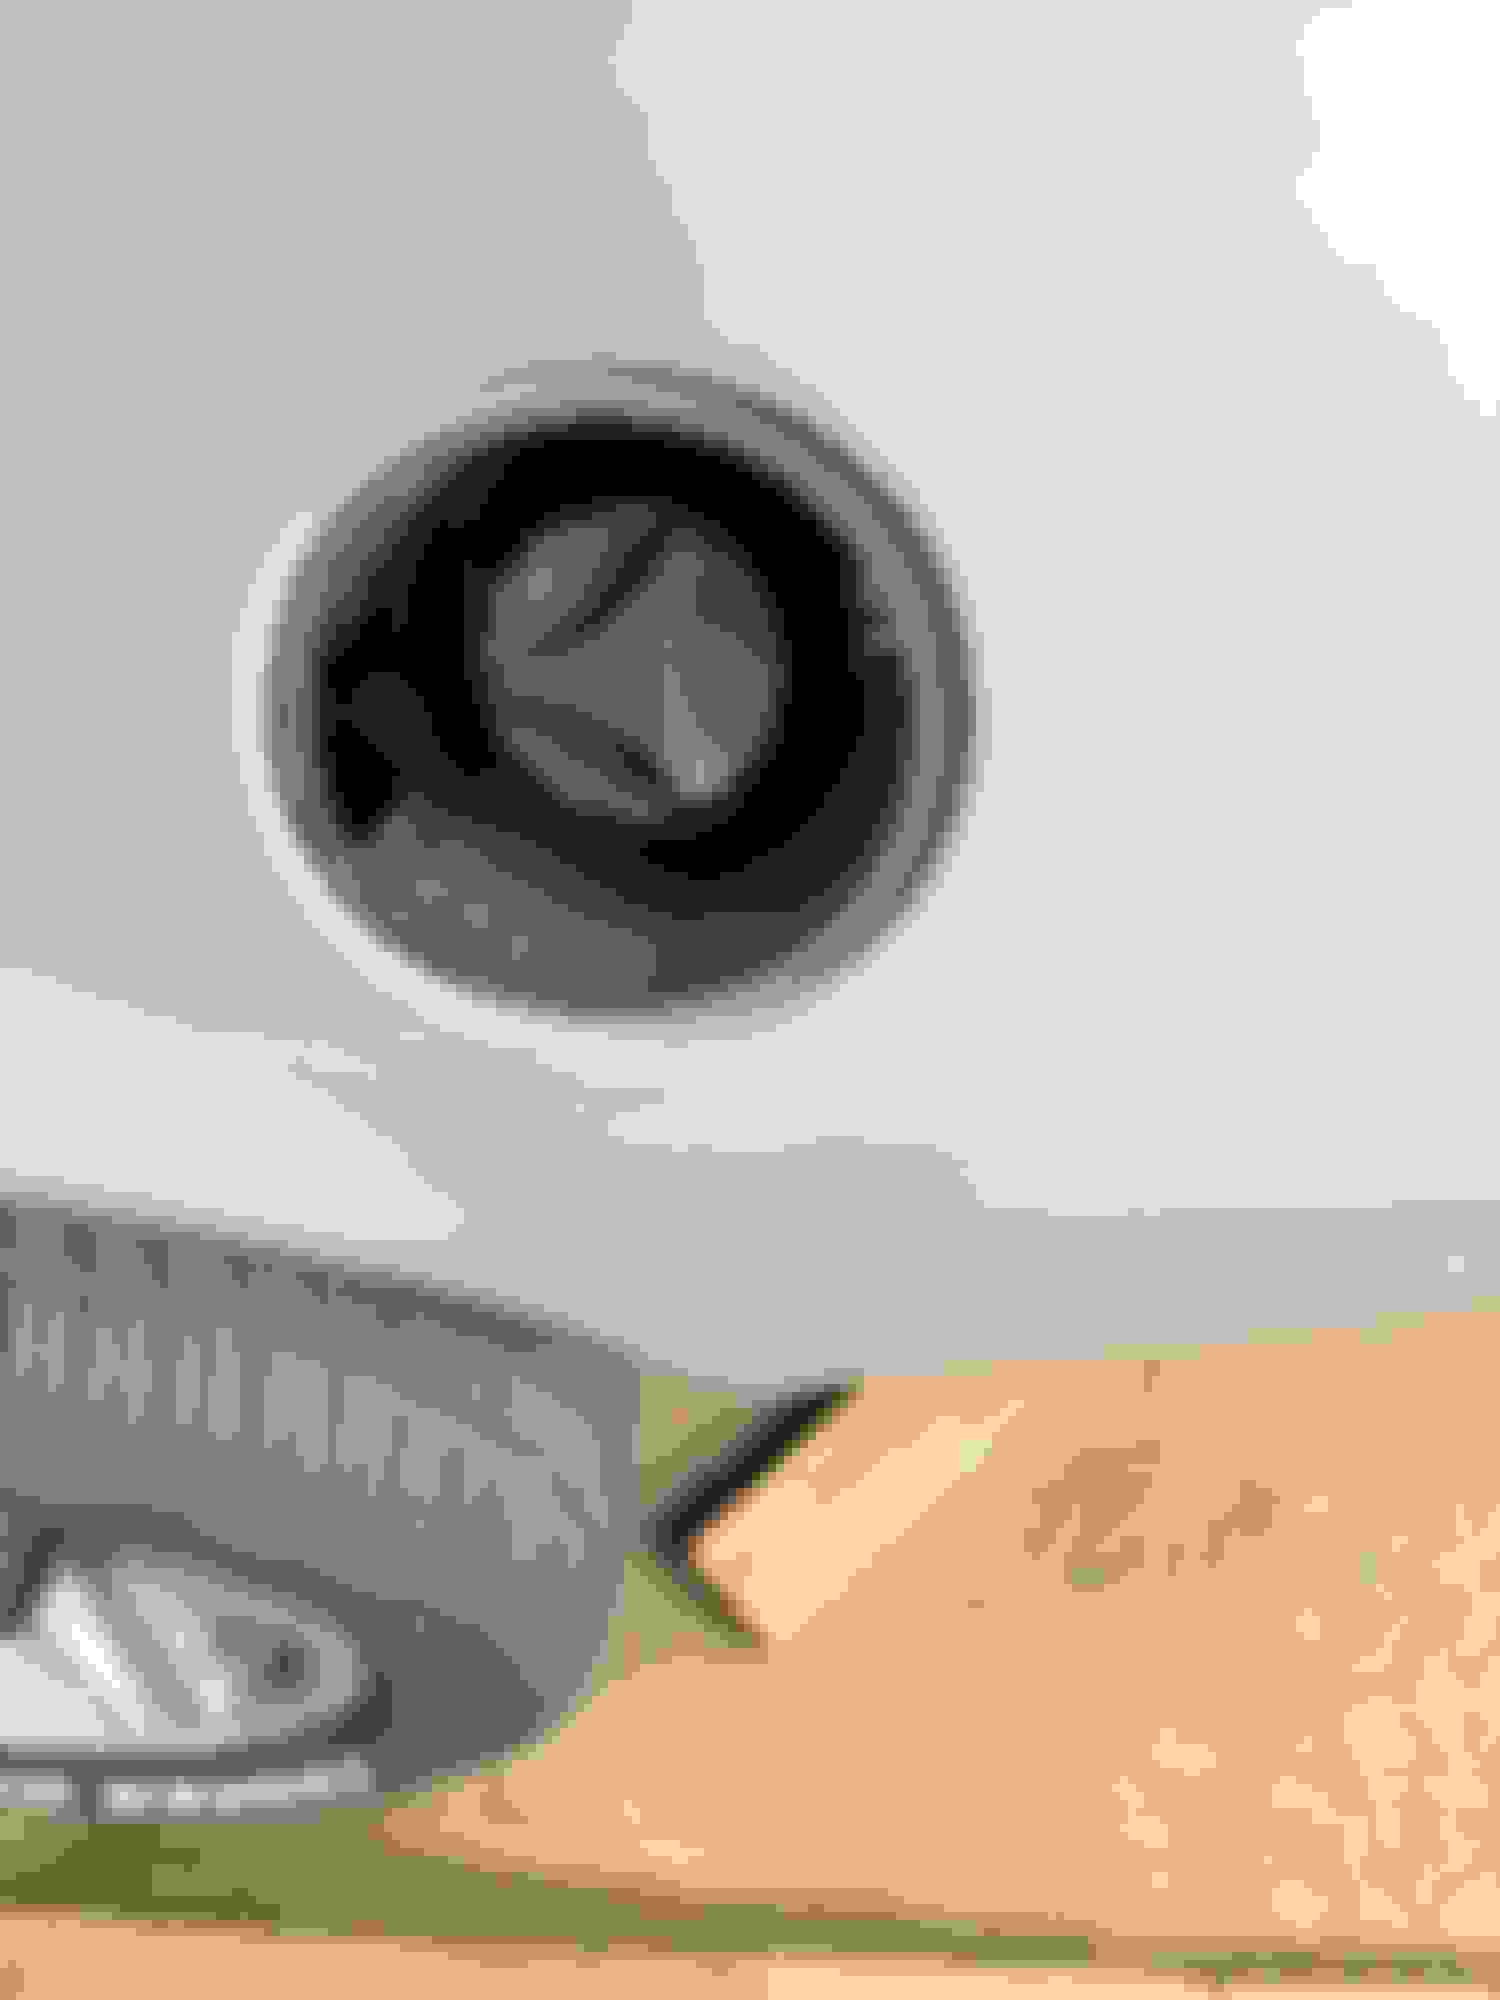
The gasket for that red car looks much thicker than the closeup of mine that i have attached.
Furthermore, the gas tank filler neck sits much differently in the opening. I'm not sure if i bent the neck when i removed the tank to change the pump over the summer, or its been like that since i got the car. I just can't remember. It doesn't affect filling up, nor does it affect closing the door, so i may leave it alone.
There is a place where the filler neck "ripples" to bend where it gets close to the entry of the tank. If i get a "wild hair," i may attempt to bend it a bit.
Good find on the photo. I say put however many gaskets needed to get the door lined up.
Roorancher, I'd leave the filler neck alone unless its causing issues. Why risk potentially causing a crack or other damage to fix something that isn't an issue?
Cold outside here in Texas (well cold for us Texans), but I went out to check my filler neck position. Keep in mind my car is blown apart for paint (so no gas door nor black bucket), but my filler neck appears to be in the same position as Roorancher's. It sits really low too. And yes, that was after I pulled my tank to replace the dead CFI fuel pump with a L69 pusher pump (the CFI was gutted but the previous owner). I remember that I was doing the replacement by myself (no help), and it was sort of a struggle to get the tank back into the car and start the bolts on the tank straps. When it gets warmer, I might go out and take the heat shield off between the tank and muffler and see if the tank is seated correctly and give you all an update and some pictures too..
Cold outside here in Texas (well cold for us Texans), but I went out to check my filler neck position. Keep in mind my car is blown apart for paint (so no gas door nor black bucket), but my filler neck appears to be in the same position as Roorancher's. It sits really low too. And yes, that was after I pulled my tank to replace the dead CFI fuel pump with a L69 pusher pump (the CFI was gutted but the previous owner). I remember that I was doing the replacement by myself (no help), and it was sort of a struggle to get the tank back into the car and start the bolts on the tank straps. When it gets warmer, I might go out and take the heat shield off between the tank and muffler and see if the tank is seated correctly and give you all an update and some pictures too..
I'm just down the road from you on Lake Whitney. The North wind coming off the Lake the past few days has been something else! Glad yours sits in the same position. I like not being the only one in this case, and convinces me even more that I shouldn't mess with it......LOL!
Like I said, when I pulled my tank a while back to change the pump it was no easy task to get the tank in or out alone....I had the car on jack stands as high as I could get it, and still struggled, besides the fact that I'm just about 70, and the convertibles have more sheet metal that I believe creates more obstructions for the filler neck.
I bought one gasket, and made 3 more just a little while ago, so I'm good to go as soon as it warms up. I keep that car in a steel building I own about a mile down the road from the house, and the 4th Gen TA Vert and my wife's Sky Roadster is in the garage at the house, but I can't go in there right now, as all her plants are keeping warm.
I just did my tank as weel... that was a real PAIN.....
For the next time which I hope I never have to do, I suspect it would be much easier if the brake hose is disconnected and the axel is lowered further... and the tank is tilted to the front right of the car. That extra inch or so of clearance I beleive would make it much easier. Then just reconnect the line and bleed the rear brakes.
Just unbolt the brake braket from the frame rail instead of disconnecting the line.
Going to follow up with thread on the filler neck alignment. This is my experience, take it for what it is worth! Like most of us, I swapped the fuel pump by myself (and a few beers). I used an air ratchet (yes, I still use pneumatic tools - old school guy I guess). I don't remember how tight the original bolts were when starting the process. I do remember when I raised the tank (bench press) it back in place; I held it there with one hand, and kind of used my other hand to "stretch" the tank straps back into place and started each bolt by a few threads. I then grabbed the air ratchet and tightened down the bolts.
Before
So last weekend (still cold here in Texas) I put the rear of the car up on jackstands, the tires were about an inch off the ground. Now my gas tank is pretty empty (maybe three gallons or so). I pulled the heat shield off that sits between the muffler and tank and was able to slide it out. I then looked around to see what causing my filler neck to be low to the right like in all the pictures above. Everything looked "okay". The tank straps were a little off from the original rub marks. I figured maybe that was the problem. So, I loosened the tank strap bolts and started trying to move the tank. Still nothing and no movement. My tank was pressed up against the body. I was able to squeeze my hand through the hole in the filler neck area and felt it. So, I knew the tank couldn't go any higher. A few beers later, I decided to really loosen the tank strap bolts. That didn't allow enough tank play. So, I went ahead and removed the tank strap bolts (remember almost empty tank). This allowed (obviously) a ton of movement. The bottom of the tank was resting on the tank straps that were still bolted to the body. I was able to grab the filler neck and perfectly align it like the low mile picture! Success, I thought!
But wait! As soon as I started tightening the tank strap bolts the awful alignment returned! Crap, have a few more beers and think about this. Was it the tank straps? So, I barely just started the tank strap bolts so the tank was just loosie goosie. I then lined the filler neck up again. I started tightening the passenger side first the filler neck would start to pitch down and the right again. Backed everything out again, aligned up the filler neck, and started on the driver's side. Still moved the alignment but not bad, then I tightened the passenger side, and it was the same as my starting point! Useless. I decided to leave the tank loose and the tank straps barely started. Another few beers, I decided to check the factory service manual.
Raise the tank and replace the bolts... blah, blah, blah.. Then I saw it; torgue the bolts to 25ft pounds. No where did it say use your air rachet and torque the bolts to guerilla tight!
Back outside the next day. I tightened the driver side first to 25ft pounds and then the passenger side to the same. And what do you know? The filler neck lined up correctly. Or almost correctly!
.
I noticed that my tank straps are kind of "bent" incorrectly. They do not sit flush against the tank.
Why? Well again the factory service manual never said anything about bench pressing the tank into place then forcing the straps into place, then over torquing the bolts to stretch the straps.
It again says, raise the tank, replace the straps, and torque the bolts to 25ft pounds.
I looked at new (aftermarket) straps, and they do not to appear pre-bent. Maybe a slight curve? And they have the insulator strips that mine are missing too.
Long story - my alignment issue was all self-inflicted! If I ever have to drop the tank again, new straps with insulators, new tank insulators too; plus, my neighbor or buddy to help get the tank in without forcing it!
Side note - I cracked the black filler neck bucket on the corner denoted in the picture while test fitting and removing. I ended up using my Harbor Freight plastic welder to fix it.
Well, apparently, Mr. Bell, we're either Texas brethren, or you're my doppleganger, of sorts....
r'm also in Texas, (Lake Whitney,) I'm also "old school," and still use air tools, (I turned 70 yesterday,) and your original tank installation procedure after replacing the pump describes my procedure to a "T." When empty, shove it up with one hand, put a floor jack under it with a piece of wood, jack it into place tight, then send the bolts on the straps "home" with the air ratchet. I also think the rubber is missing on my straps, but I can't remember.....
I just filled up on Tuesday before I drove the car to work because it was perfect convertible weather, so I've only logged about 85 miles......but you can rest assured I'll be following your procedure to correctly align the filler neck as soon as I burn off some more of that premium...
I'm wondering however, if I should just go ahead and purchase replacement straps with the rubber on them in advance of the task, and convince myself that not only could the straps be stretched, but not having the rubber on them could interfere with the proper torquing.
I'm sure I can probably replace the straps (or at least swap the rubber from the replacement straps) to the old straps without taking the tank all the way down???
Happy late birthday to Roorancher! I hope when I'm 70, I'm still turning wrenches. The wondering statement got me thinking a bit. I read somewhere that you were an airplane mechanic (on the board post I think). You guys are trained for correct tolerances' when replacing parts. Granted Boeing seemed to toss that out the literal window on the 737 Max. I work in IT, so there is a lot of Root Cause Analysis post problem resolution. To the point about the tank straps/ missing insulators. The factory service manual shows Anti-Squeak trips on the top of the tank along with the Anti-Squeak trips on the tank straps. We know that my tank strap insulators are no longer present. We can assume that the same Anti-Squeak trips have deteriorated from the top of the tank as well. I don't remember seeing them when I had the tank down. So, if those two items were present during the installation, the torque value used with and without these strips would be different. I see generic tank insulator strips for $12 bucks on Amazon and the replacement straps with insulators are $32. It is a tight fit for the tank straps to the body mount. But if you could pull the tank forward enough (using my destructions above) you could replace the straps. But your tank might also be missing the Anti-Squeak trips? So, the torque value would again be different than the prescribed 25ft pounds. Since I did not like the exact alignment of the 25ft pounds prescribed; I backed off the bolts a turn or two until I liked the alignment. Am I worried of the tank falling? Not really, there is still plenty of threads still holding the tank up, plus this suspension cross brace.
Happy late birthday to Roorancher! I hope when I'm 70, I'm still turning wrenches. The wondering statement got me thinking a bit. I read somewhere that you were an airplane mechanic (on the board post I think). You guys are trained for correct tolerances' when replacing parts. Granted Boeing seemed to toss that out the literal window on the 737 Max. I work in IT, so there is a lot of Root Cause Analysis post problem resolution. To the point about the tank straps/ missing insulators. The factory service manual shows Anti-Squeak trips on the top of the tank along with the Anti-Squeak trips on the tank straps. We know that my tank strap insulators are no longer present. We can assume that the same Anti-Squeak trips have deteriorated from the top of the tank as well. I don't remember seeing them when I had the tank down. So, if those two items were present during the installation, the torque value used with and without these strips would be different. I see generic tank insulator strips for $12 bucks on Amazon and the replacement straps with insulators are $32. It is a tight fit for the tank straps to the body mount. But if you could pull the tank forward enough (using my destructions above) you could replace the straps. But your tank might also be missing the Anti-Squeak trips? So, the torque value would again be different than the prescribed 25ft pounds. Since I did not like the exact alignment of the 25ft pounds prescribed; I backed off the bolts a turn or two until I liked the alignment. Am I worried of the tank falling? Not really, there is still plenty of threads still holding the tank up, plus this suspension cross brace.
Yes....I was in aircraft maintenance and aircraft maintenance management for most of my career.....Mostly Gulfstreams and Falcon Jets....Also some military and government "secret sauce" stuff. Even spent some time at the infamous "skunk works."
Yes, it really exists.
Back to cars.....I ordered some new straps even though I didn't confirm if the rubber was there or not. They're cheap enough......but I'm not gonna pull the tank down low enough to see if the insulators are present on top. I don't deem it that important. If I get ambitious, when I'm doing all the retorquing, I have some 1/8" rubber sheet....maybe I'll try to slip a couple of strips up there....but I don't think it's worth the effort.
Anyway, I still have about 3/4 of a tank, so it will be a few weeks. Im making new door cards now, because the originals are in bad shape from some water damage and the fastener holes are torn out for the top plastic rail. all the material is in good shape, and i was able to remove it off the old cards in one piece by cutting the stitching on the plastic double-stitched binding above the carpet and wraps on the bottom with a sharp razor blade. I'll remove all the thread, I'll glue the upholstery on the new card, and then get the upholstery shop to re-sew the binding. While I'm in the doors I'm also installing the hoffman flush door handles and new door lock actuators.
 01-03-2024, 10:56 AM