When you click on links to various merchants on this site and make a purchase, this can result in this site earning a commission. Affiliate programs and affiliations include, but are not limited to, the eBay Partner Network.
A friend of mine asked me to work on his one owner GTA. Long story short, there was a bit of a curb rash with the passenger front lower fender ground effect, lower air dams and front valance damage. I ordered the Hawks Motorsports front fender ground effects and set out for some body work.
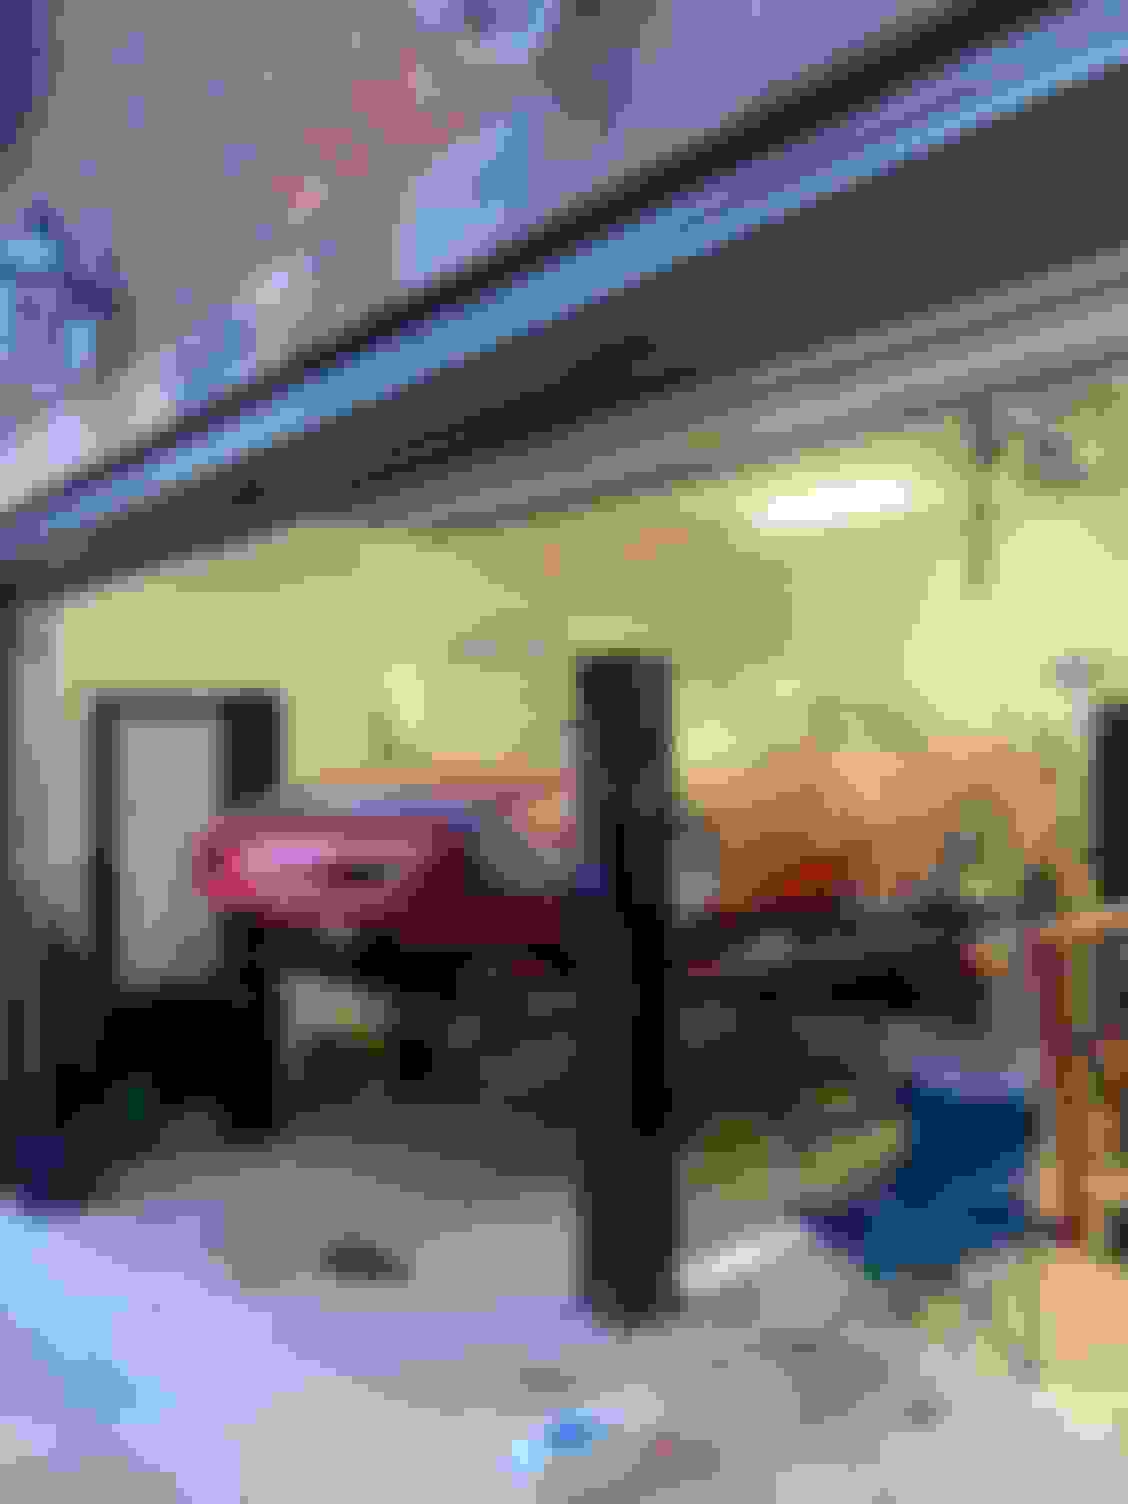
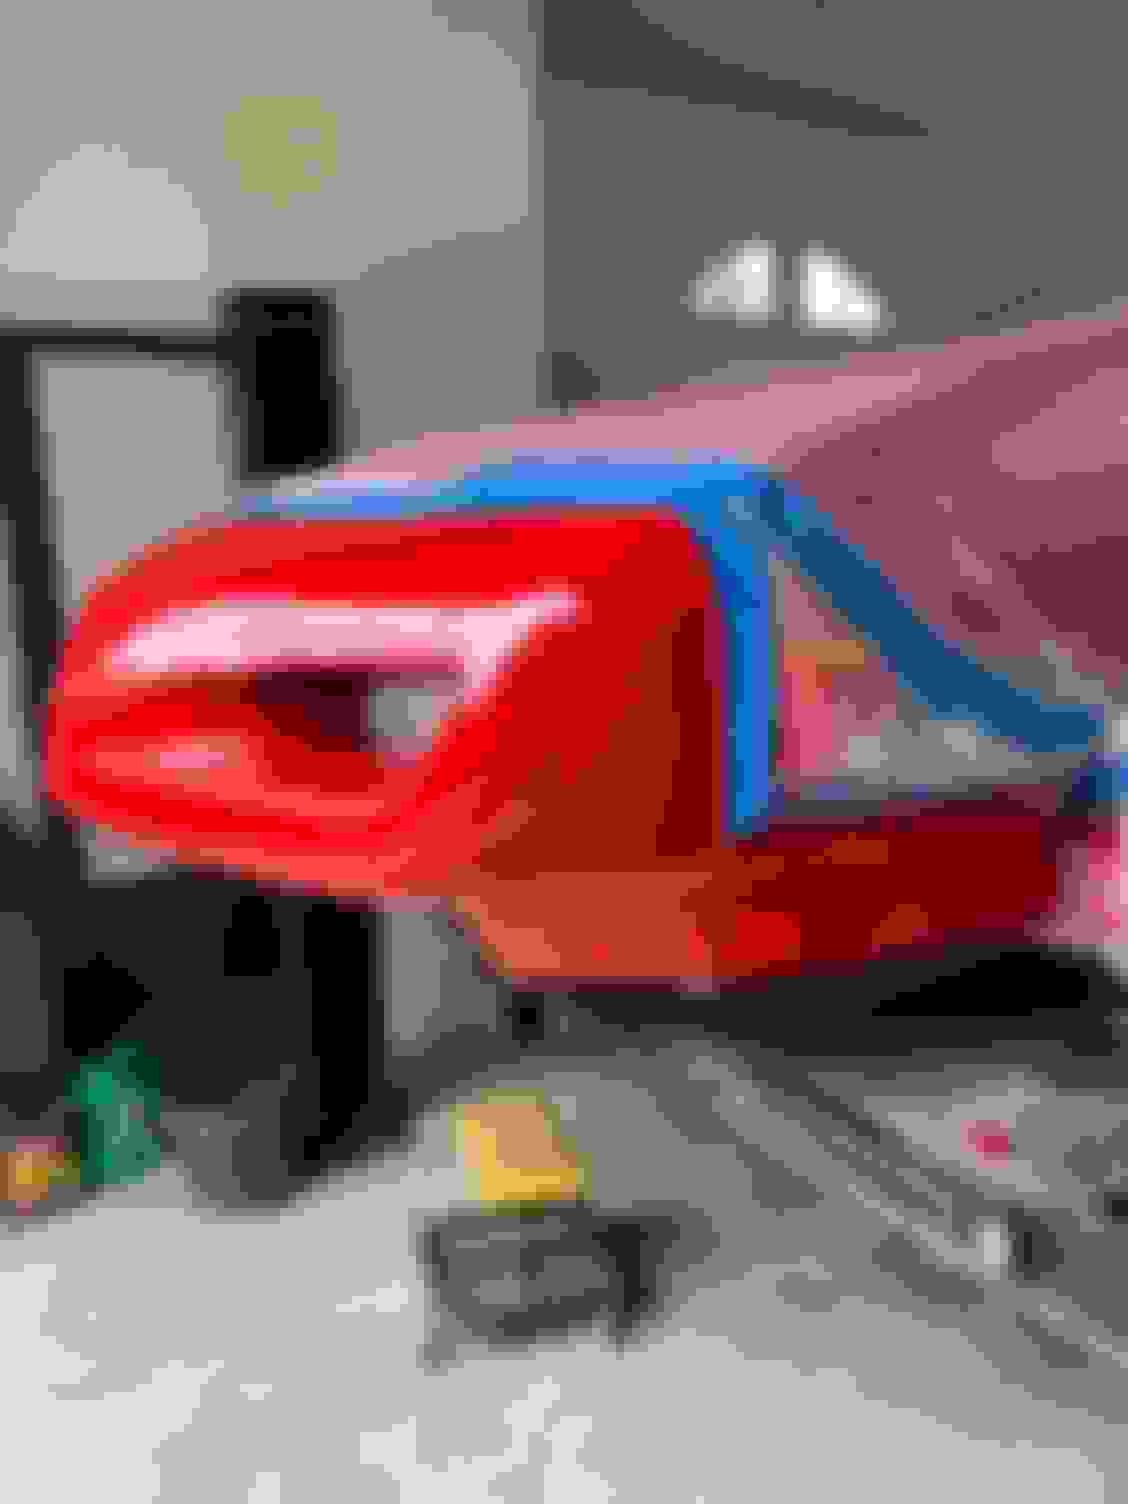
Here are some pics: The passenger front fender ground effect shattered on impact but luckily no damage to the sheet metal Some chips and cracks were sanded back to the urethane. Prior repairs of an accident were sanded out and refinished. I used K Mart Sprayway glass cleaner aerosol to degrease between coats. I used duplicolor adhesion promotor followed by high build primer followed by primer sealer with 600-800 grit sanding between coats as needed. Feathered the work into the existing panel. Same process for the piece from Hawks Motorsports. I did scuff sand the plastic first with 600 grit and smoothed any molding flashing before paint. There is a hole toward the front that bolts to the from valence that I slotted with a dremel grinder to let the part slide in place. Another view of the part with a mismatched lower spoiler piece that would not fit. (There cite states their part will fit with some trimming but it will not. Look at the difference from the original part below to the new part above. The original part bolted to the the ground effect without issues. After masking off the entire car are scuff sanding the whole nose, I used Duplicolor BGM0519 to cover the new body work and then faded it into the rest of the nose. Here's the complete masking setup. I really didn't want overspray. This is after Duplicolor base color several coats blended into the rest of the nose followed by a light 800 grit wet sanding.
So here are the next steps. Finally, this is after 3-4 coats of Spray Max 2k high gloss clear coat. Great stuff but WEAR A FULL RESPIRATOR MASK. I bought my off of Amazon. Seriously, the epoxy paints are no joke toxic. I finished the part from Hawks Motorsports off the car. Final fitment with the spoilers refinished as well. The part fist well except for the width on the front of the piece where it meets up with the nose. Just a little less than 1/4 inch too wide in that dimension but otherwise a very good fit and not very visible from other angles.
Overall, not a bas result from spray cans and elbow grease.
 09-13-2022, 12:35 AM